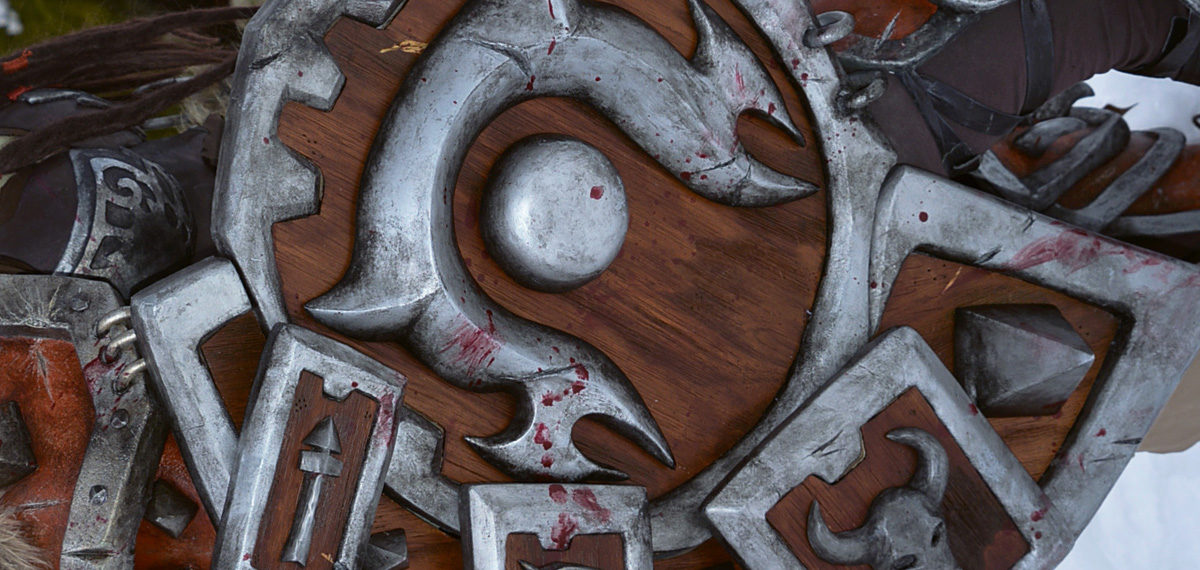
Warsong commander: Shield making of
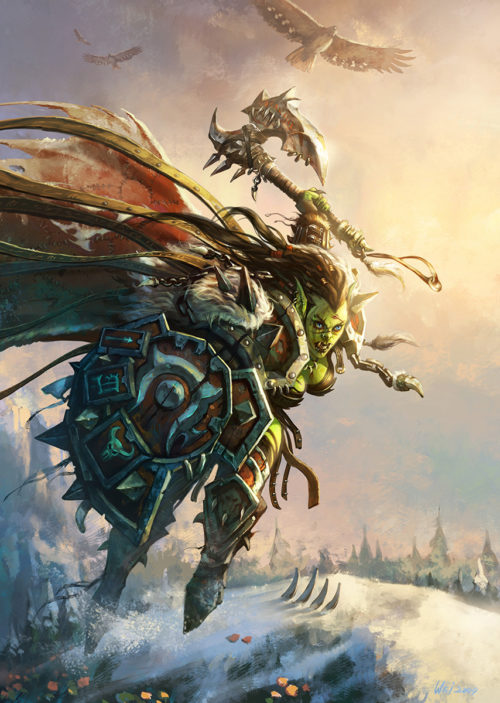
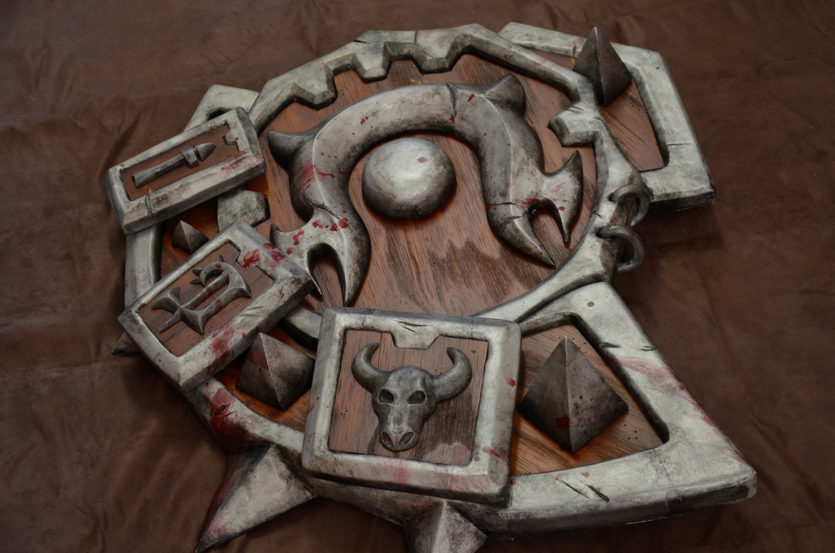
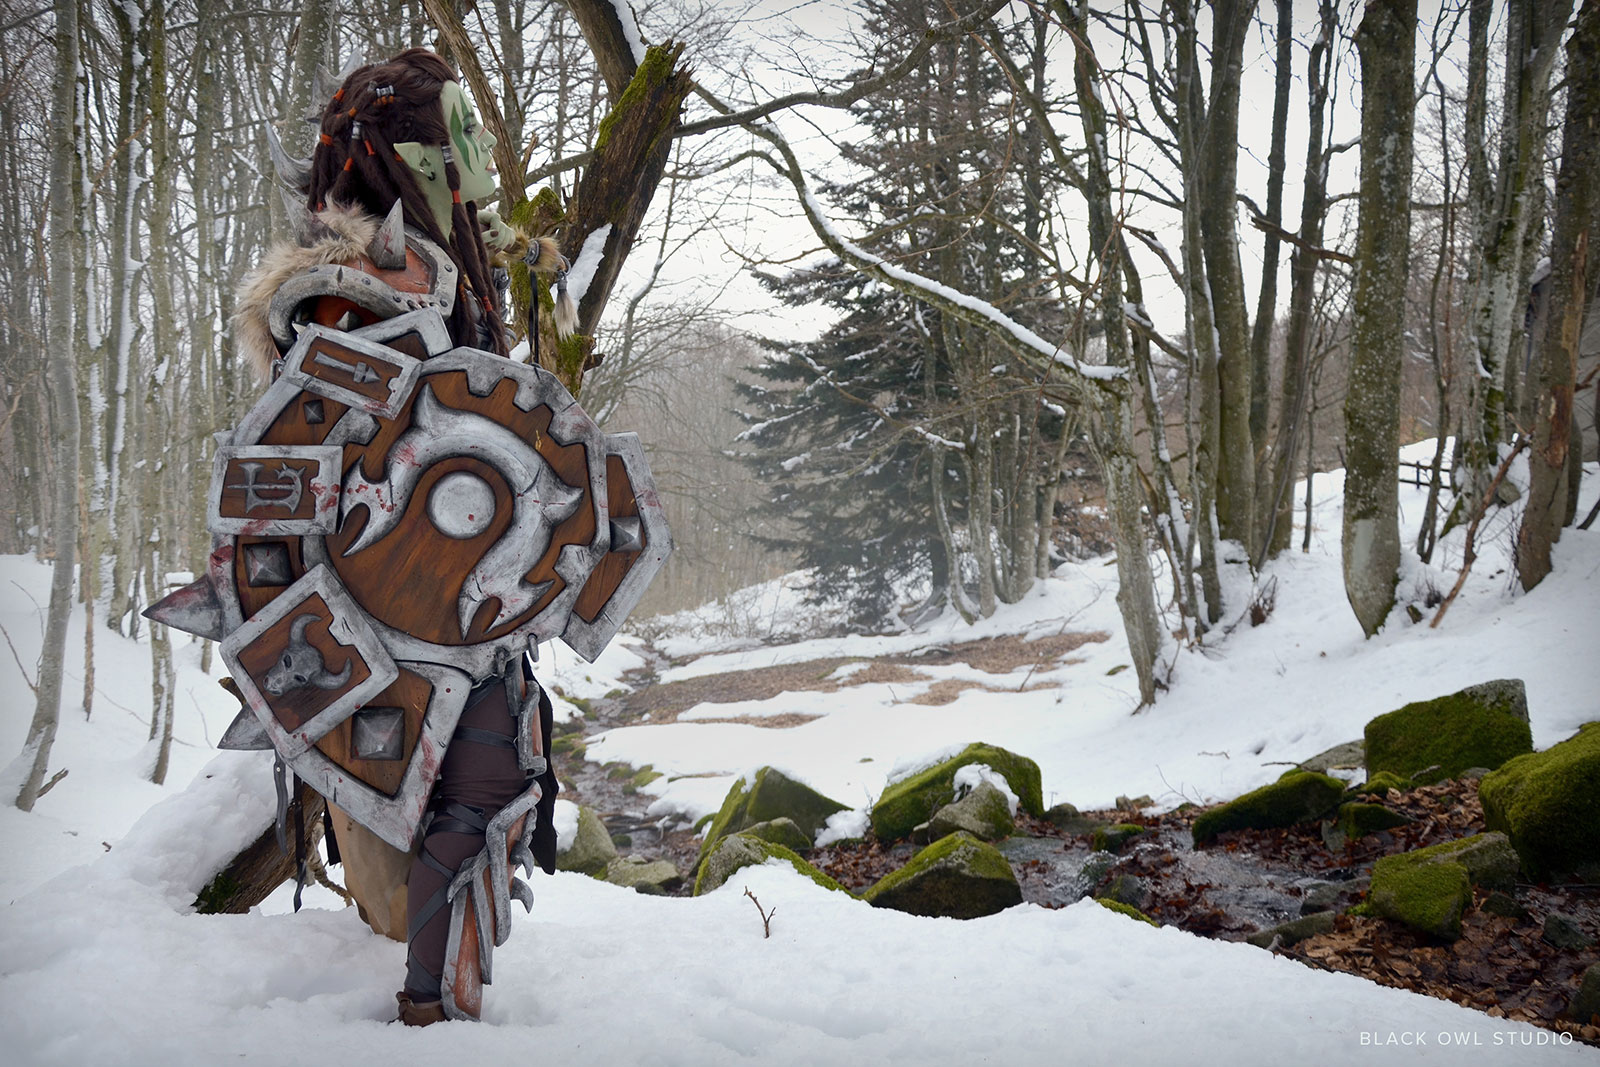
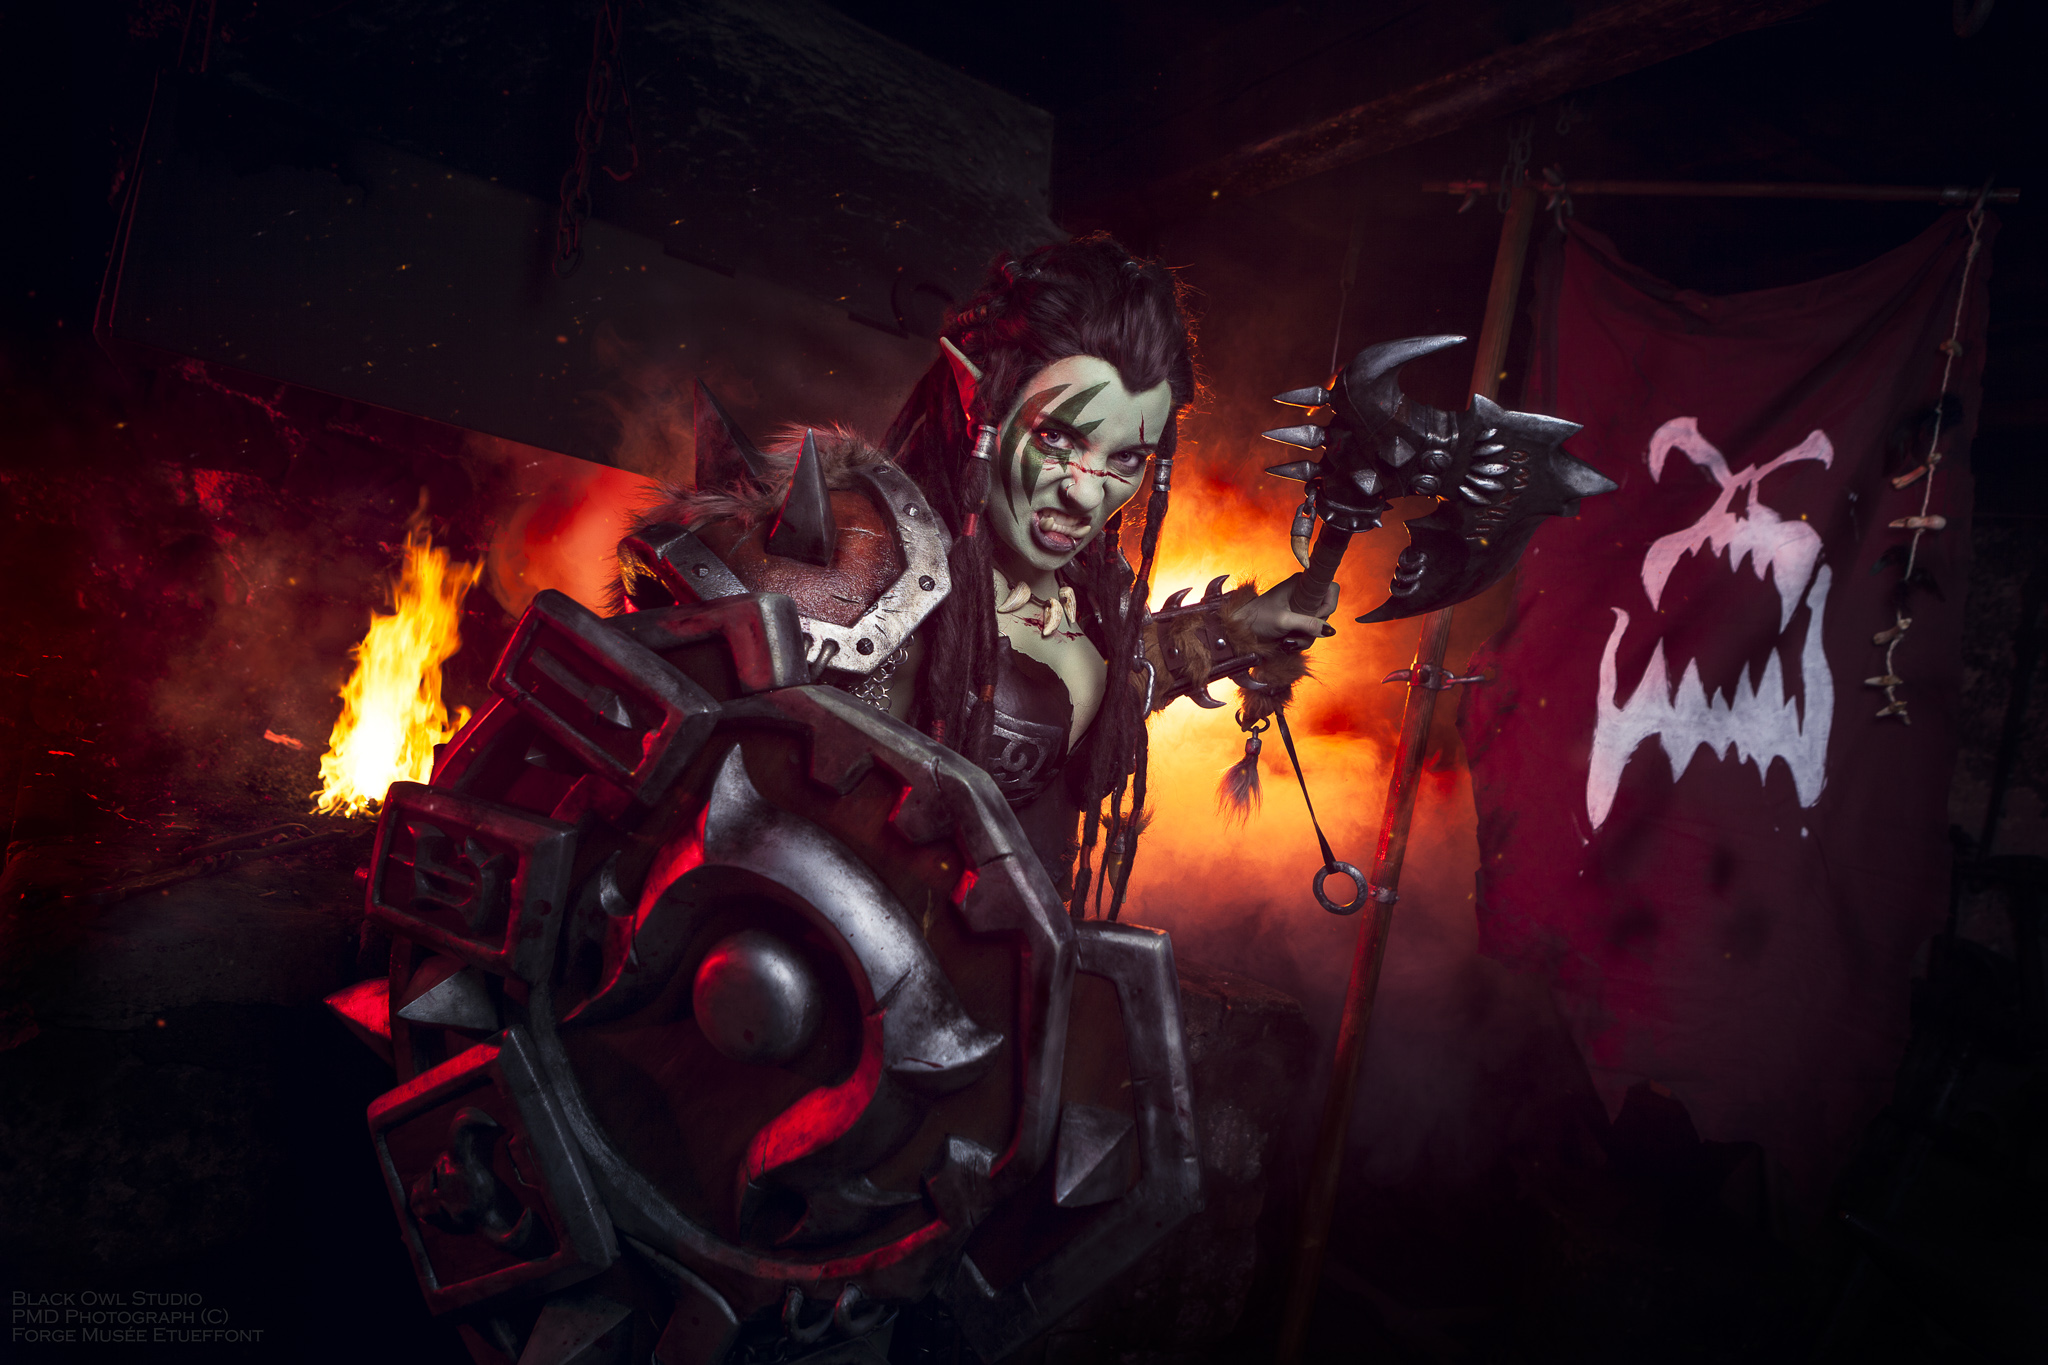
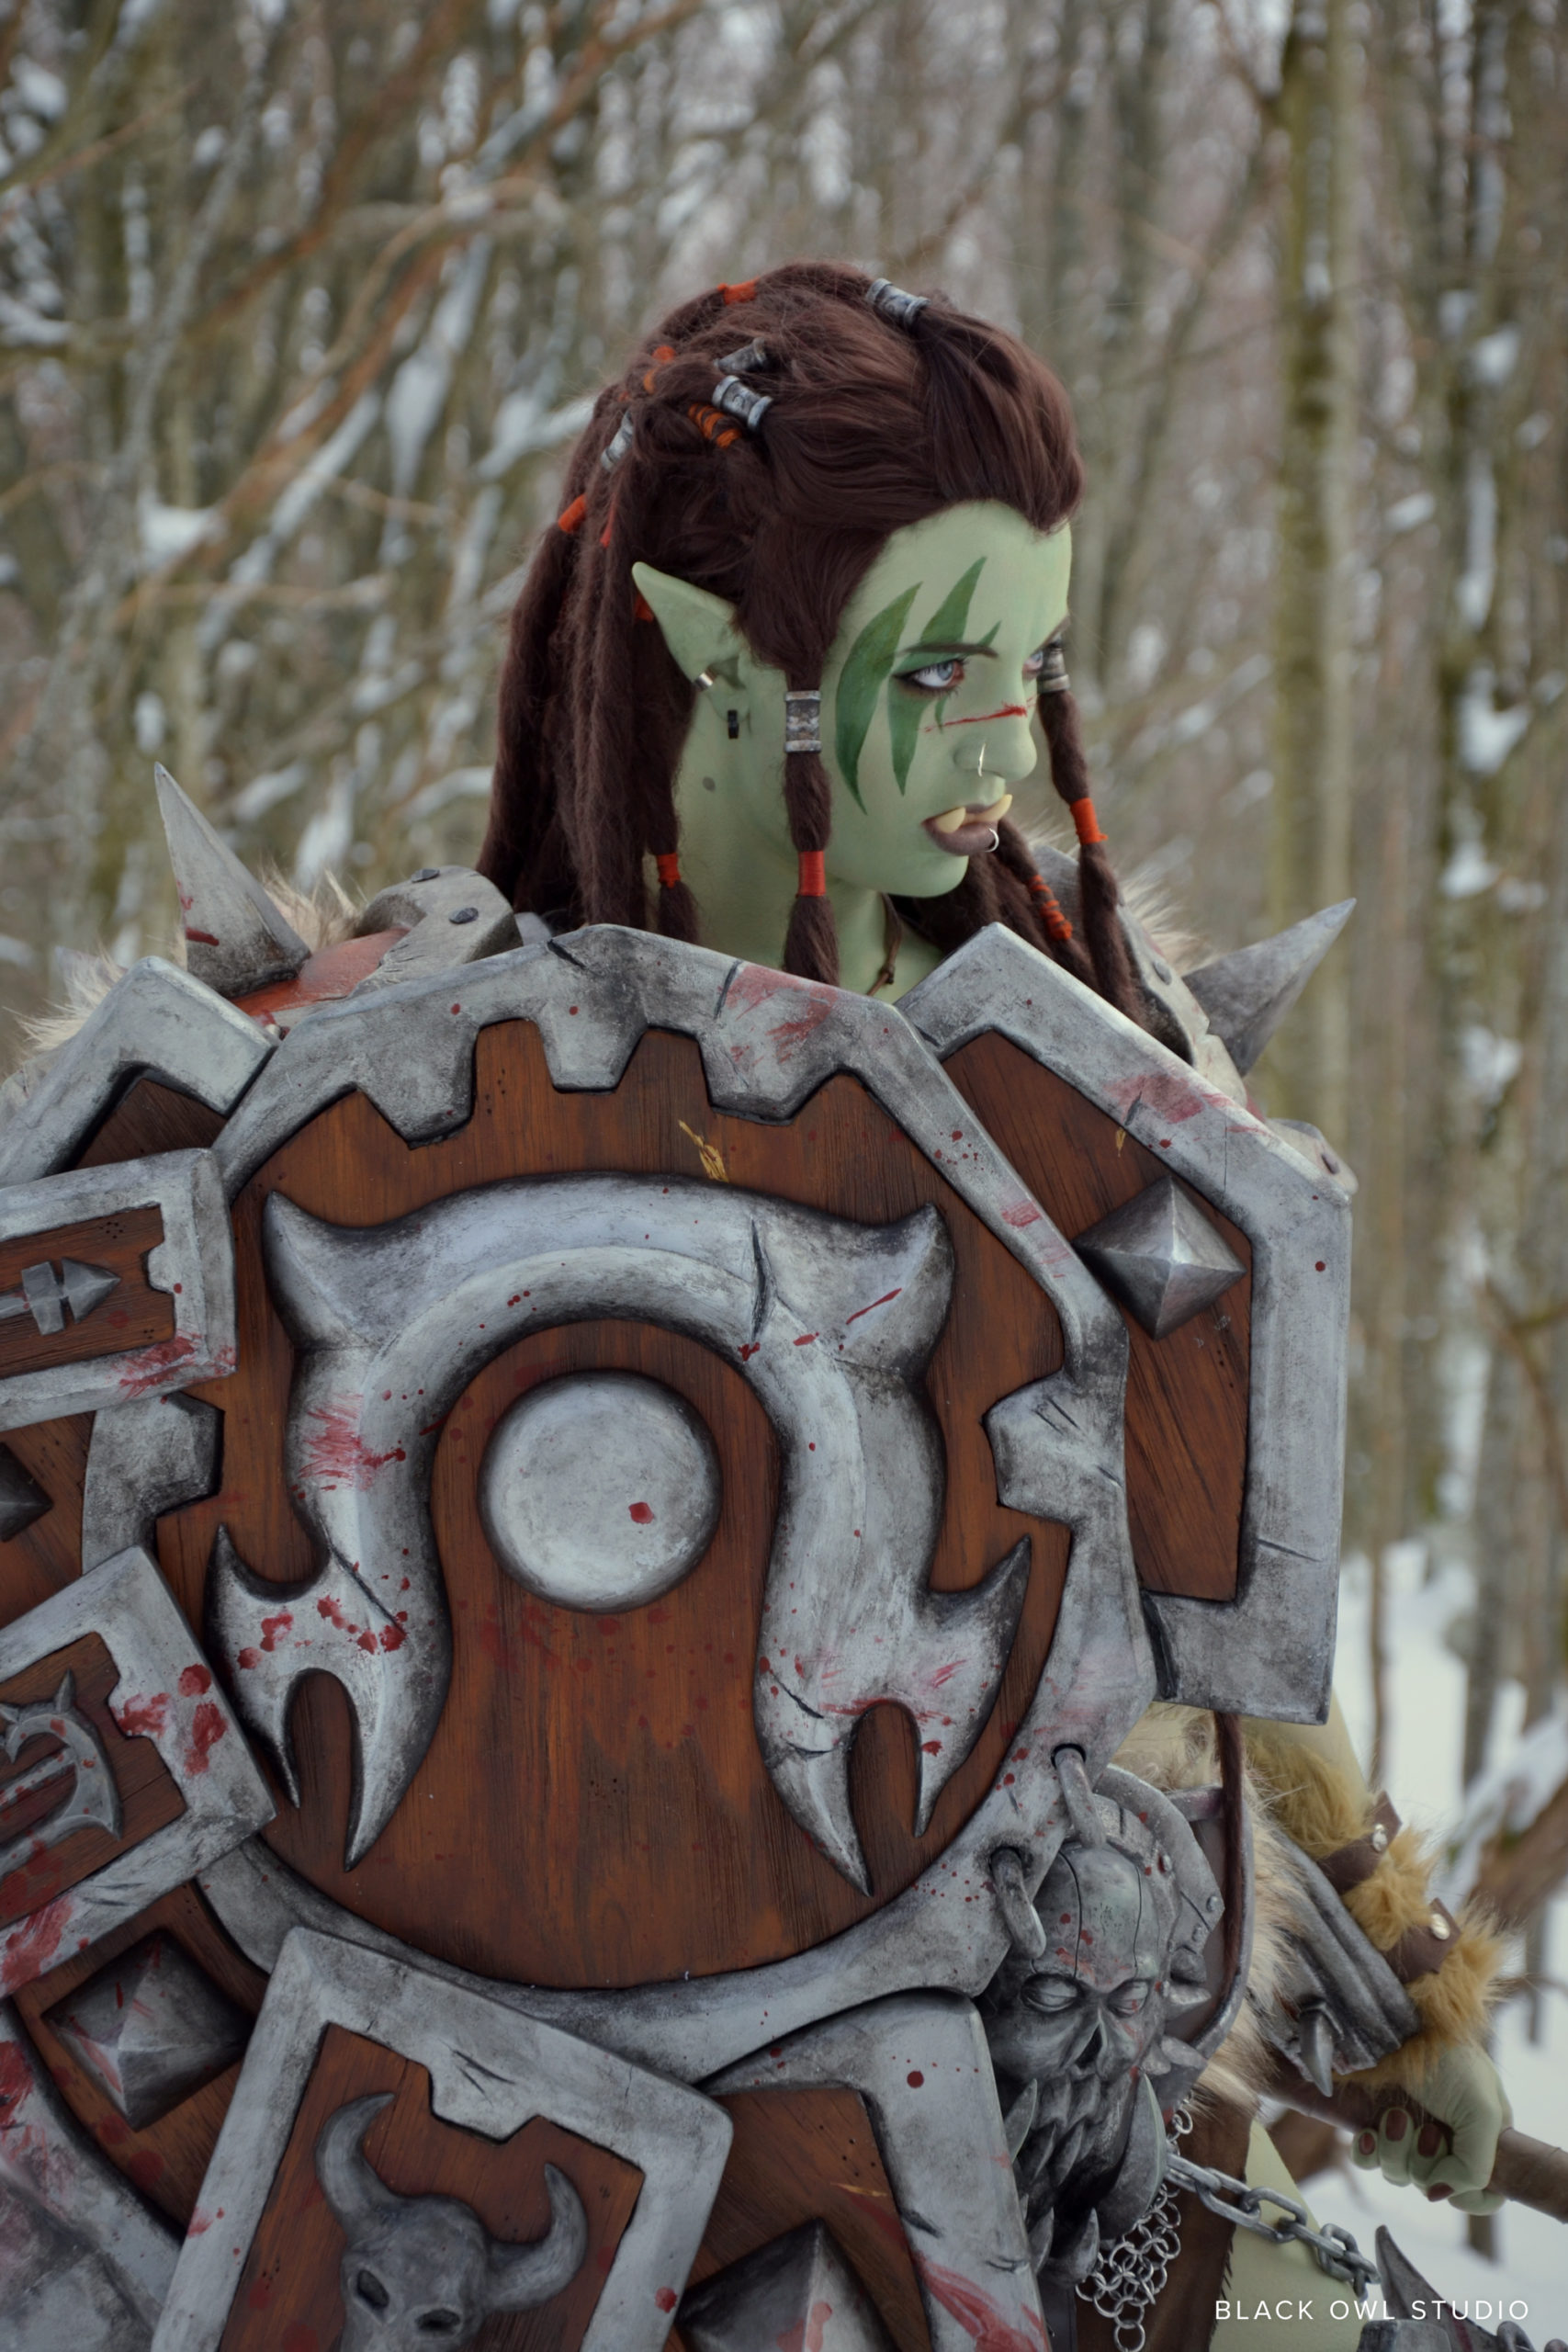
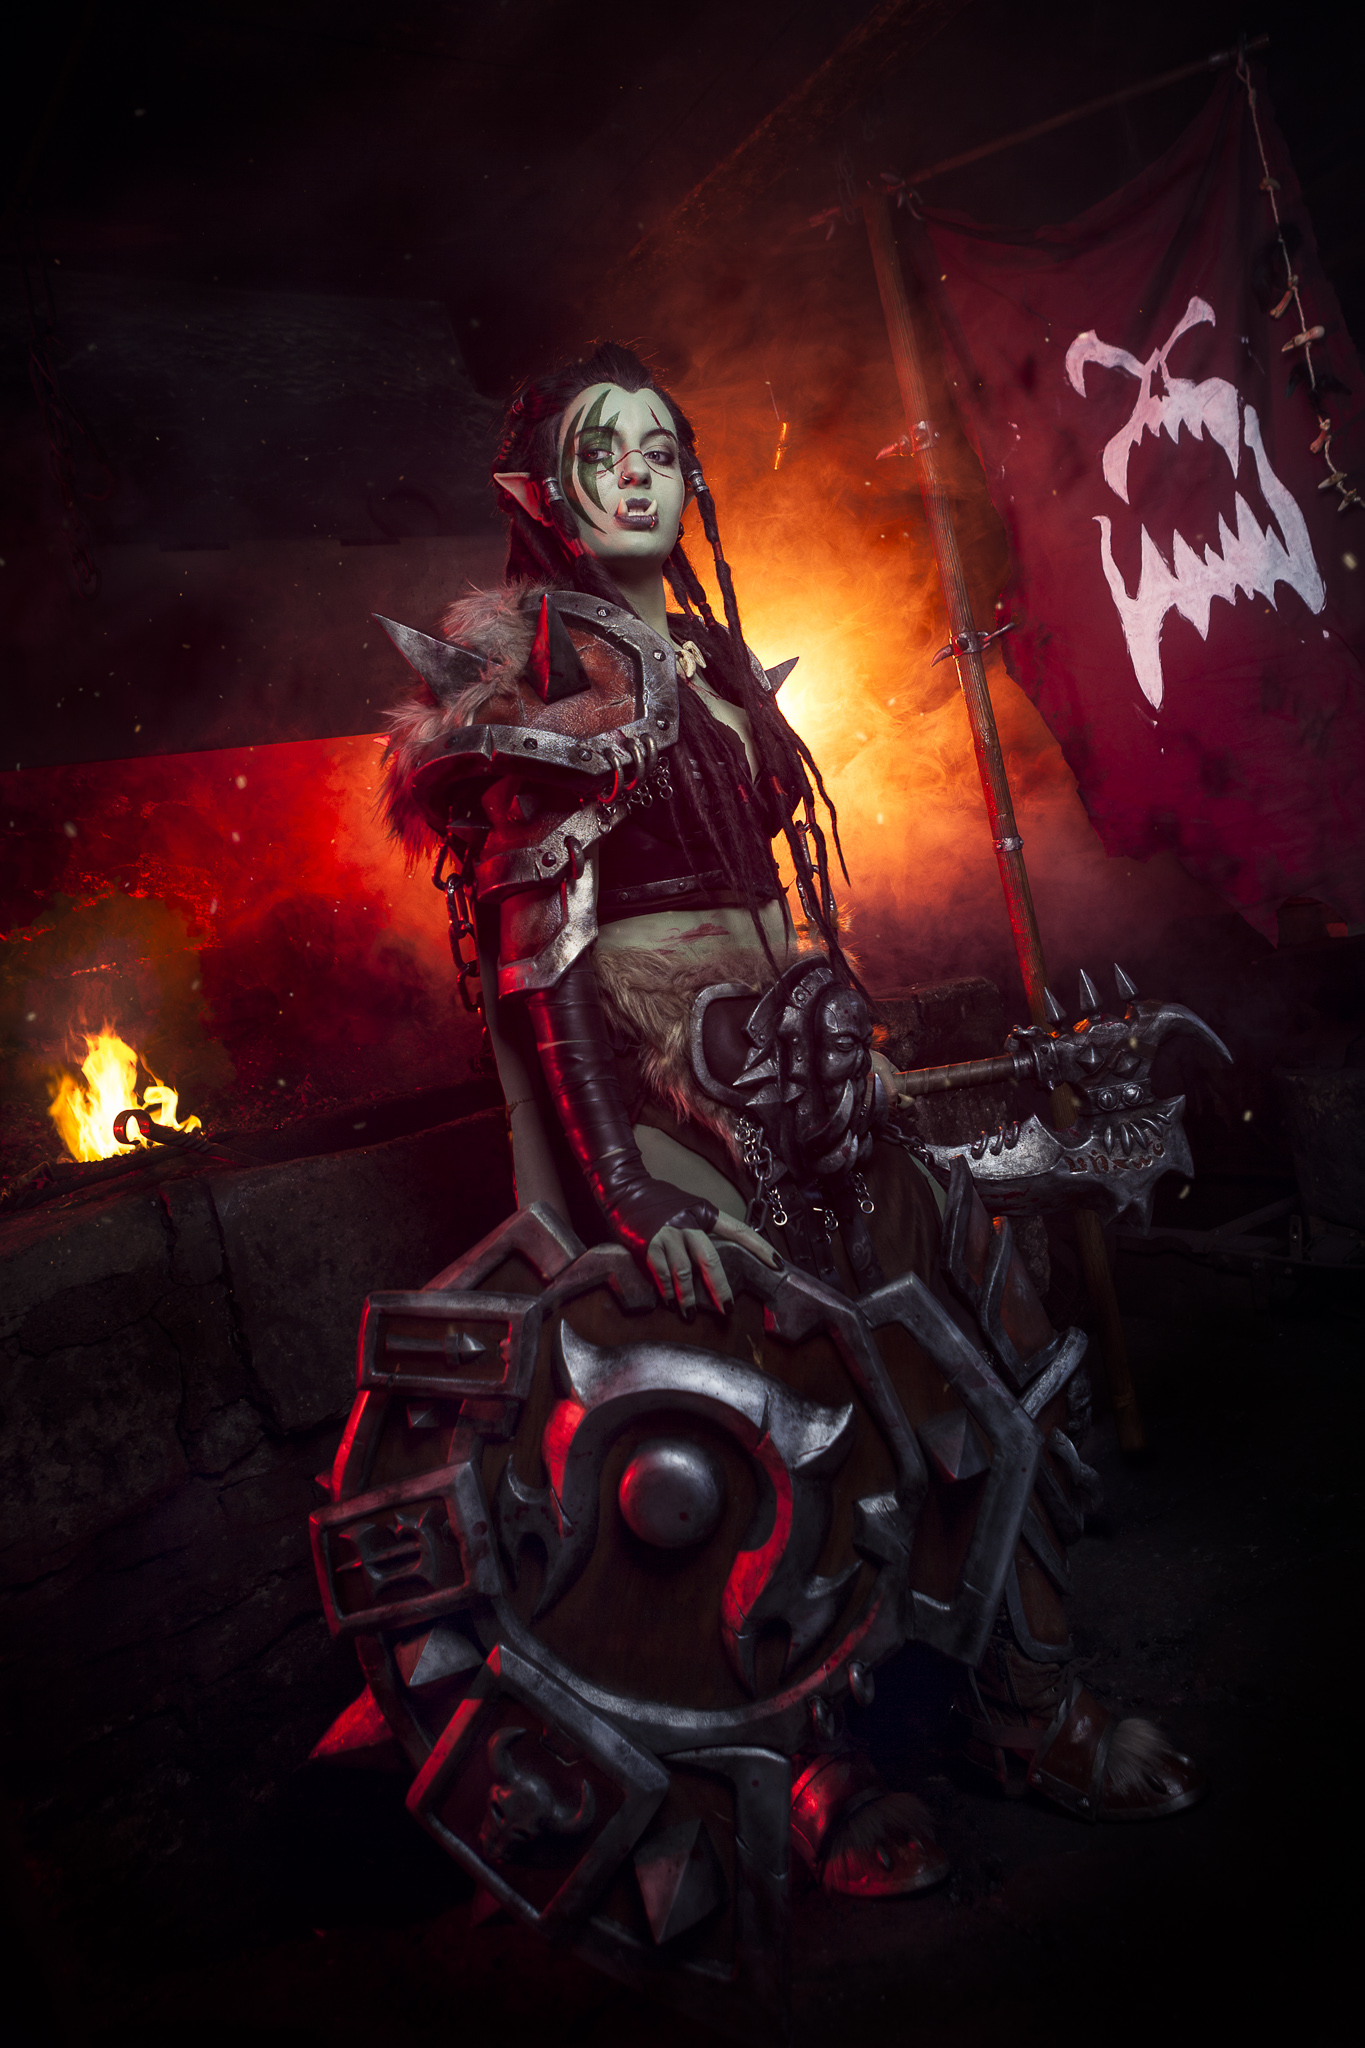
In addition to the complete costume’s making of, as well as the one about the axe, here is the making of the Warsong Commander’s shield.
Patterns
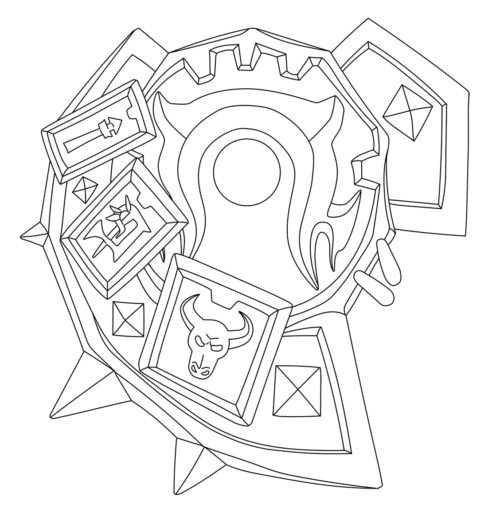
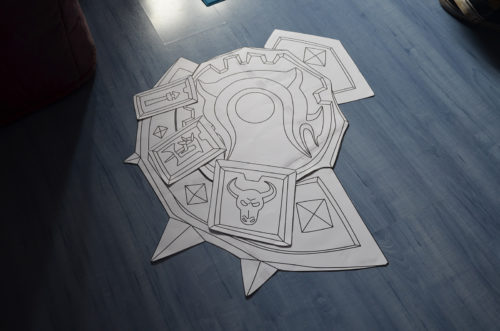
As for the axe, I first re-drew the shield in vector graphics on Illustrator while placing each part of the shield on separate layers. This shield is a bit huge, so we had to plan different assembly parts.
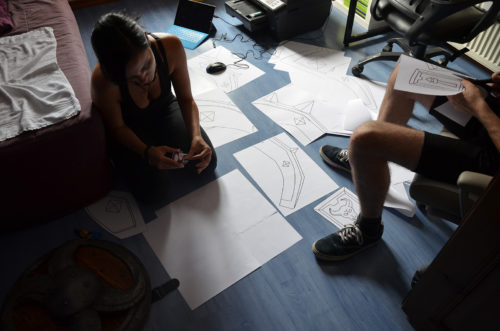
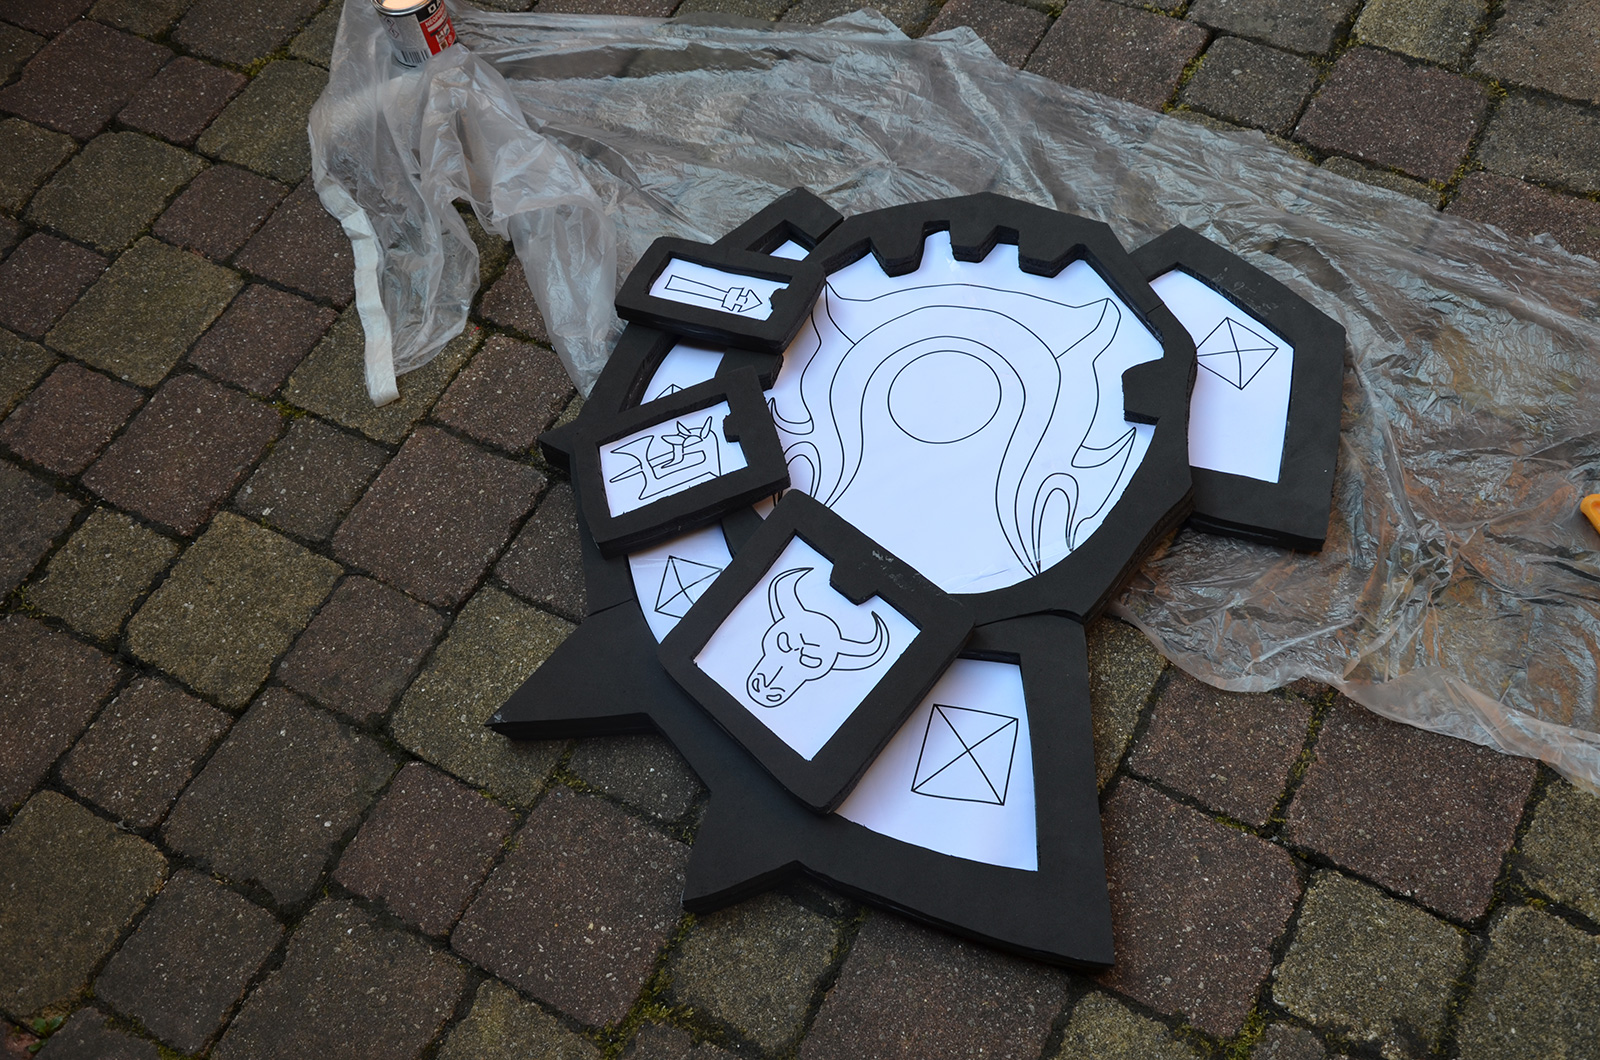
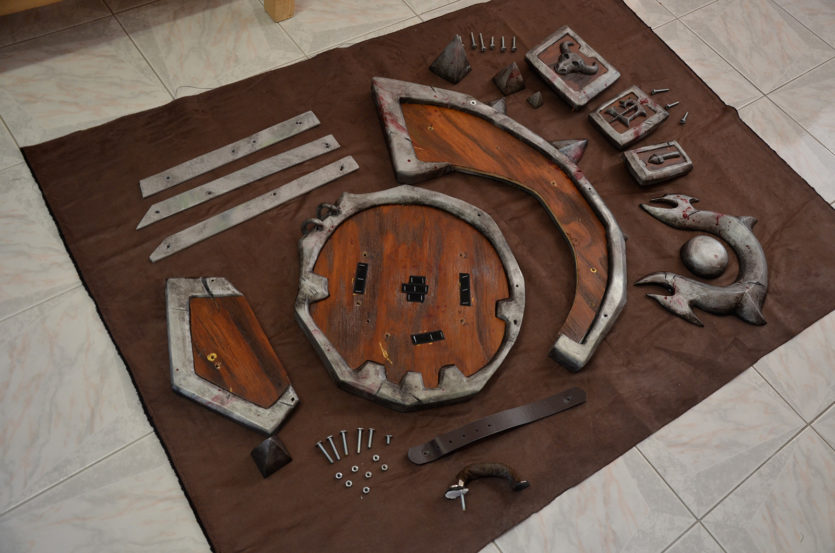
We started by printing the different parts of the shield…
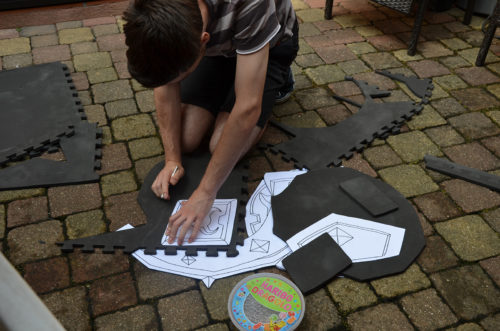
Foam basis
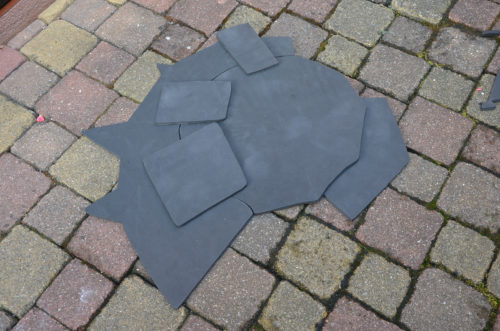
…To transfer them onto EVA foam. From these, we obtain the shield basis.
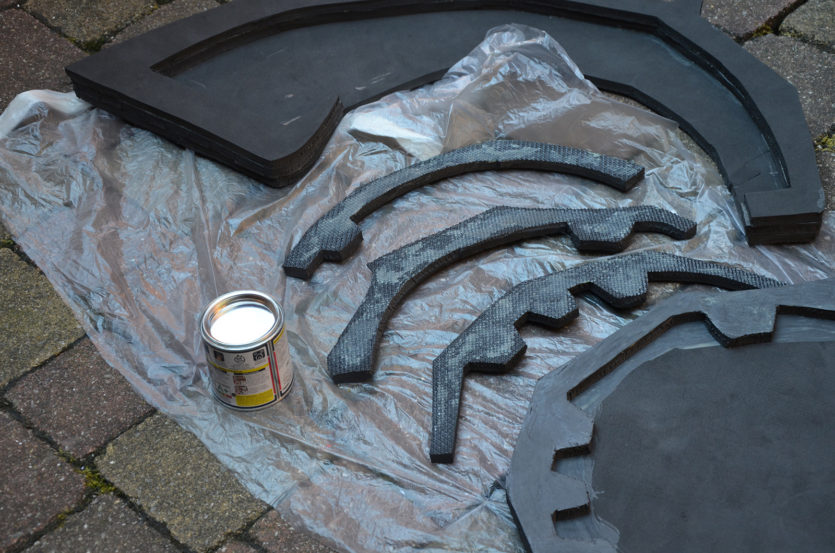
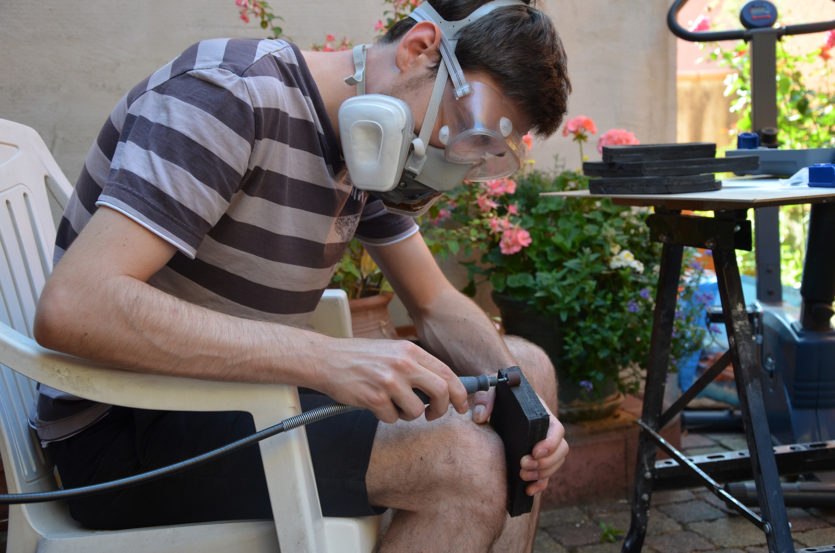
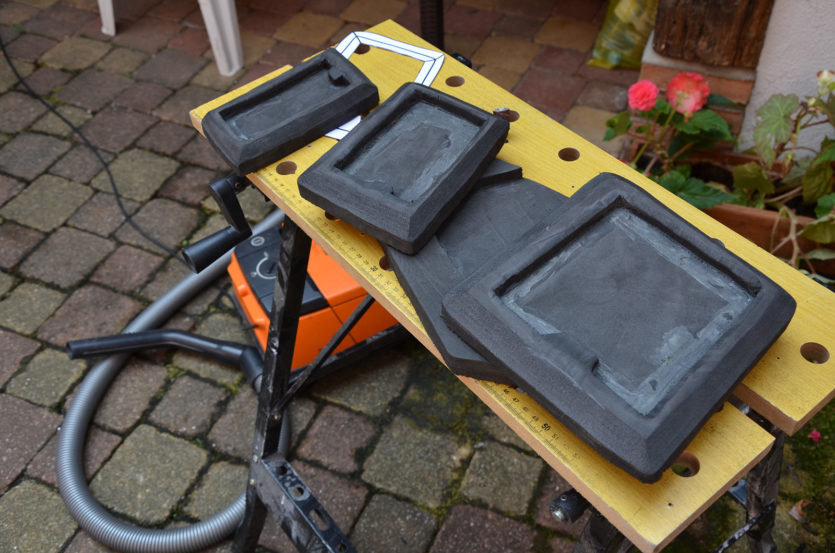
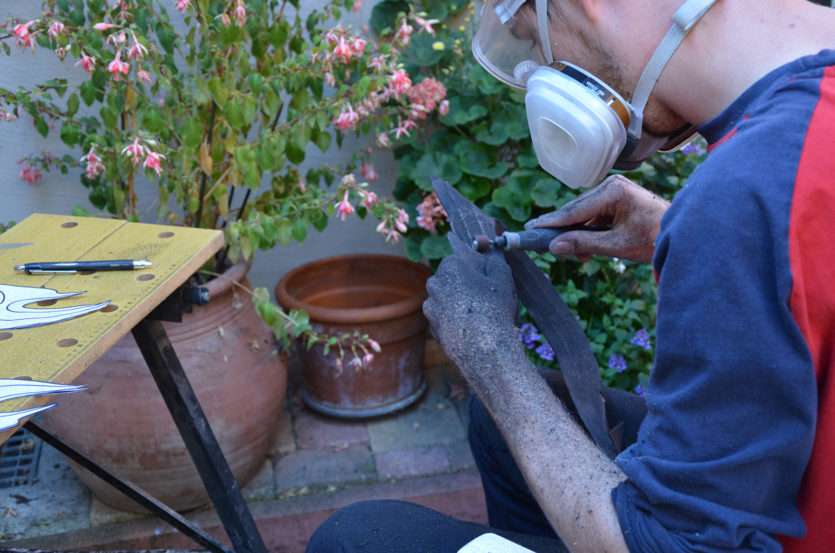
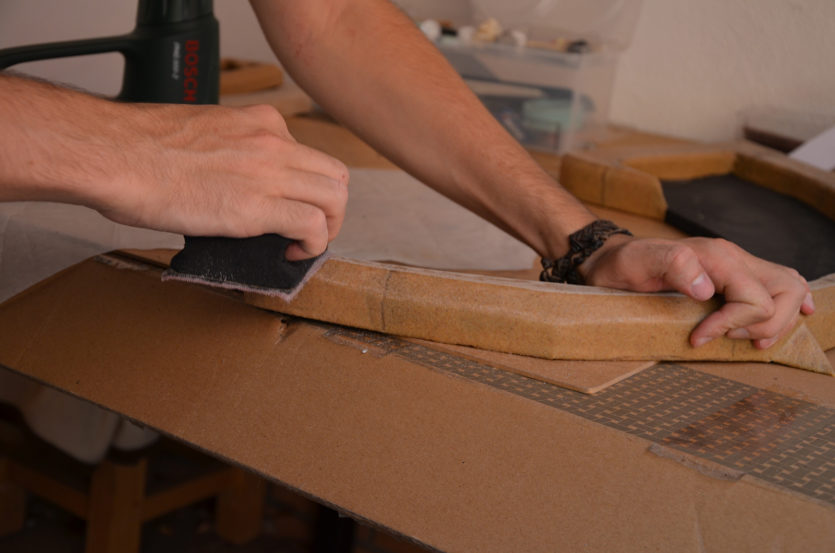
We also cut the borders, that we glued using neoprene. Then, Joris carved them with our Dremel to get the right shape.
Worbla
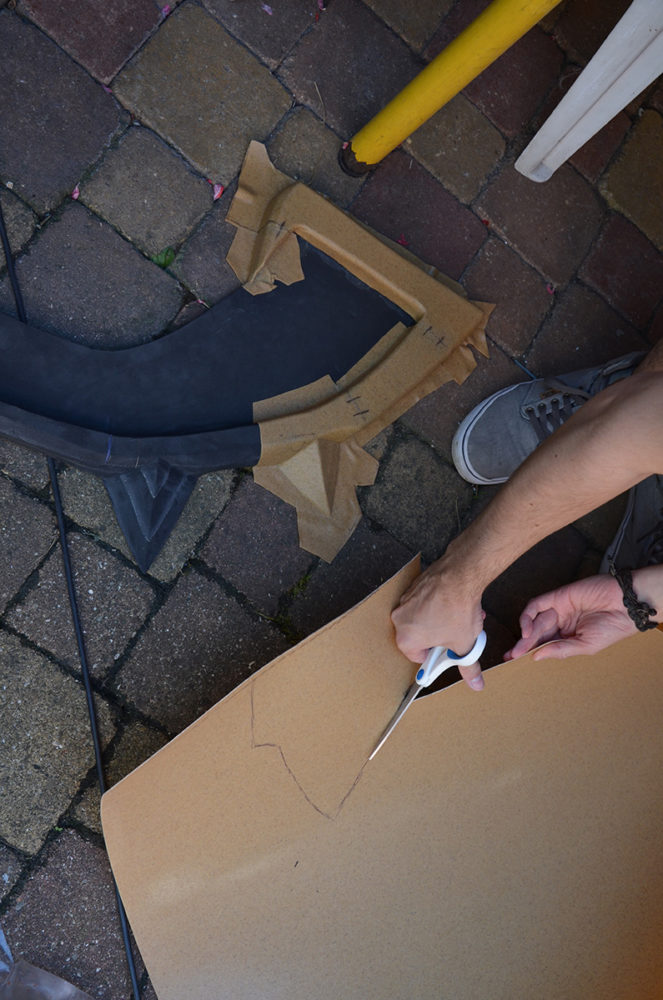
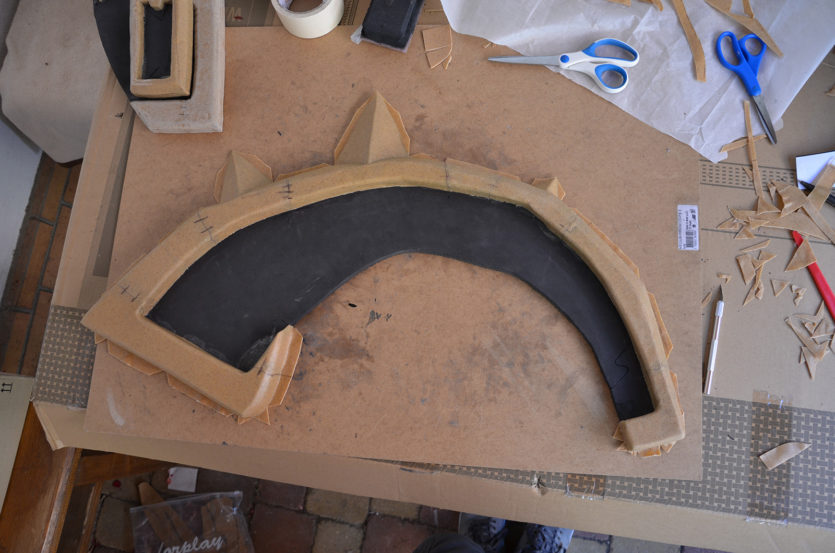
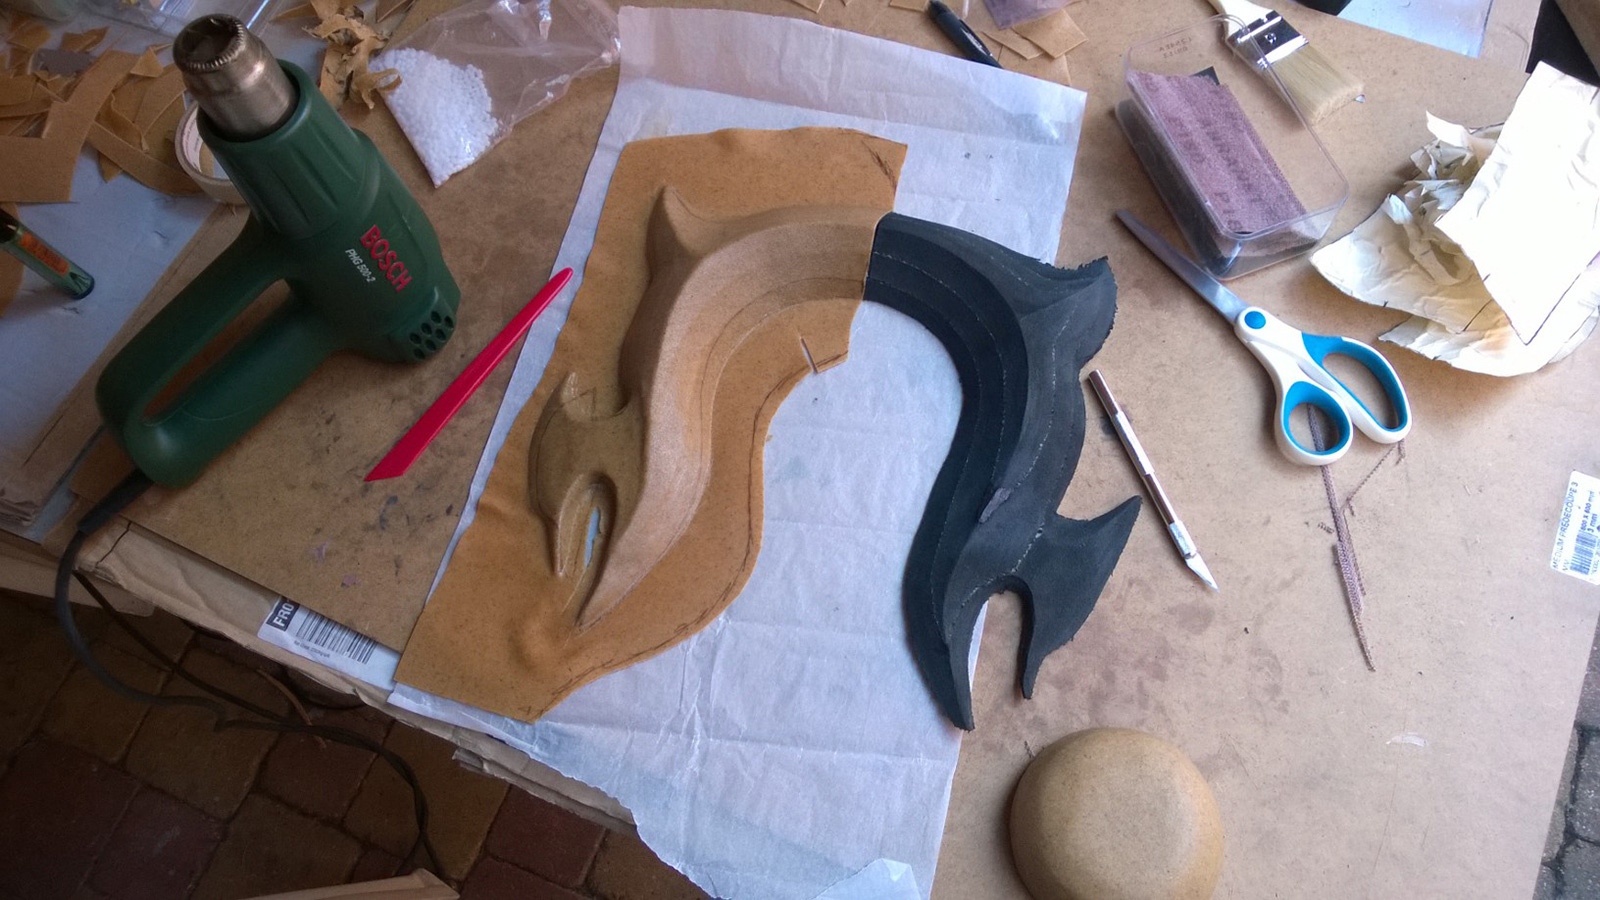
The most difficult part here was to not be able to apply a single sheet of Worbla over the shield pieces (they are too huge). We had to make the fittings as clean as possible so that we couldn’t see them on the final result.
Plywood
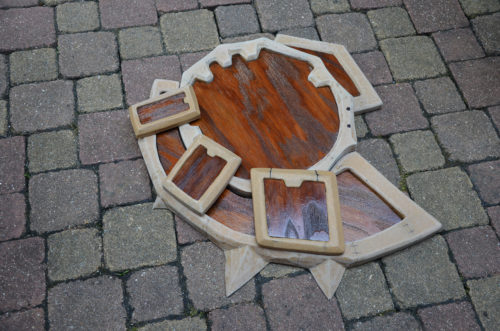
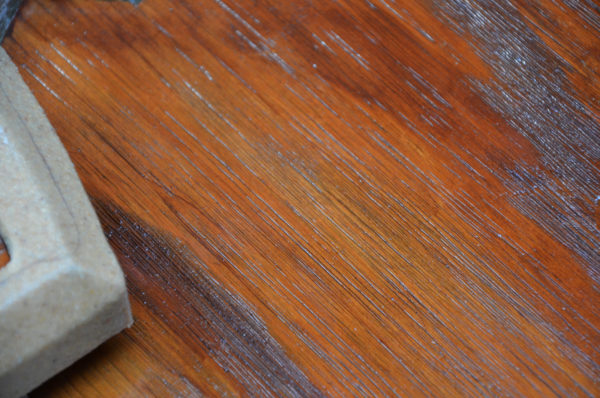
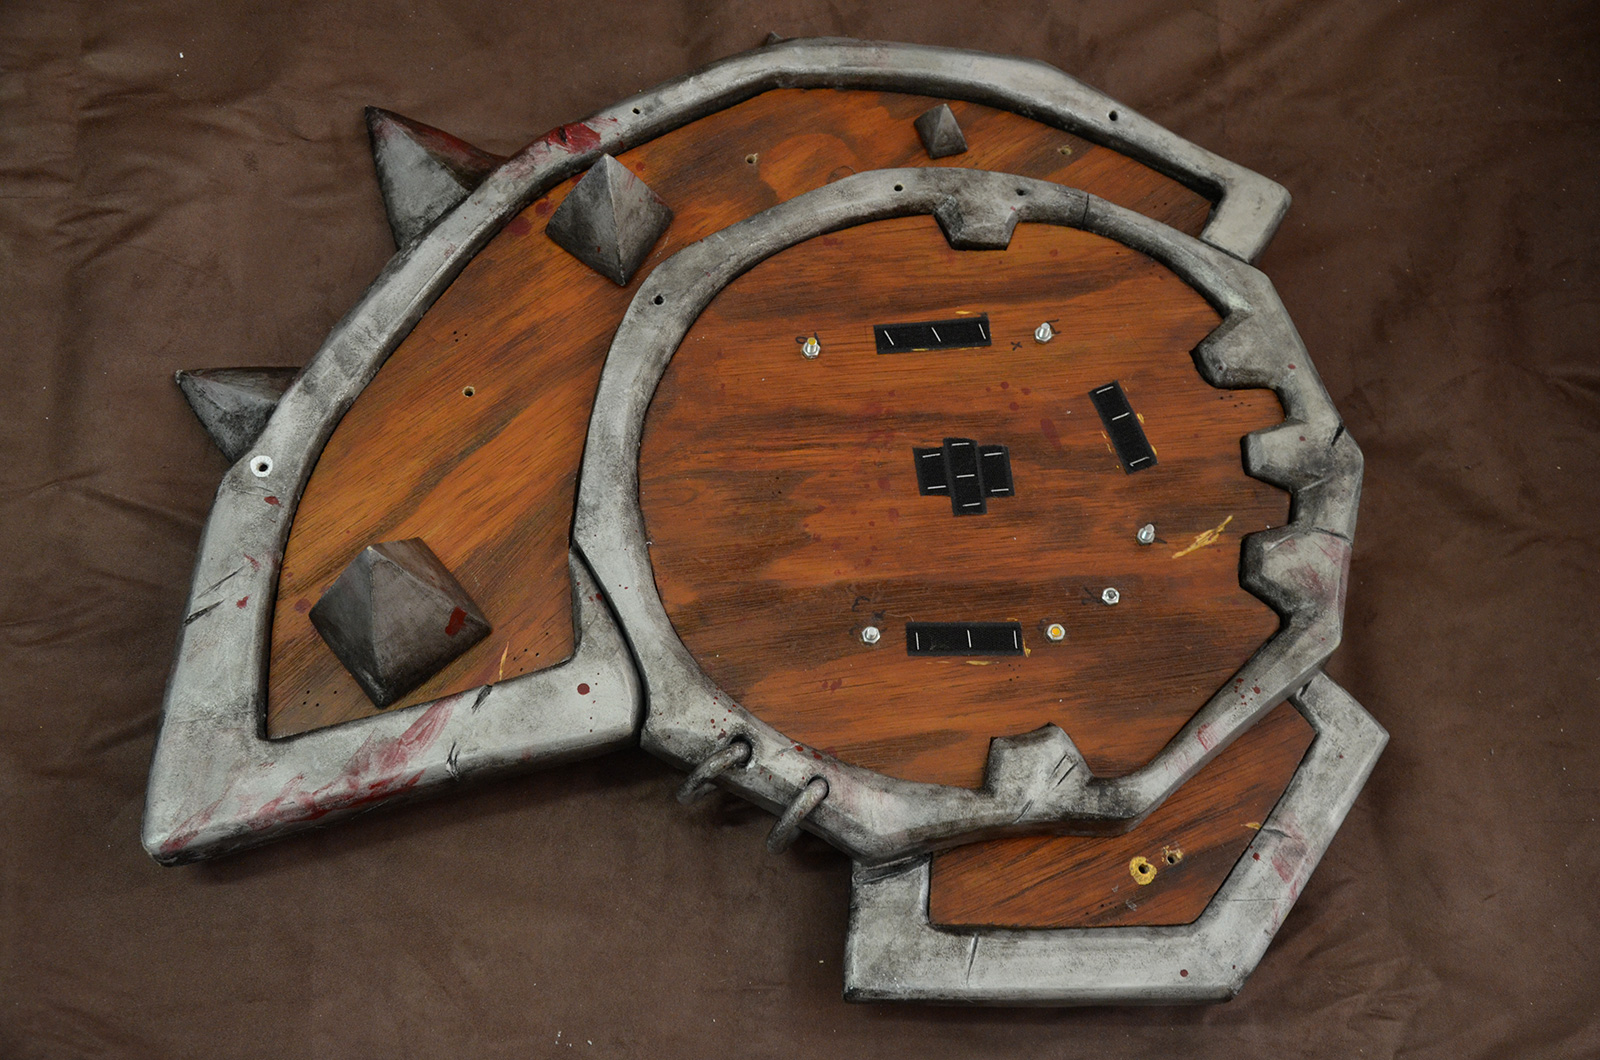
A complete wooden shield would have been too heavy, however we wanted a real wooden texture so Joris cut a 12mm-plywood that we glued on the foam basis.
Emblems
1. Sculpture
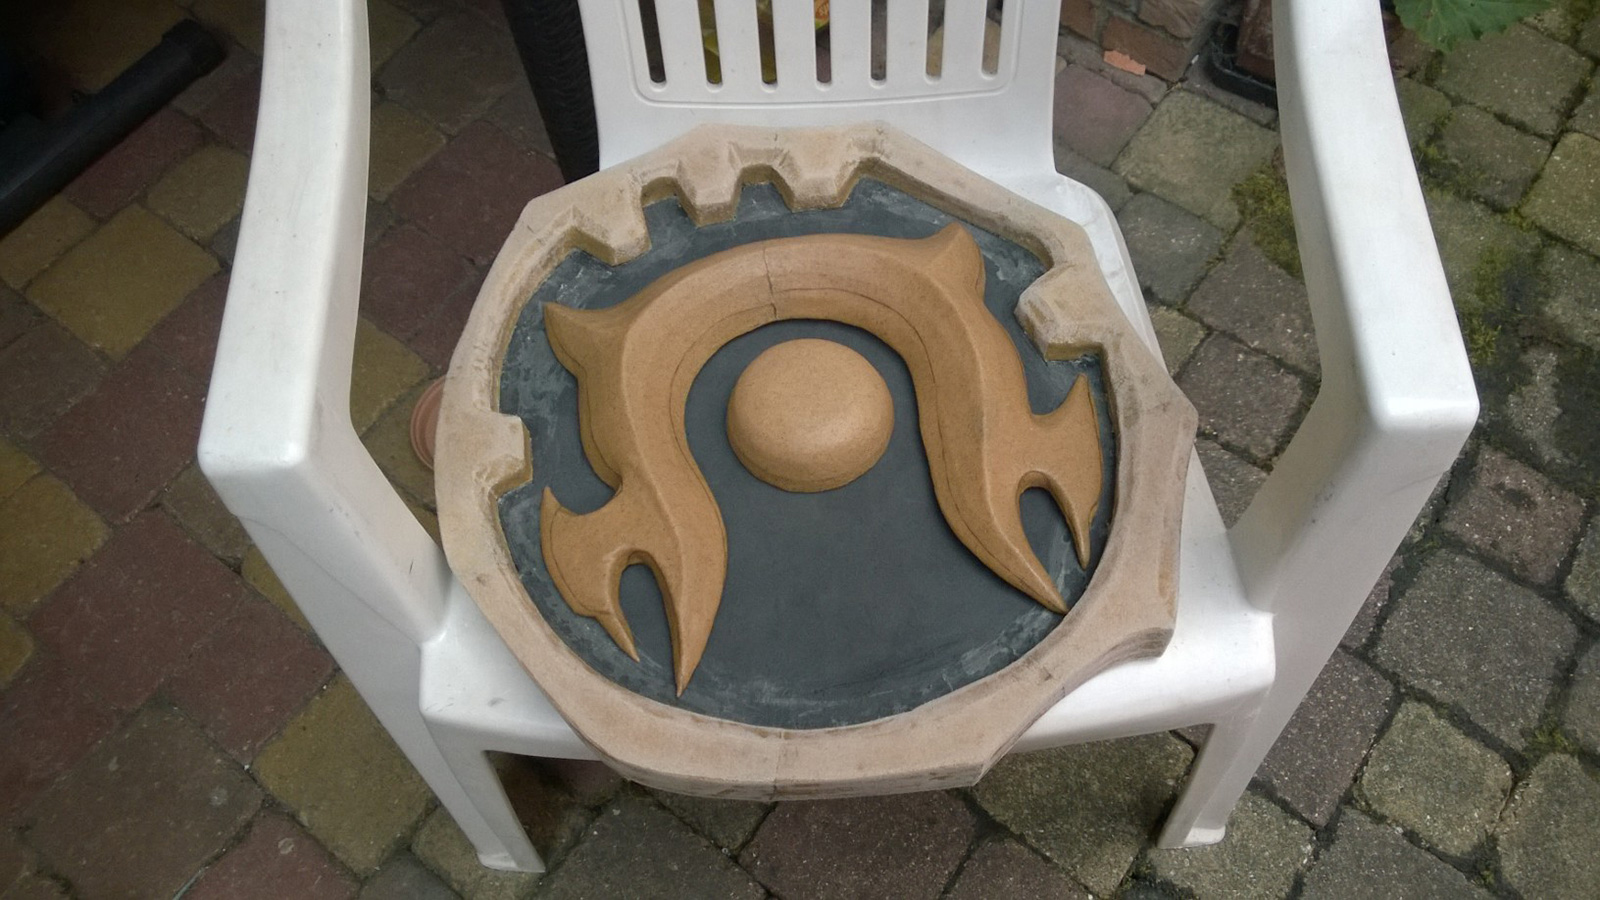
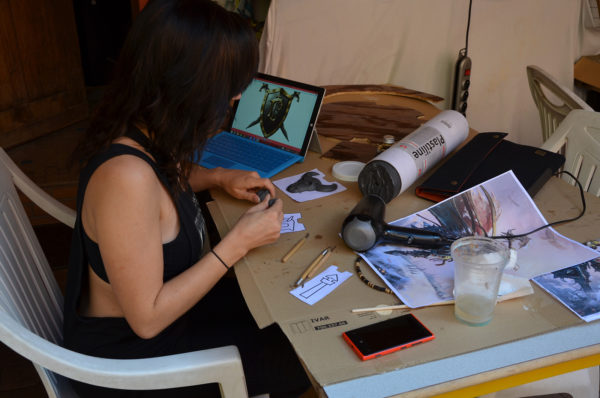
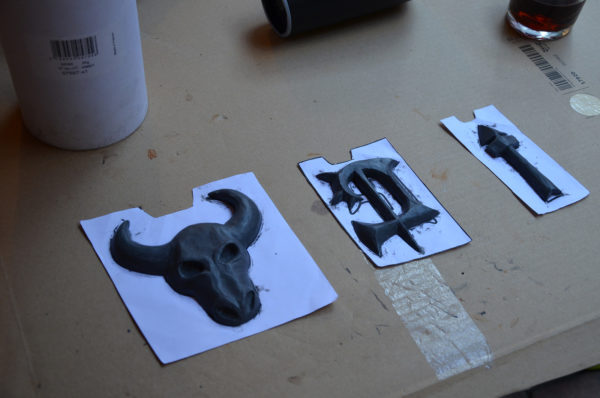
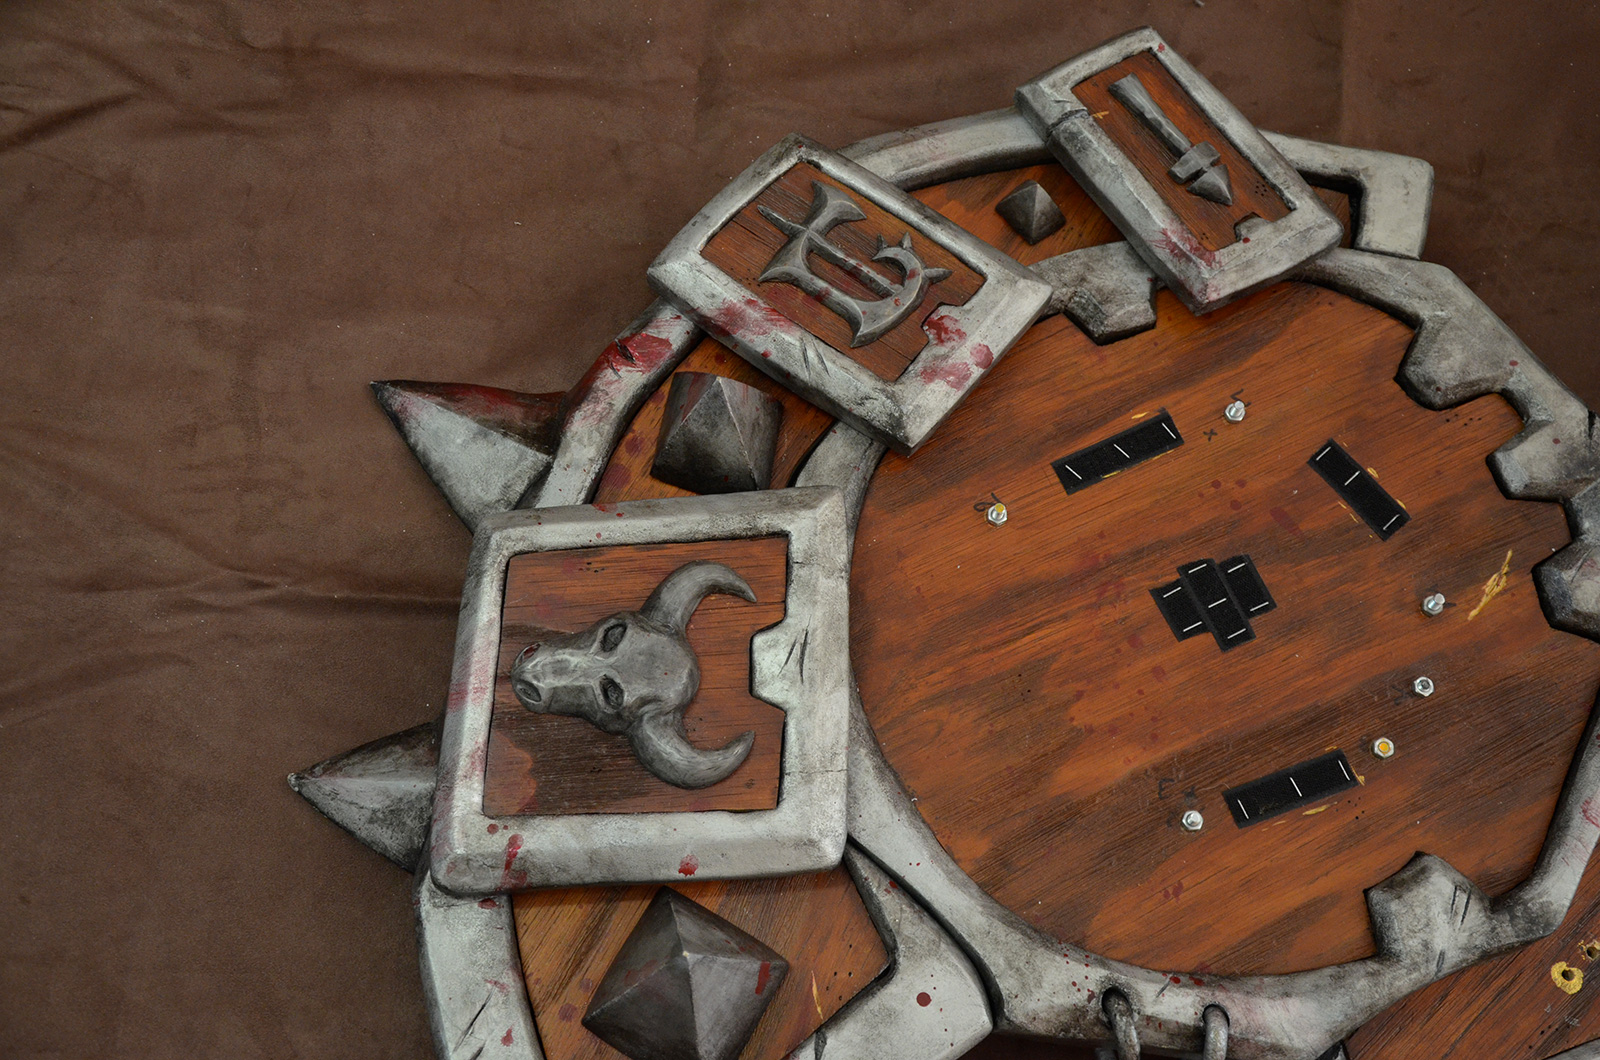
I sculpted my emblems with Plastiline, using my vectorial drawing and other World of Warcraft references as models.
2. Resin casting
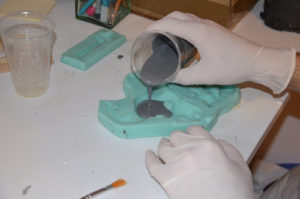
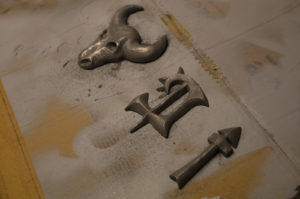
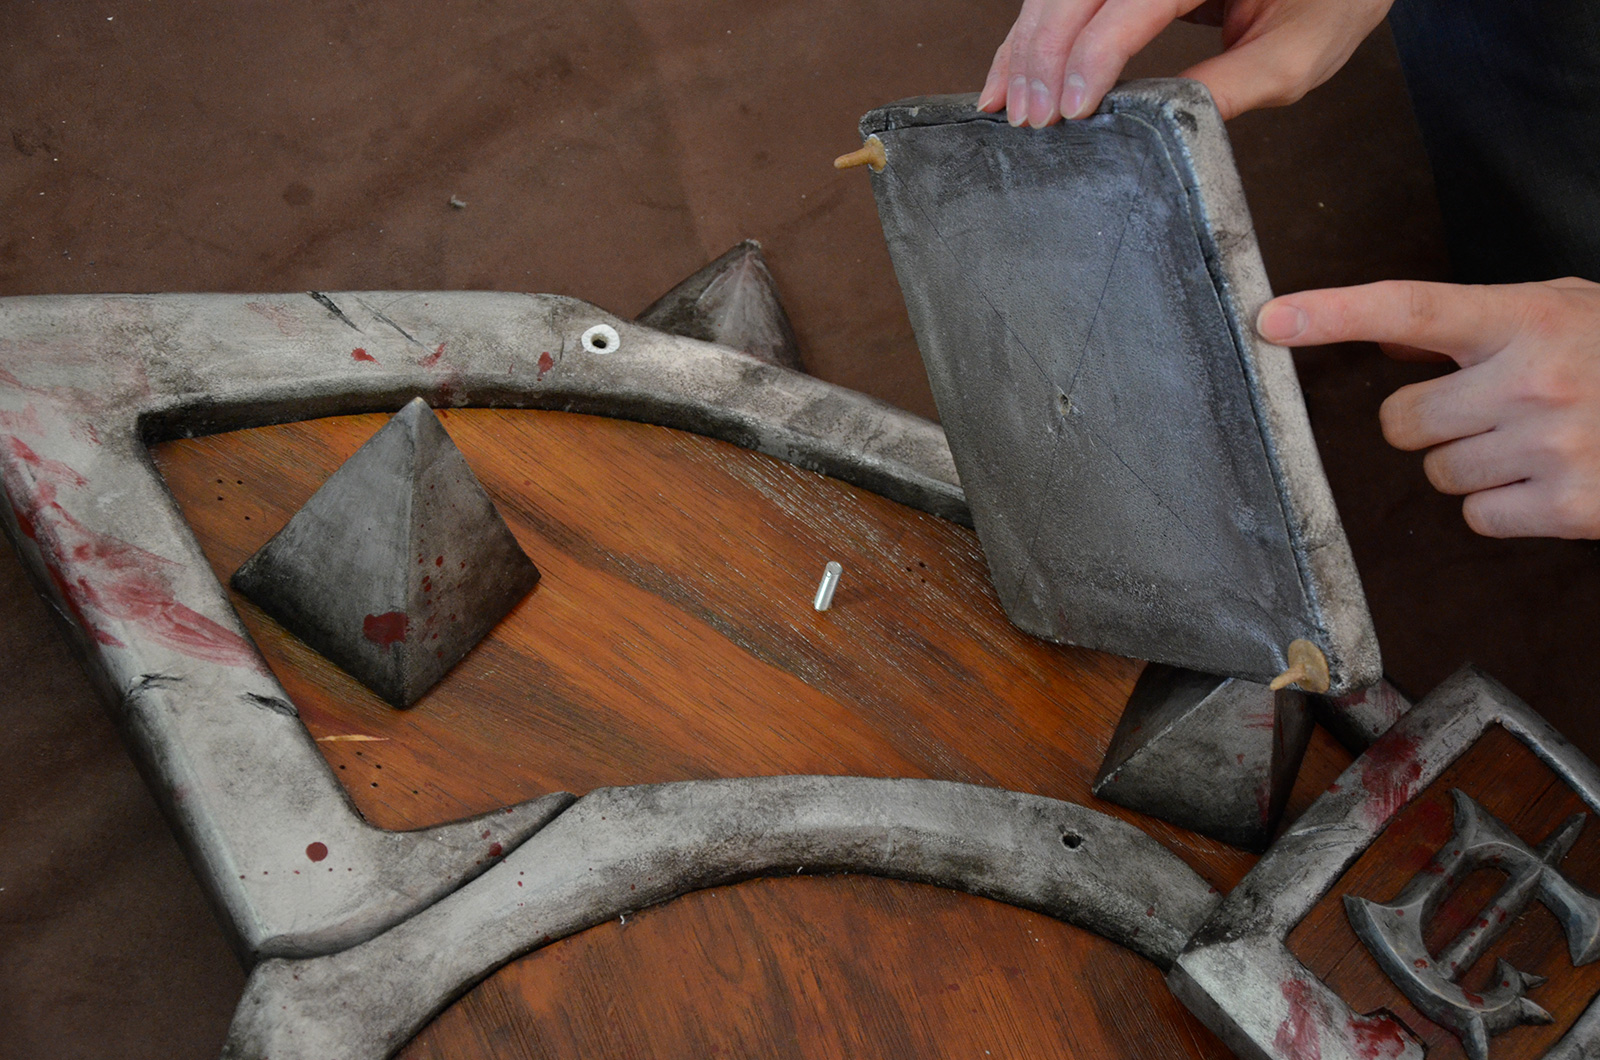
We made silicone molds out of my Plastiline sculptures. Maël then made an aluminum cold cast and glued them on the plywood using neoprene.
Note: aluminum powder allows, when sanded with steel wool, to get a metallic aspect.
Assembly
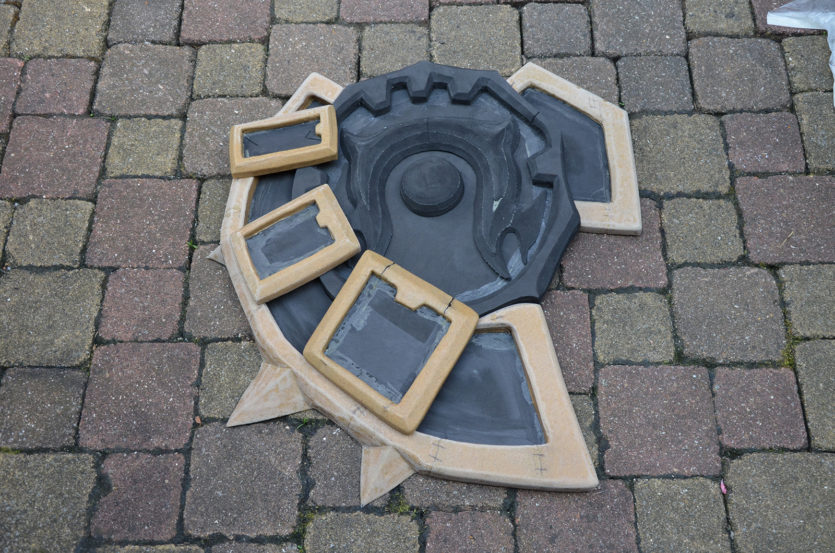
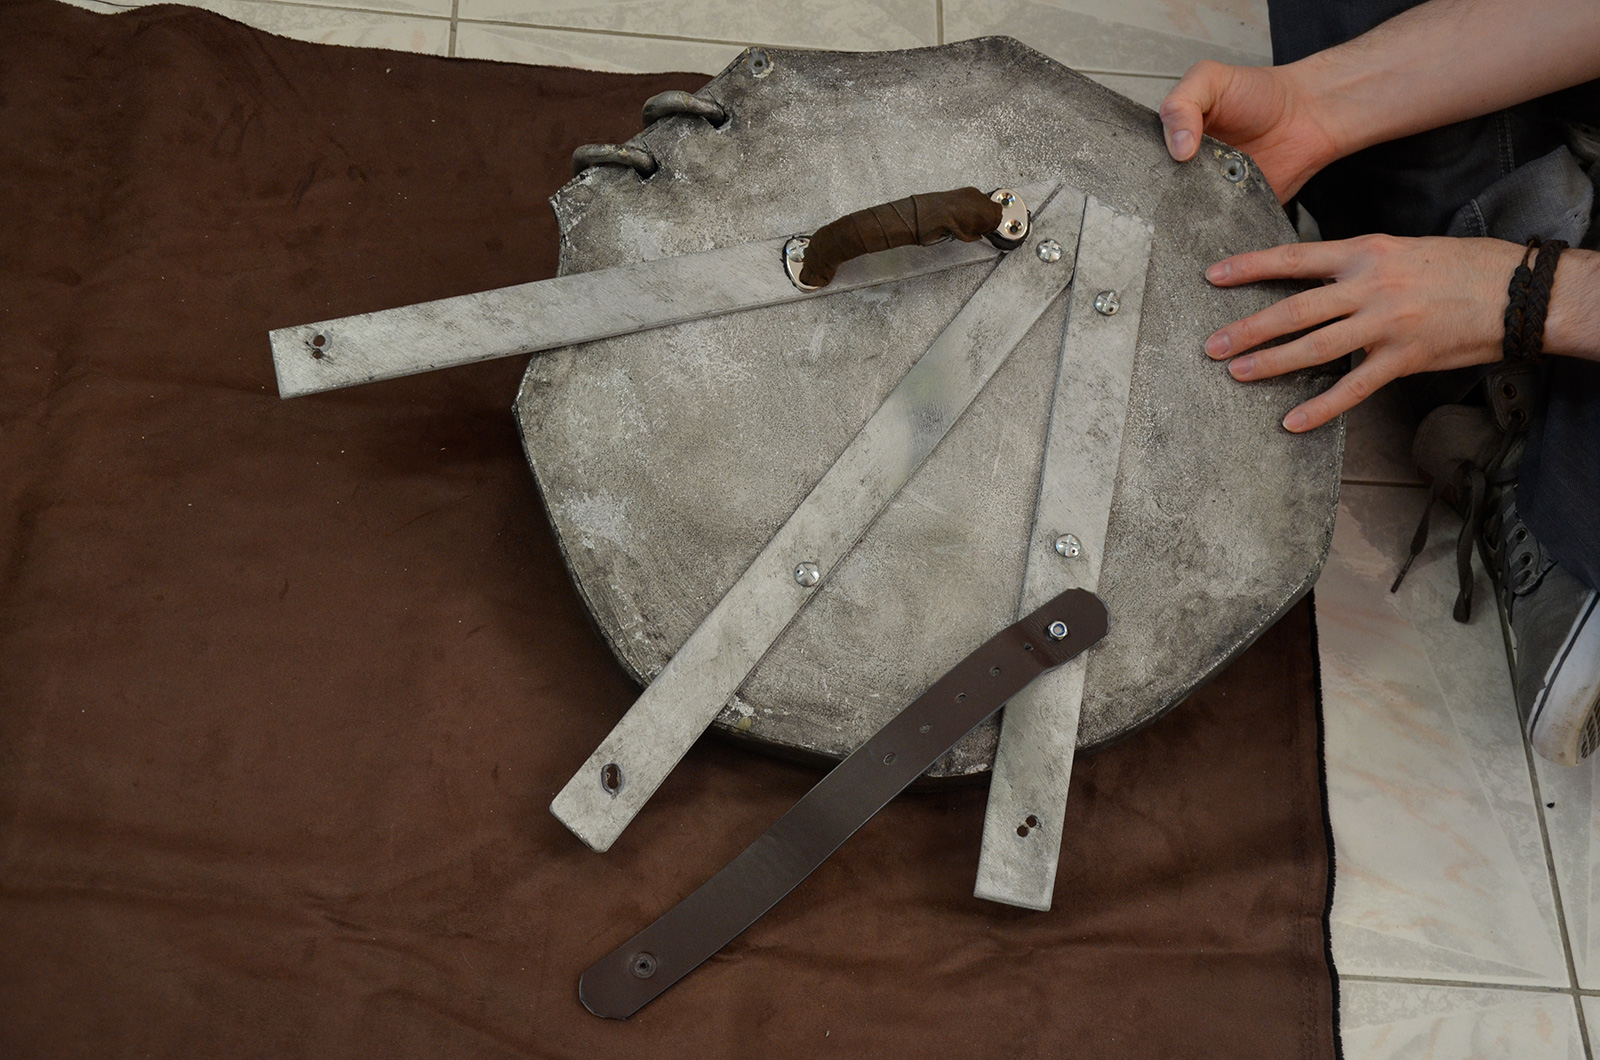
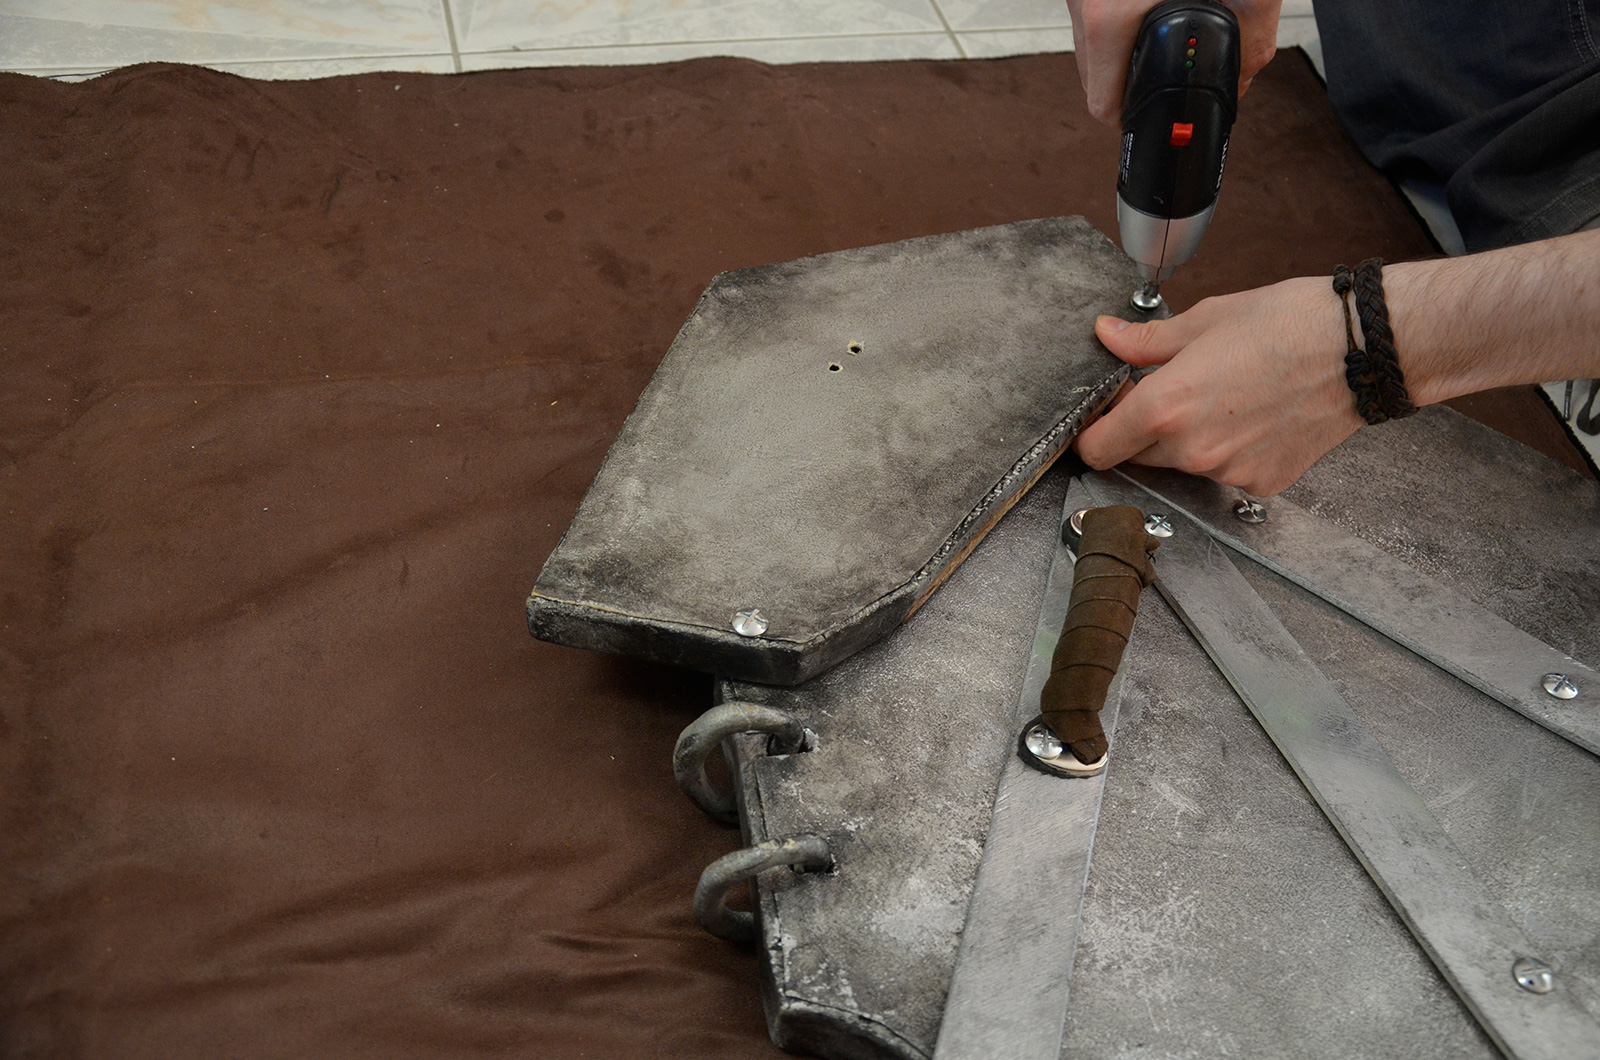
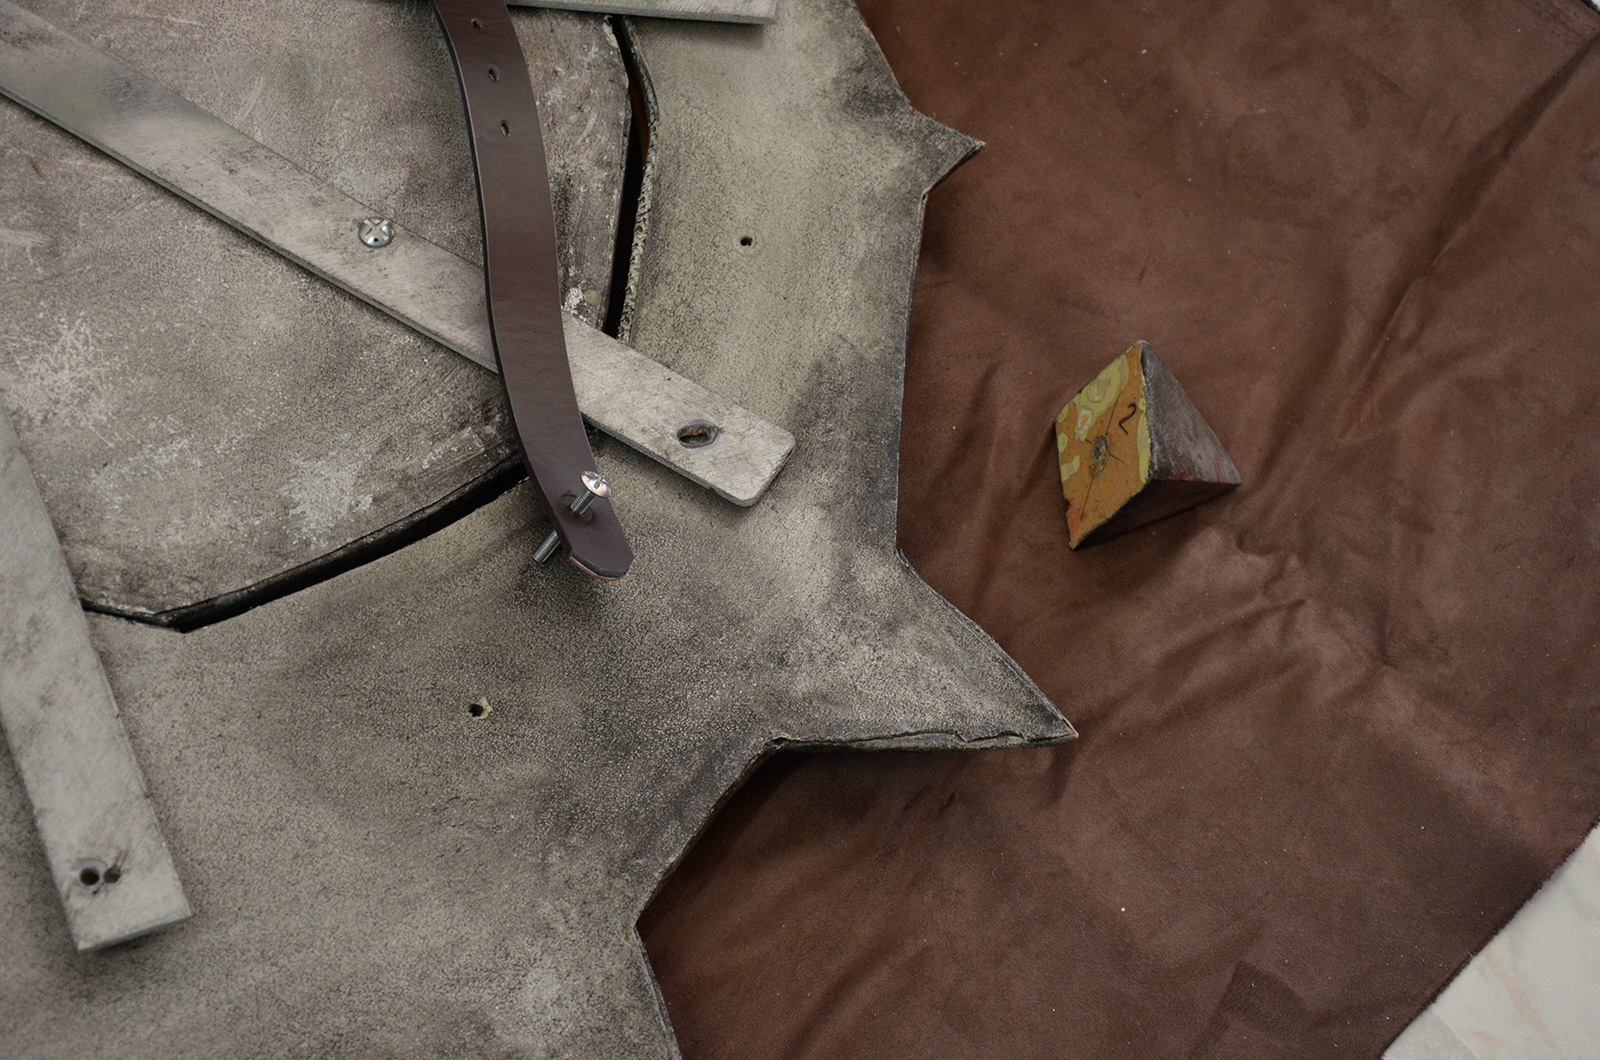
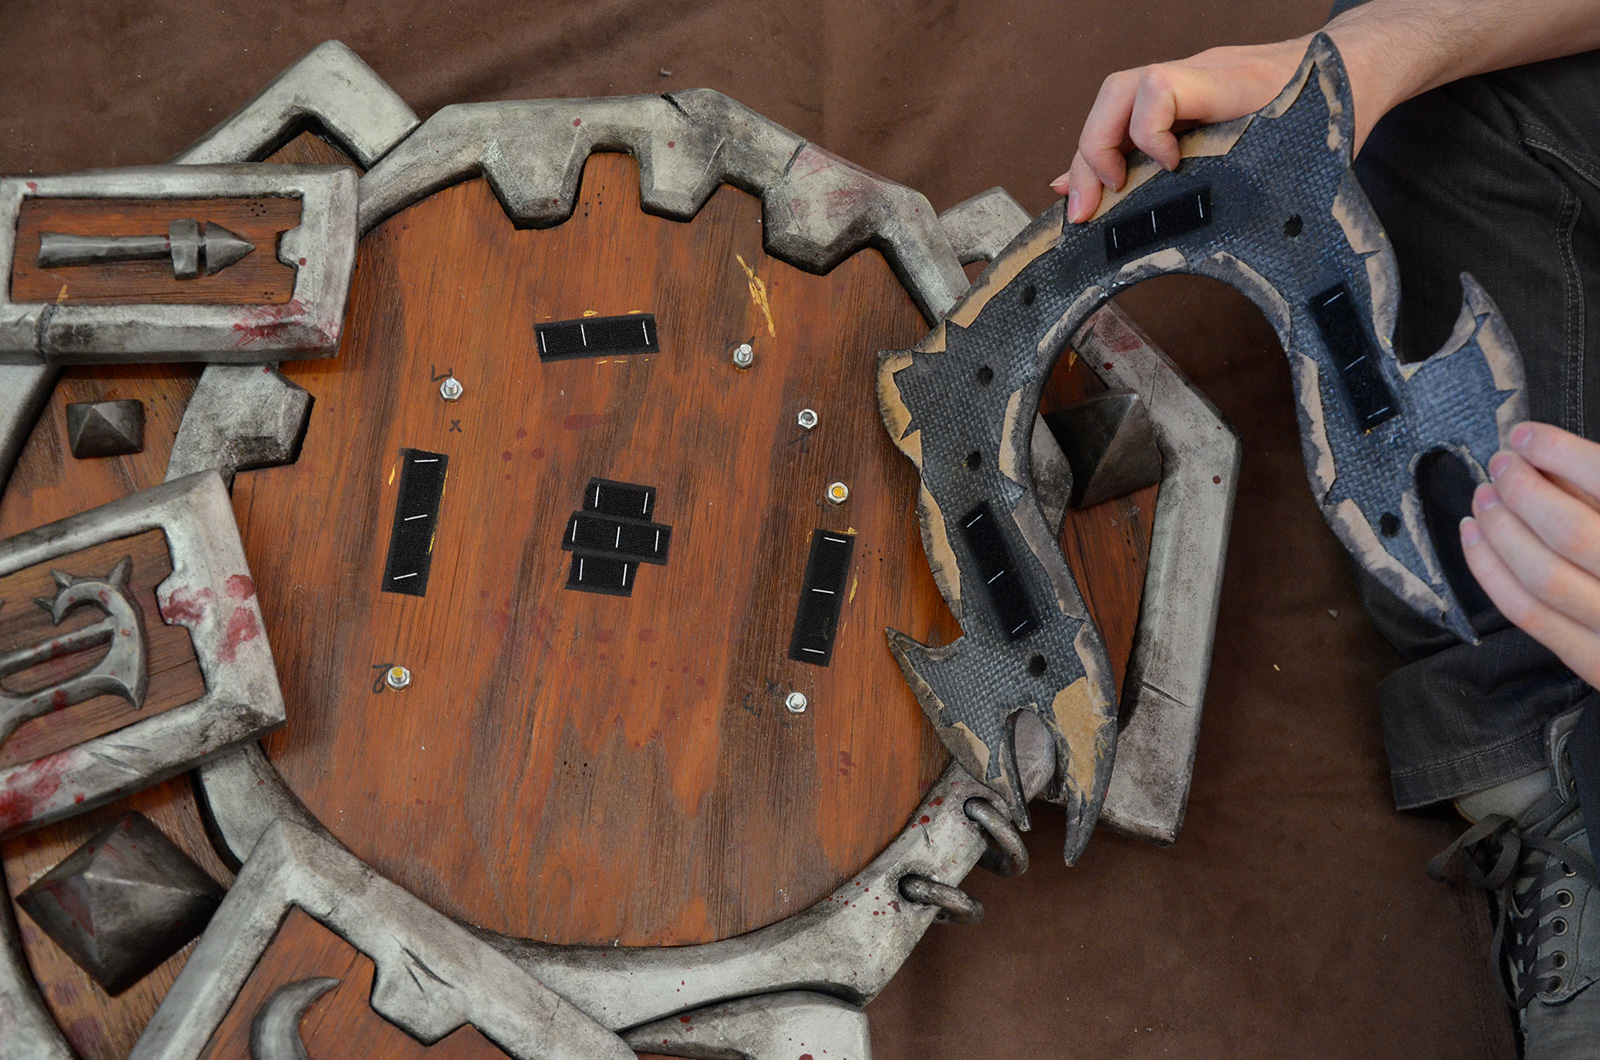
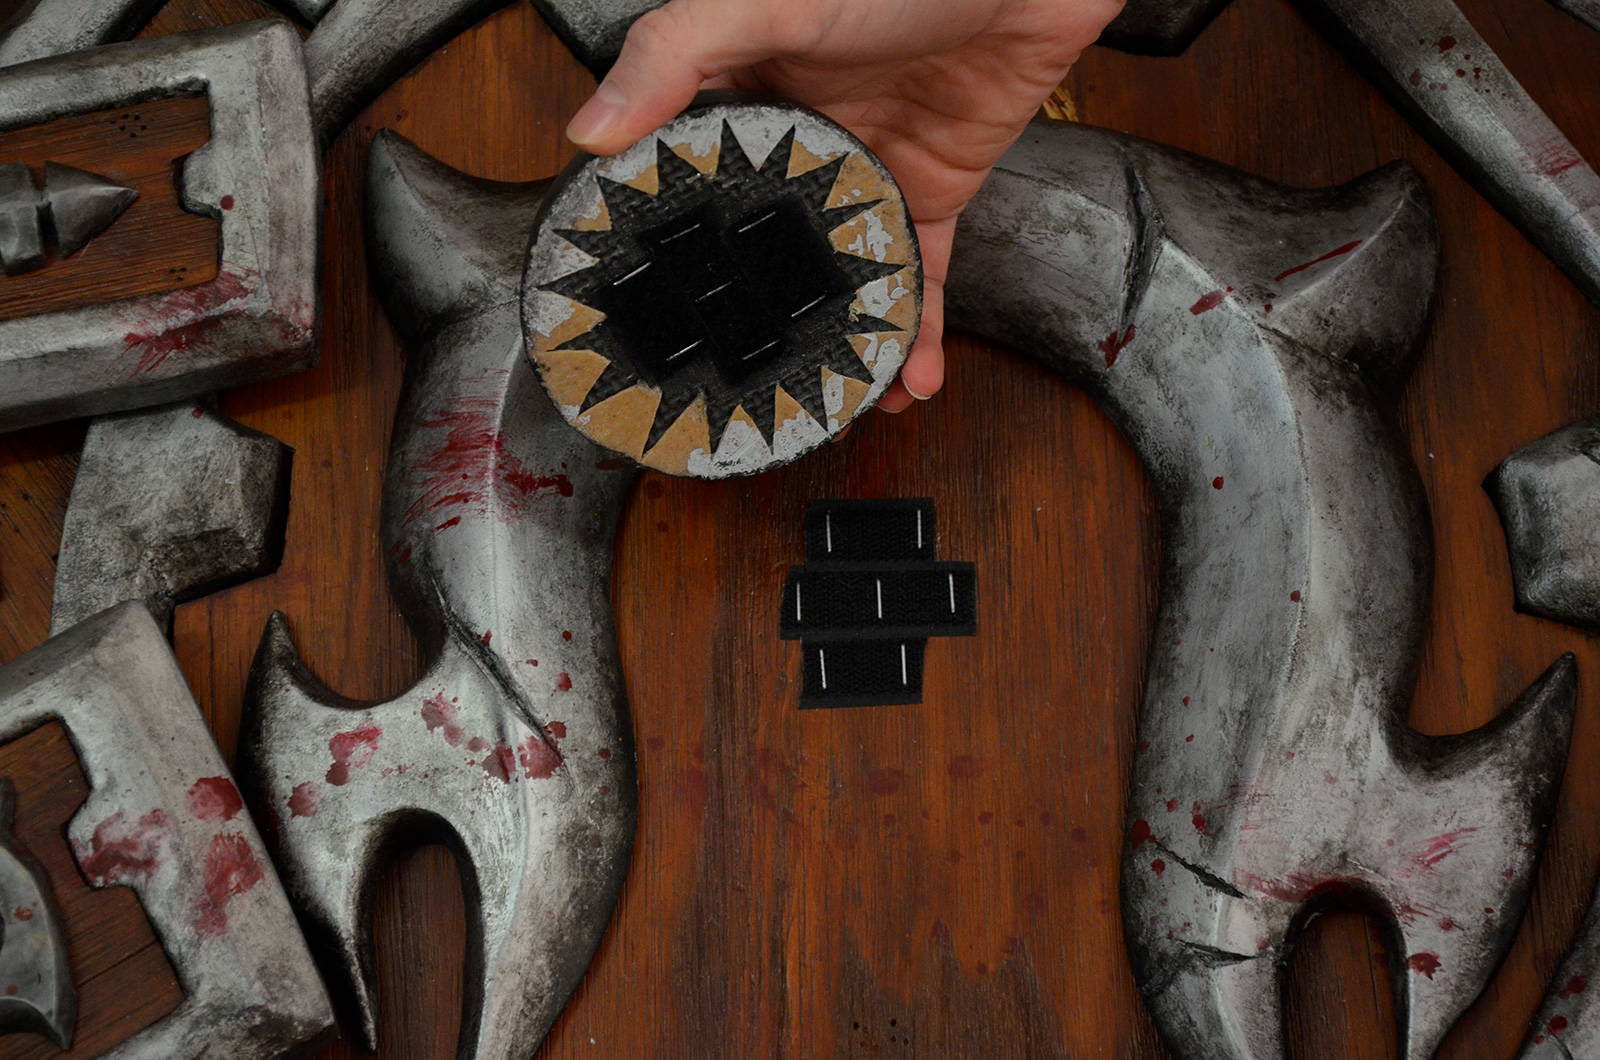
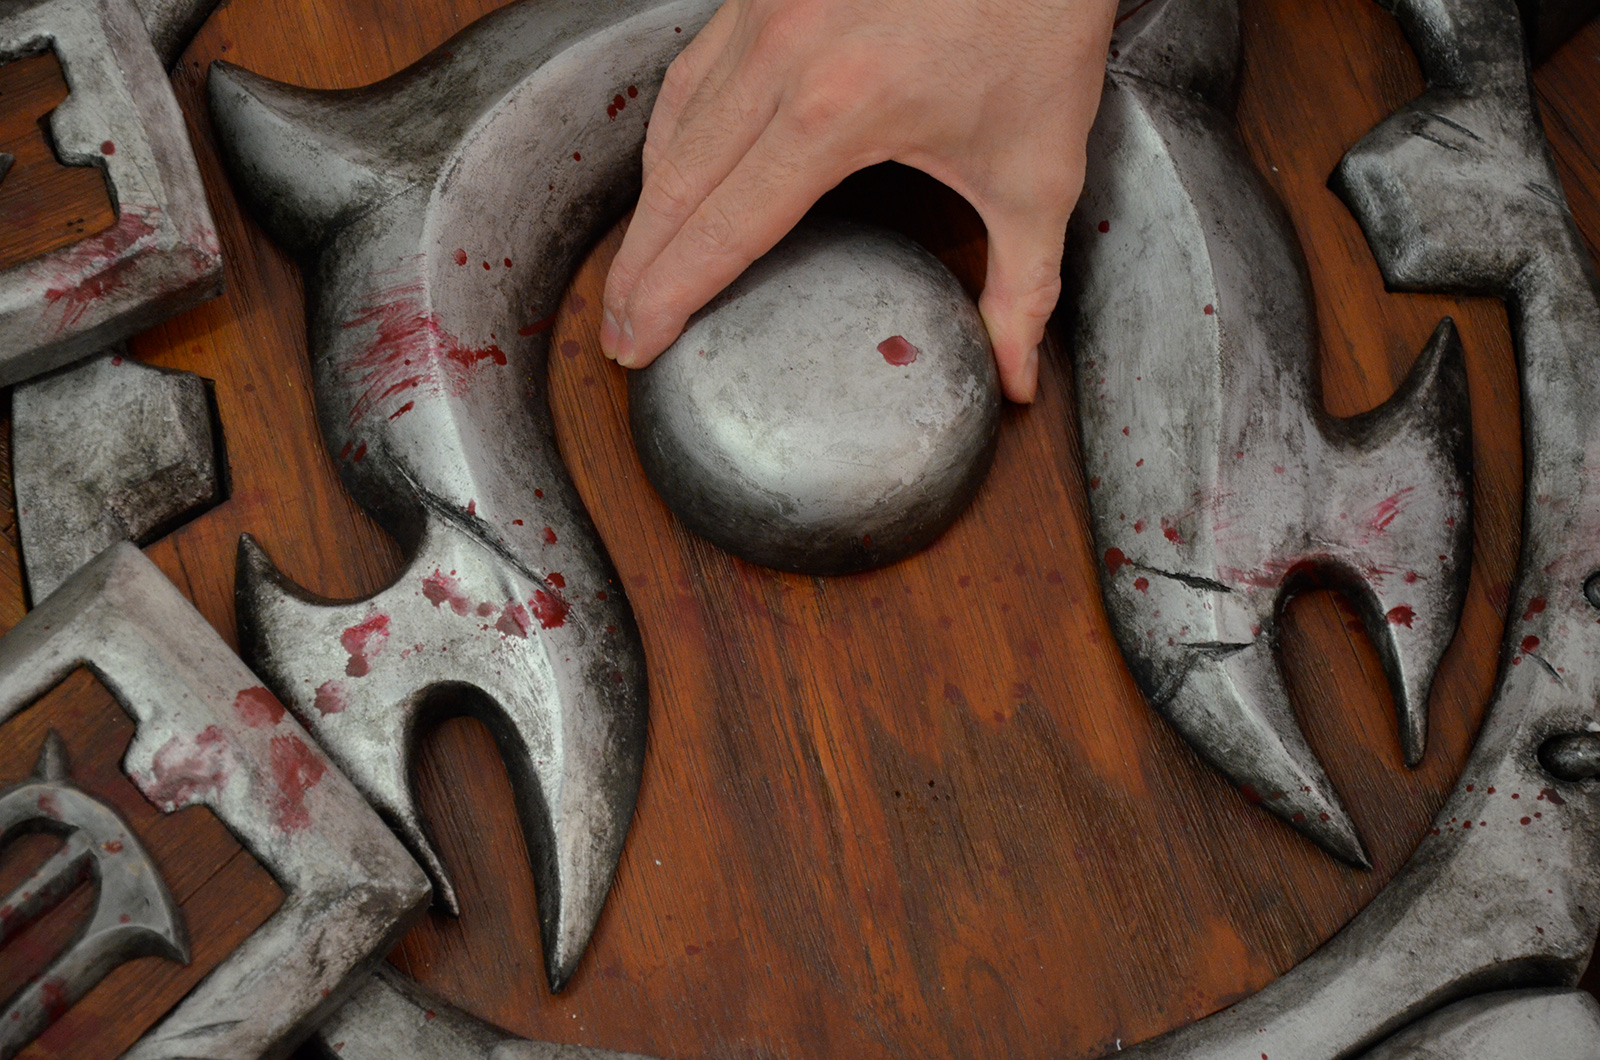
Shield is assembled with reinforcing bars on the back. We placed fixations so that our screws stay hidden behind the spikes and the central logo. Lastly, the central logo is fixed with Velcro strips.


Comments (0)