Hello !
I think it may be doable with peweter. I have no knowledge about metal casting so i can’t give you advice about this; but if you really want to do it you need some special silicone which can handle very high temperature.
Apparently Mold Max 60 from Smooth-On is designed for this kind of application : https://www.smooth-on.com/products/mold-max-60/
Be very careful with hot metal casting it can be pretty dangerous (toxic fumes, silicon rupture…).
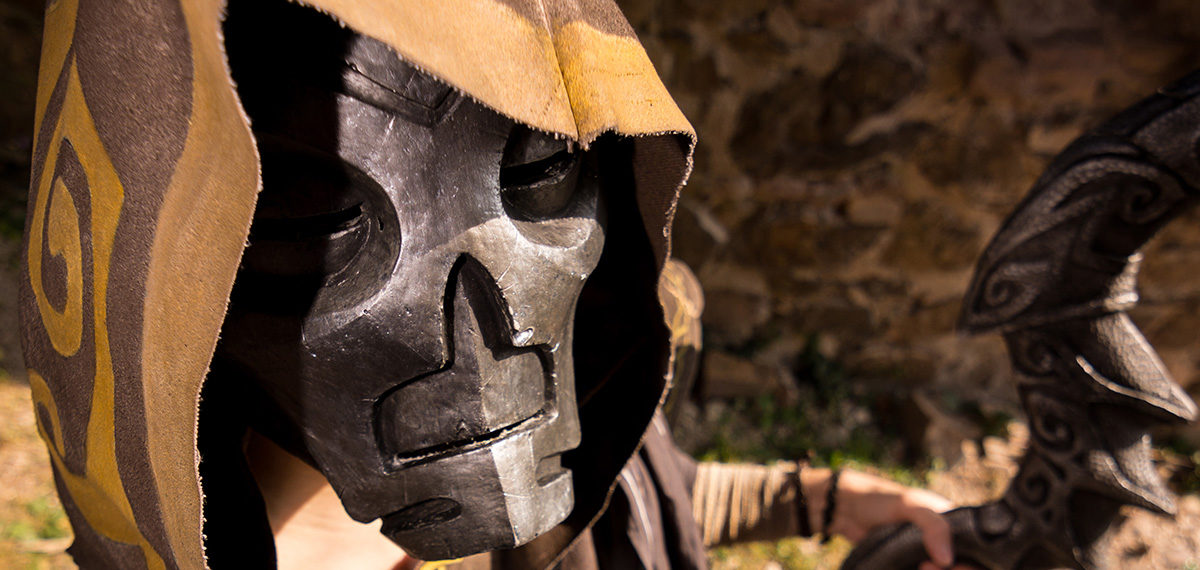
Vokun: making of a resin mask
[27/02/20 EDIT :] This mask was made in 2013, when we started with the molding / resin casting methods. Even if the overall principle remains valid, our techniques have been improved over time, practice and the use of better quality materials.
Model
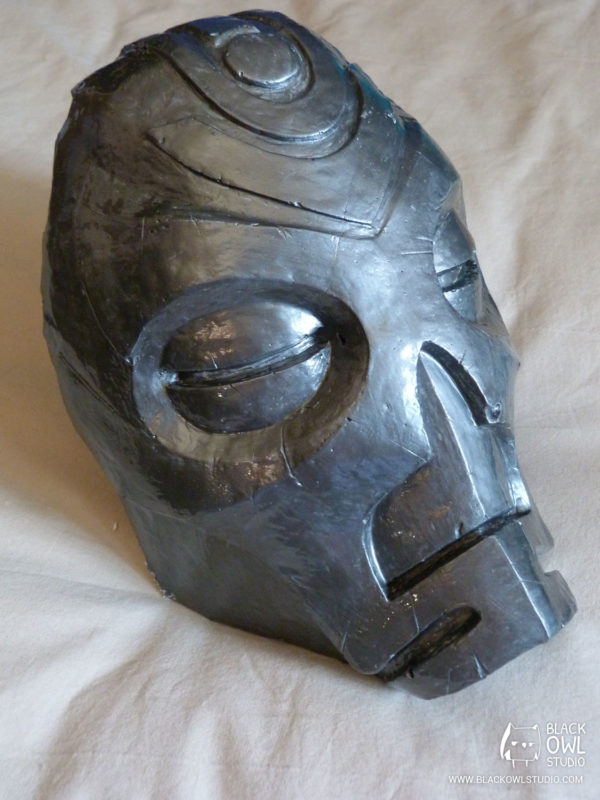
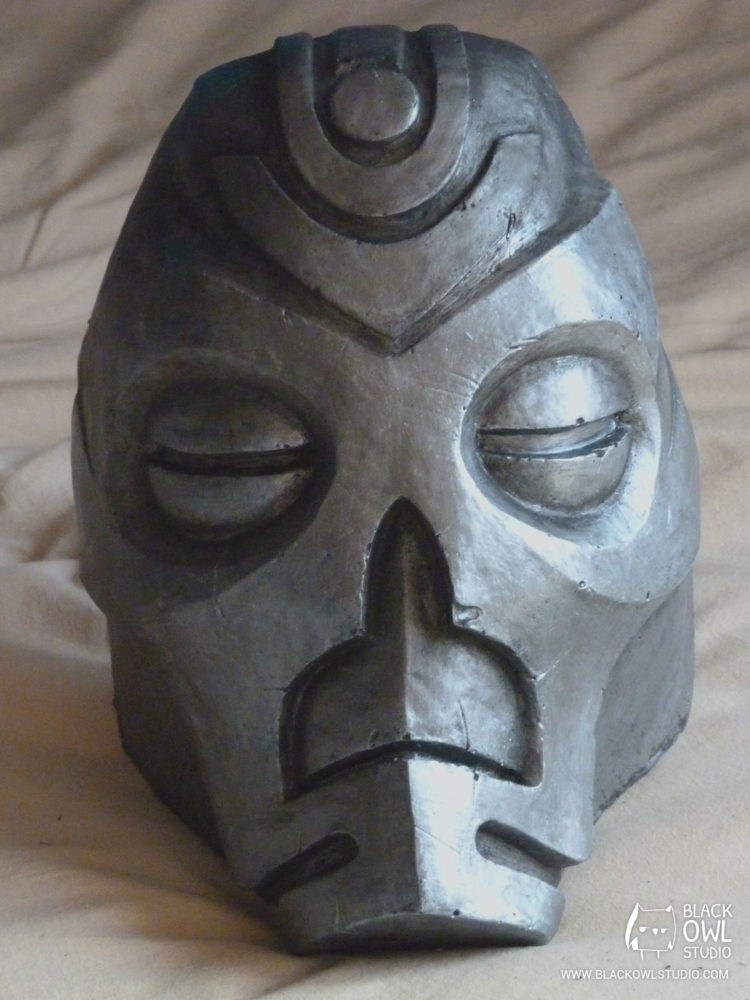
This is Vokun’s mask, one of the 12 Dragonpriests, from Skyrim.
The good thing about creating Vokun’s mask when you try cosplay for the first time is that it is quite “simple” to do: the mask is quite symmetrical and doesn’t need a multi-part casting mold.
Pepakura – Plastiline
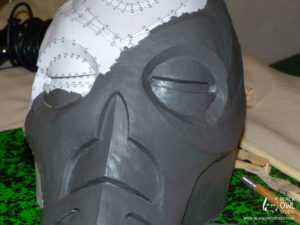
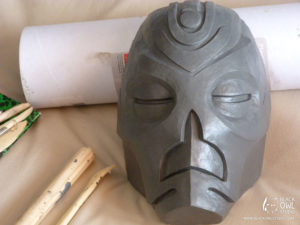
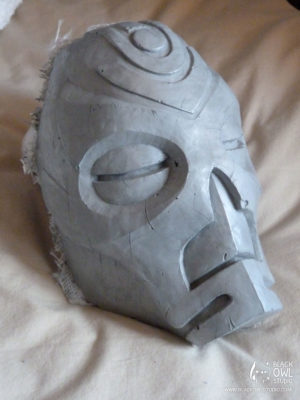
In order to get the right proportions, the mask is first made in Pepakura (folded paper). The inside is reinforced with resin and fiberglass. We apply a thin layer of Plastiline (french equivalent for Monster Clay) to smoothen the folded edges and add some details.
The Plastiline model needs to have the aspect you want for the final cast, as it will serve to make the mold.
Note: the Pepakura step is optional. If you’re comfortable with sculpting, you can directly shape the mask with Plastiline.
Silicone
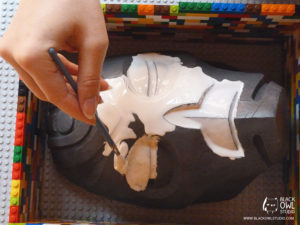
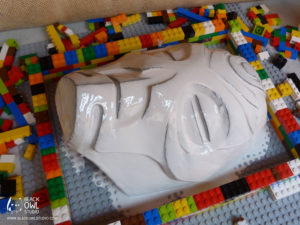
To make a copy of the Plastiline model, we have to build a silicone mold (= a negative of the mask). The silicone used here is a molding silicone (RTV 127). It is tear-resistant and can copy the shape of an object with micron accuracy.
Safety precautions: certain types of silicones may give off vapors, always work in a well-ventilated place and consider wearing a safety mask.
It is possible to save some silicone by applying a first layer of molding silicone (it prints the details better), and then apply a neutral curing silicone for the next layers. After testing this first method, we can say that we prefer using molding silicone only: molding silicone is easier to apply and the result is less random…
Warning: Acetic curing silicone deteriorates Plastiline. Ensure that the mention “neutral” is written on the box.
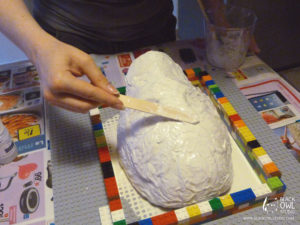
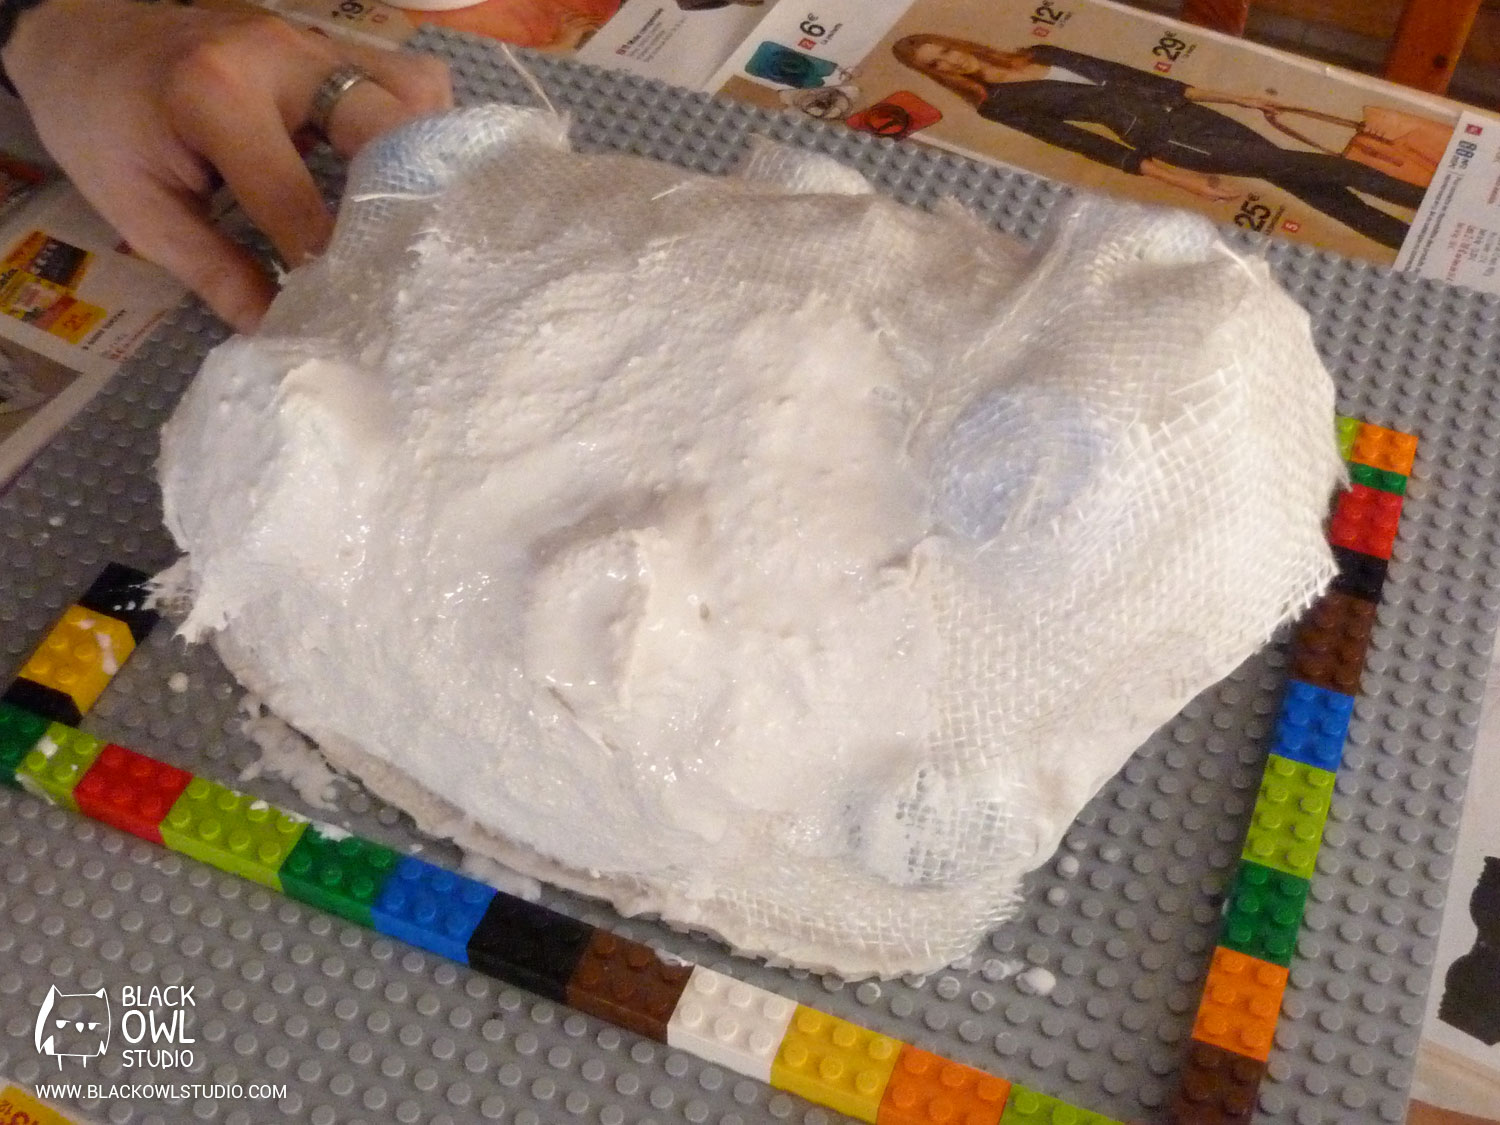
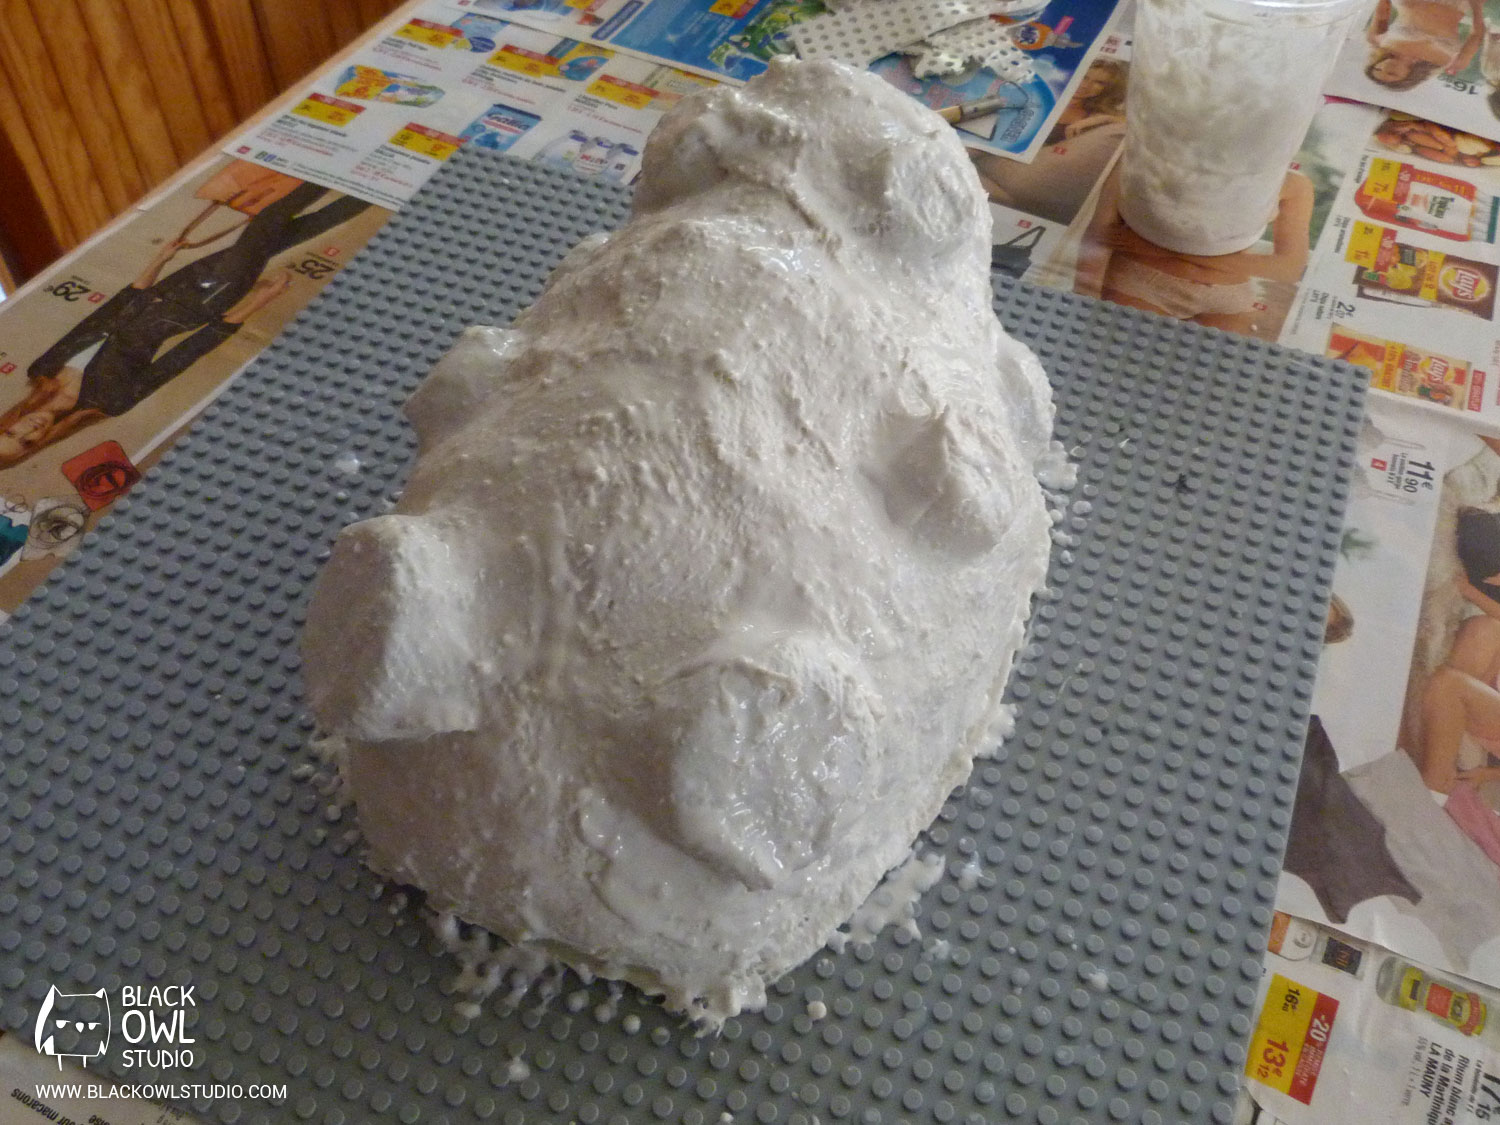
Silicone is a very flexible material. You will need to make a backing mold to ensure your piece doesn’t distort when casting the resin.
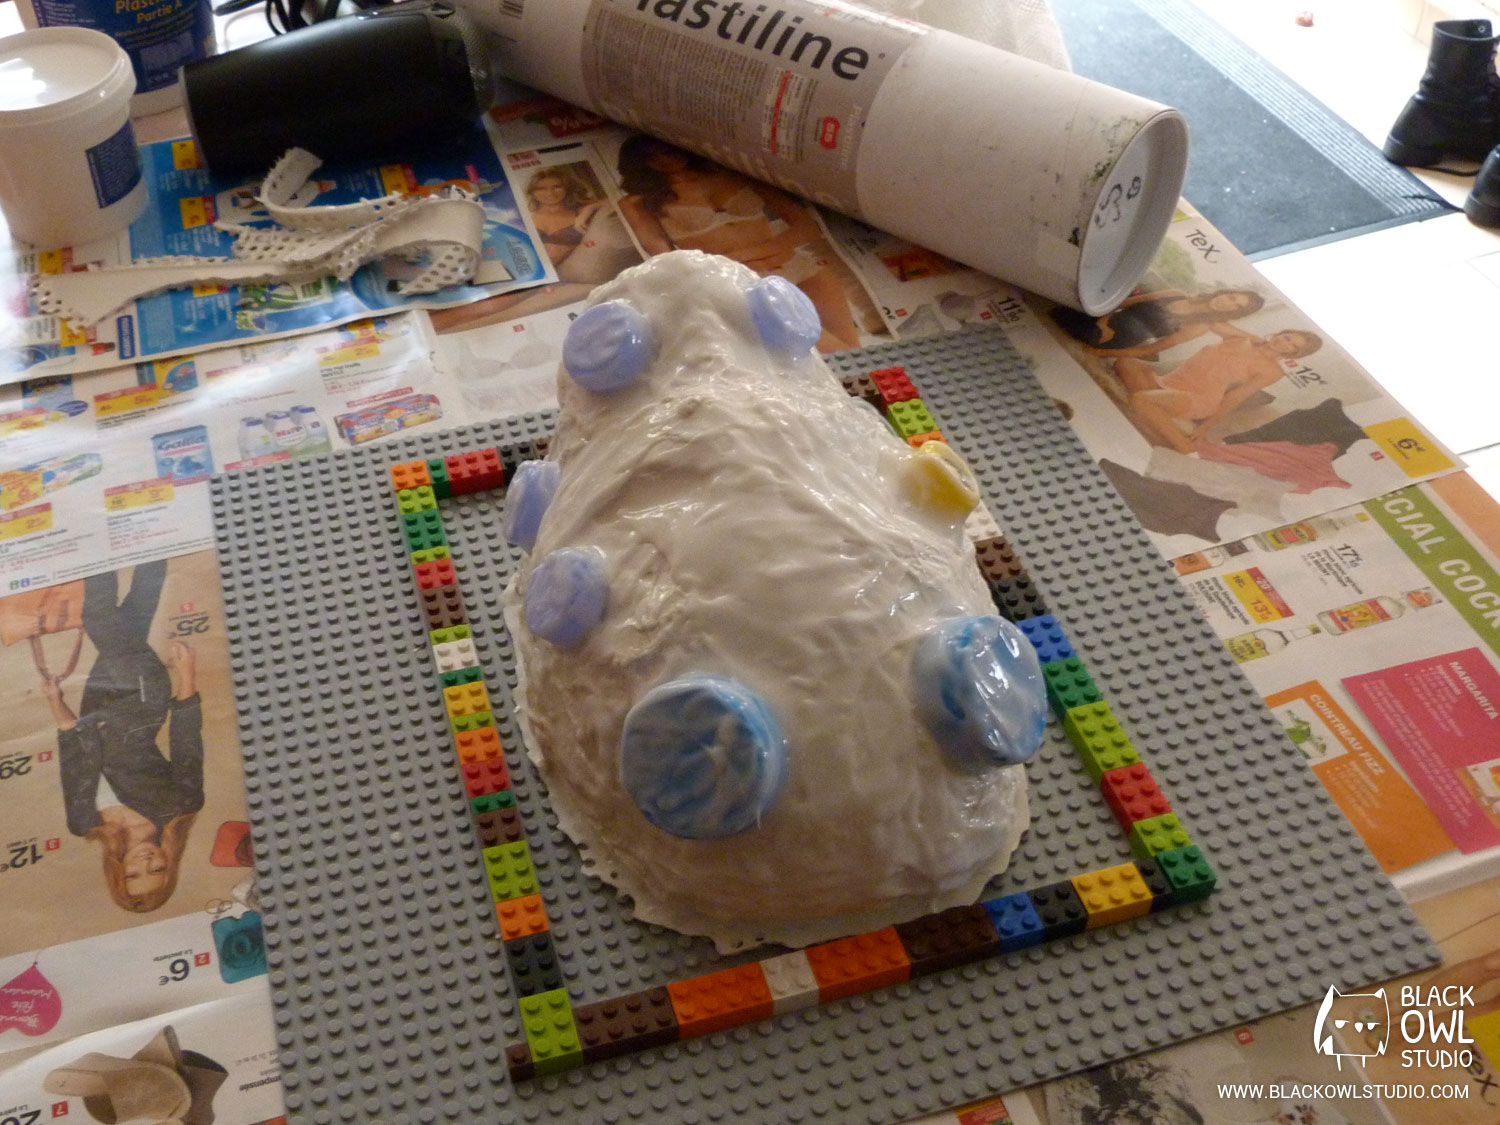
We added some “keys” on the silicone mold (plastic bottle caps will do the job), so that it matches to the backing mold. These keys are fixed in a layer of silicone.
The mold jacket was made with acrylic resin and fiberglass (you can also make it with plaster strips, it is cheaper but less resistant).
Warning/Spoiler Alert: FAIL!
We encountered a small problem here… We should have made a 2-parts mold jacket (the caps hold the mold). We had to cut the mold jacket to unmold this stuff (and then, we tried to patch it with band-aid for the next casts).
Resin
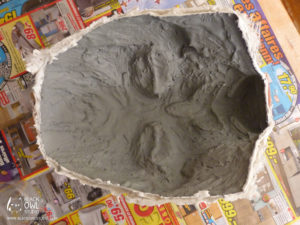
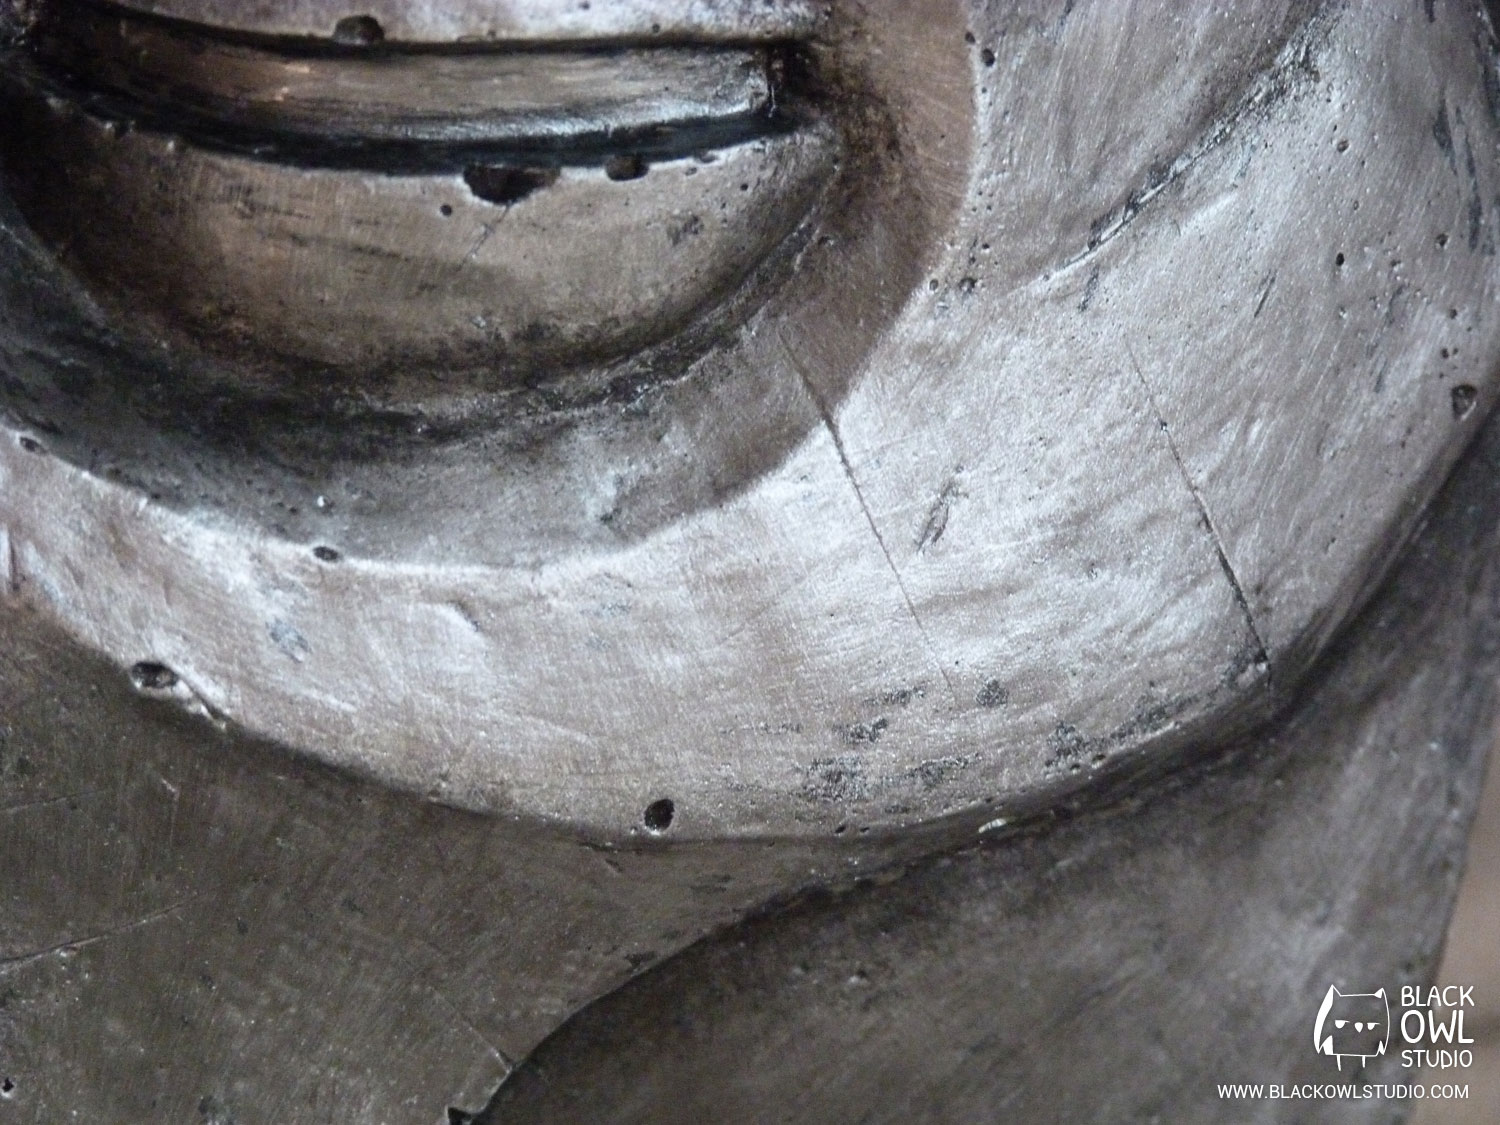
As the cast is hollow and the edges quite high, you need to be able to apply resin vertically without it dripping and building up at the bottom of the cast. In order to do this, we add some aluminum filler to our acrylic resin (we call it a gel coat). Gel coat makes the acrylic resin pastier and also gives a metallic aspect to the resin cast.
Once the gel coat is hard, we apply a layer of resin that we stratify with fiberglass to reinforce the mask. The stratification is made with some pieces of fiberglass we cut (neither too big nor too small) to cover the inside of the mask.
We proceed in 3 steps:
- We cover an area with resin,
- We apply immediately the piece of fiberglass on this area by sticking it on the still fresh resin,
- We apply a new layer of resin over the fiberglass so that it is inlaid in the resin.
Paint
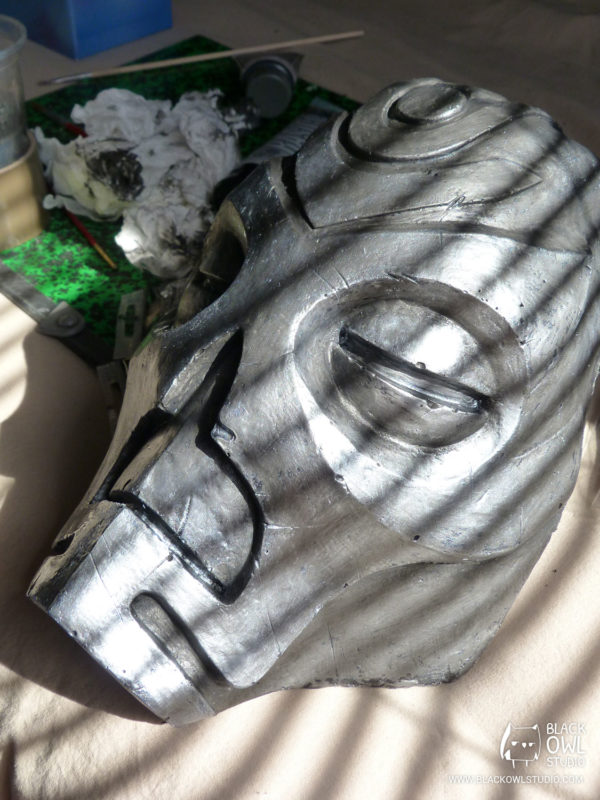
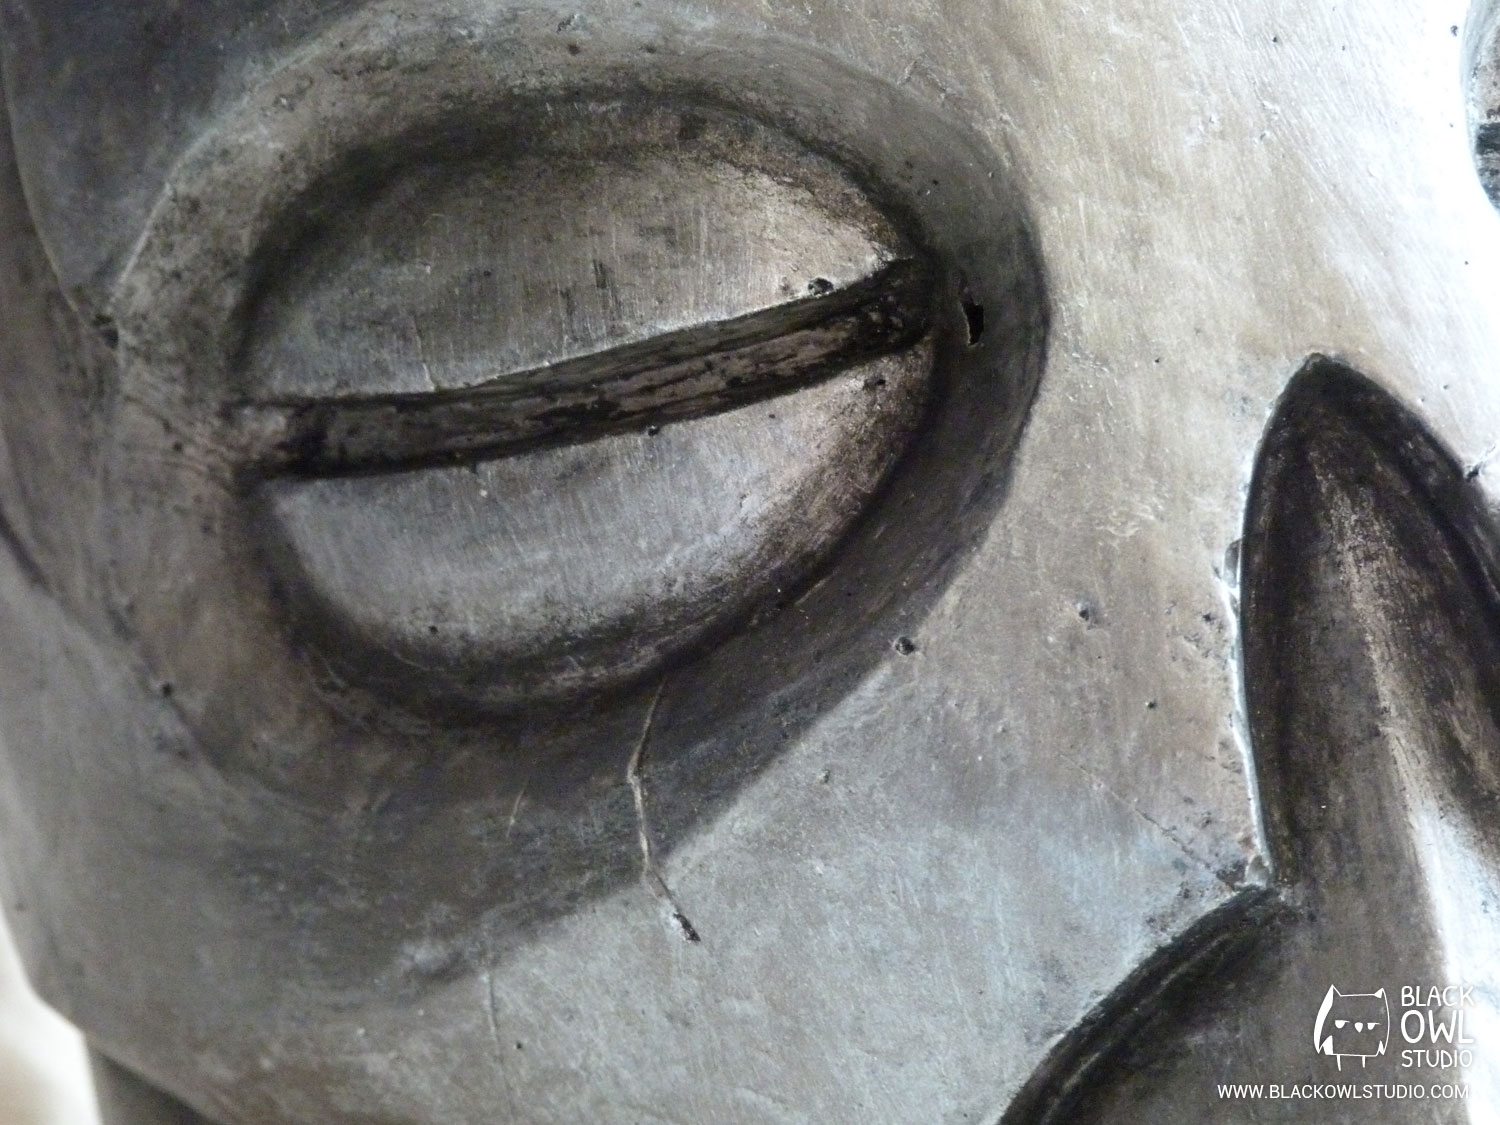
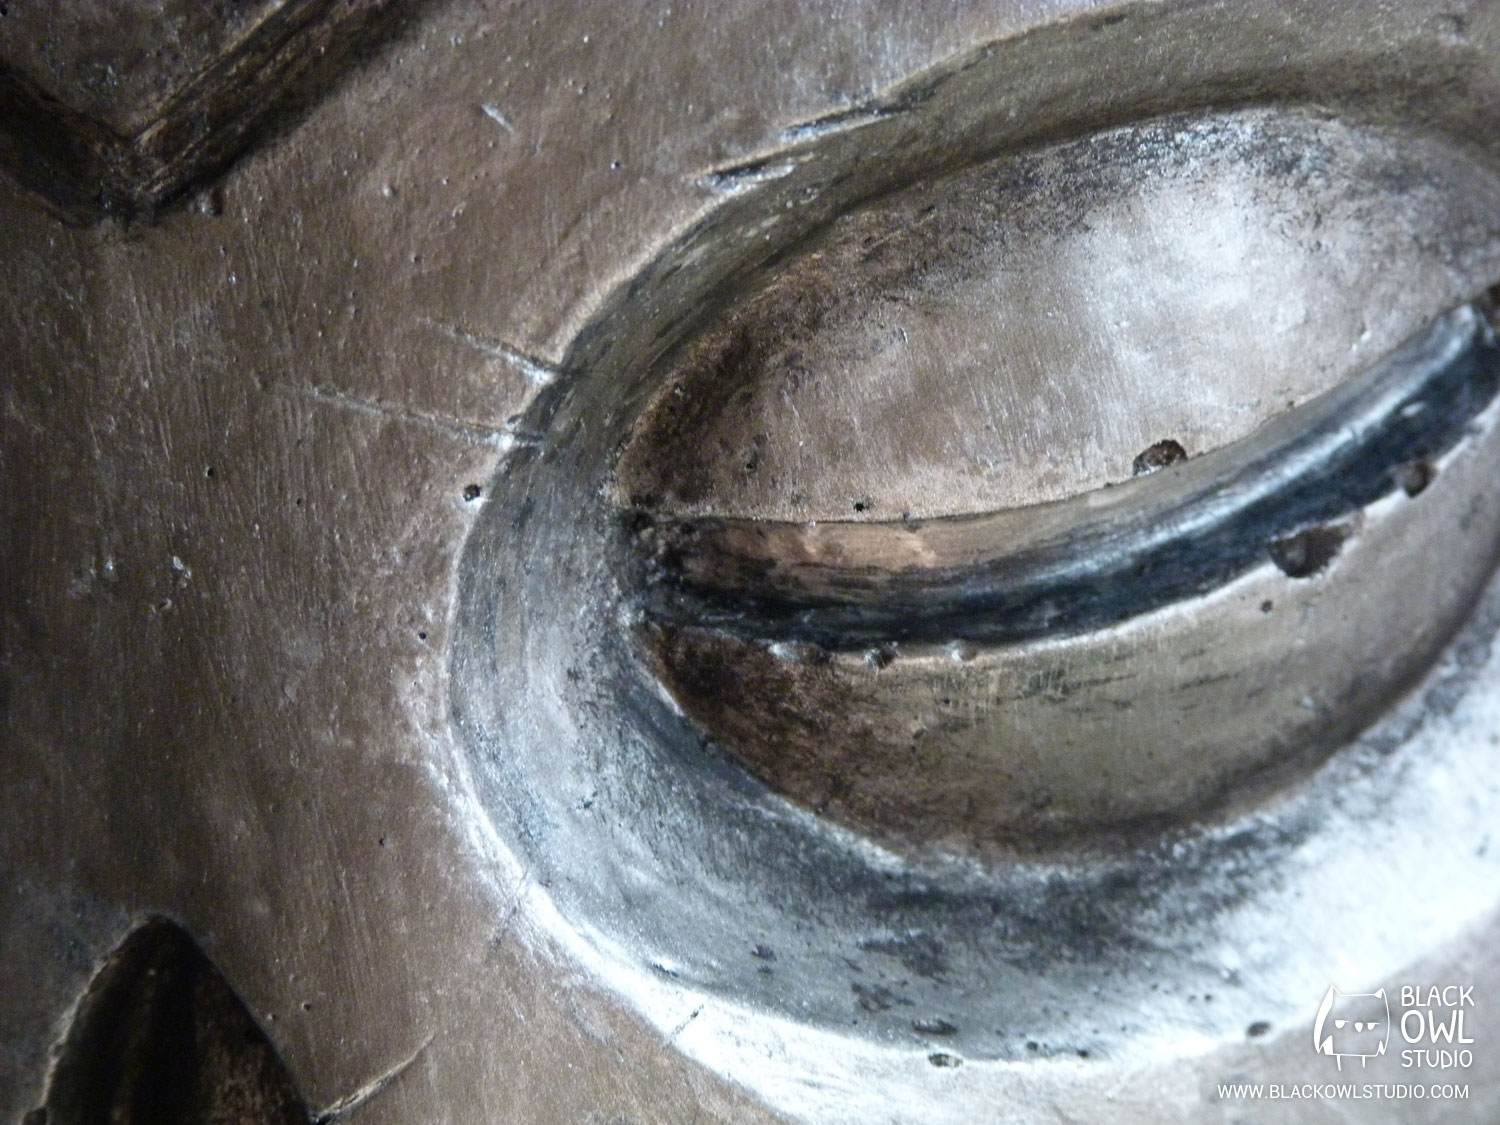
Marie used an opaque, tin-stained glass paint to give the mask a metallic and dark aspect. This paint however gives a varnish aspect that may look a bit glitzy. To remove this effect, get the mask dirty with black and silver acrylic paint.
Finishing touches
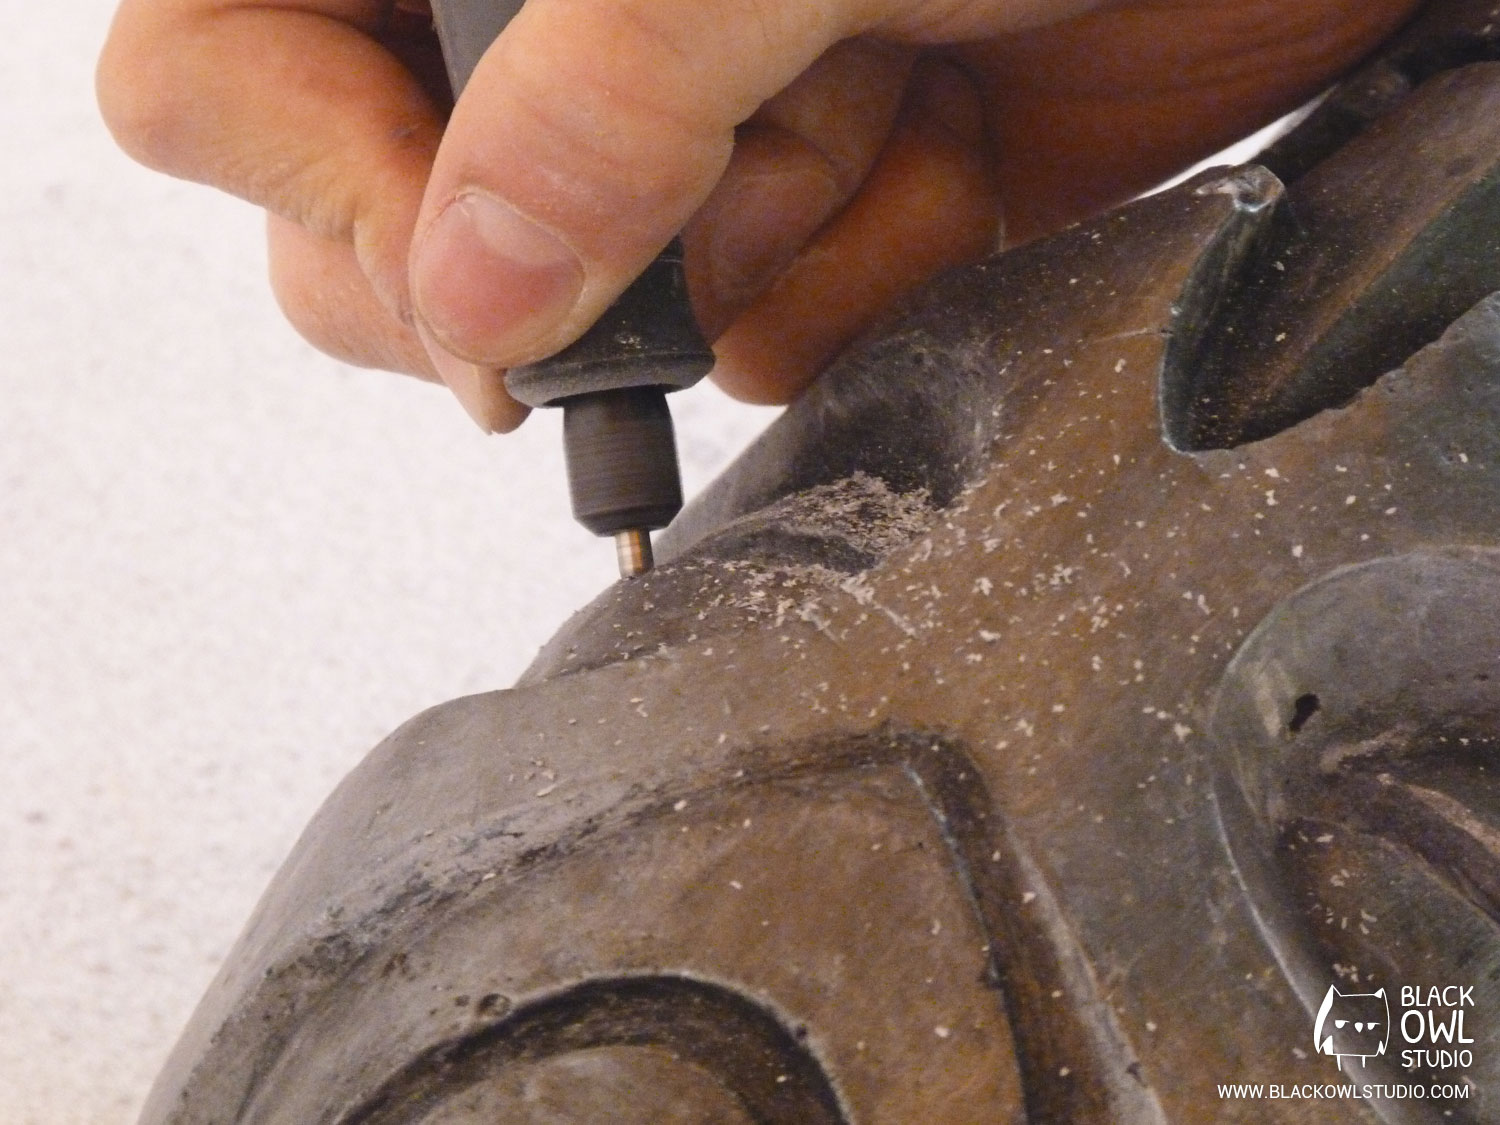
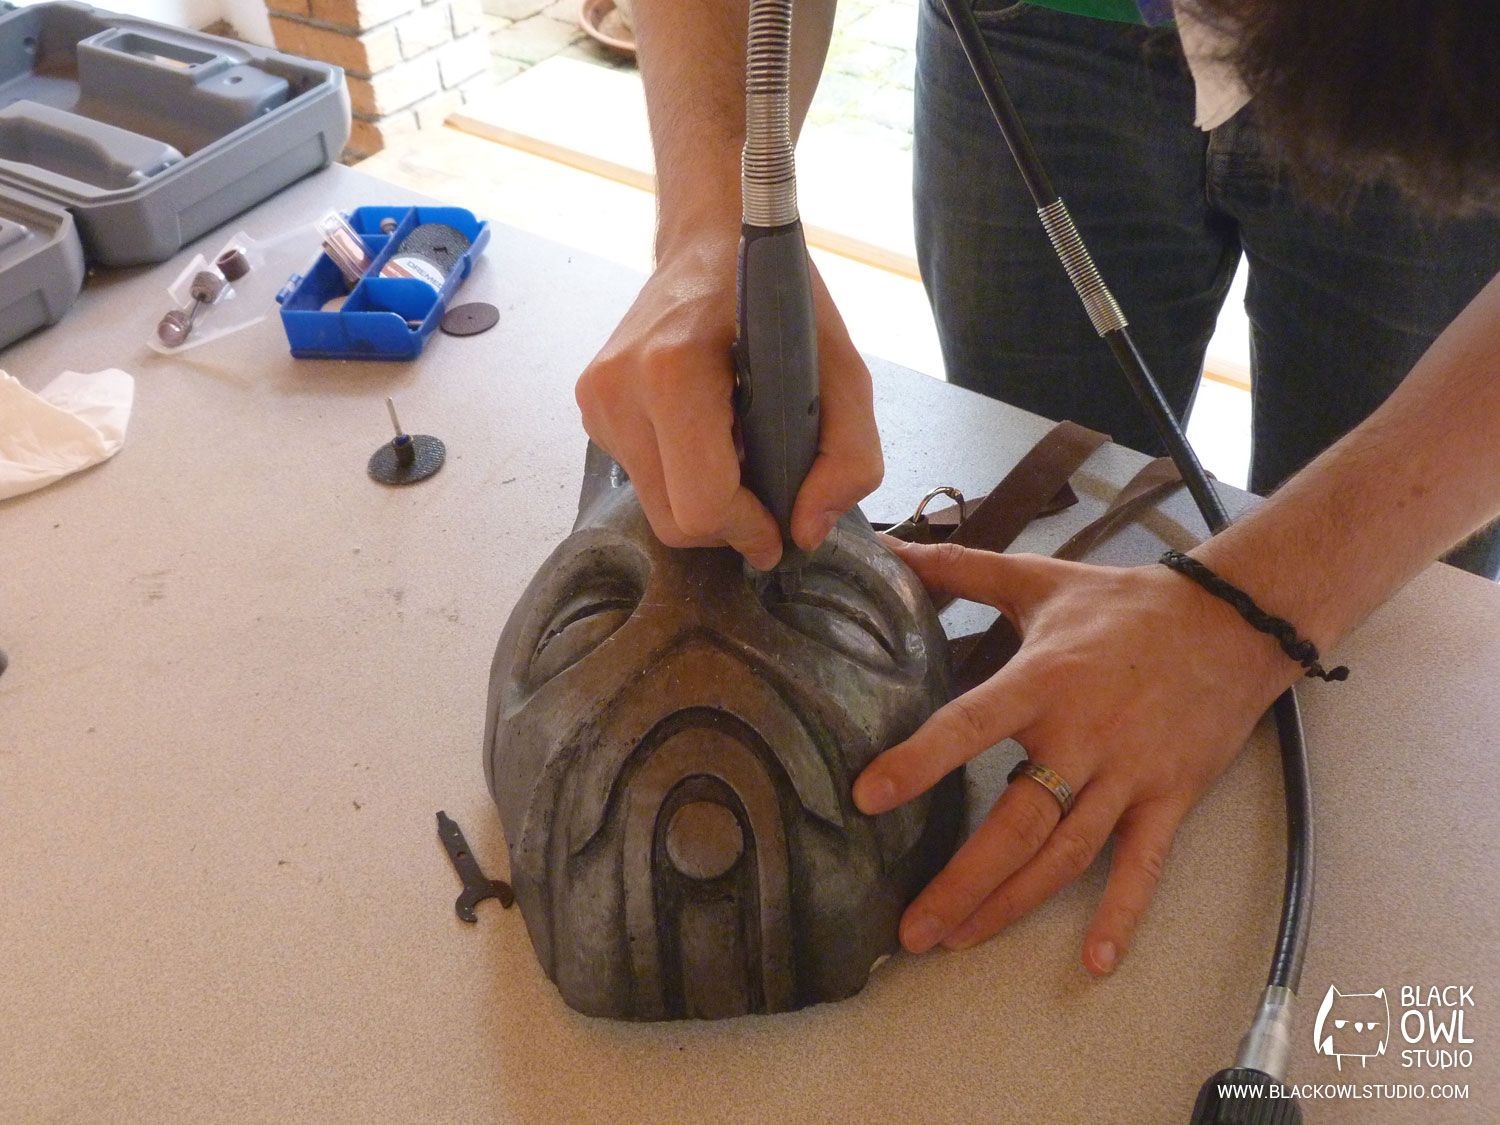
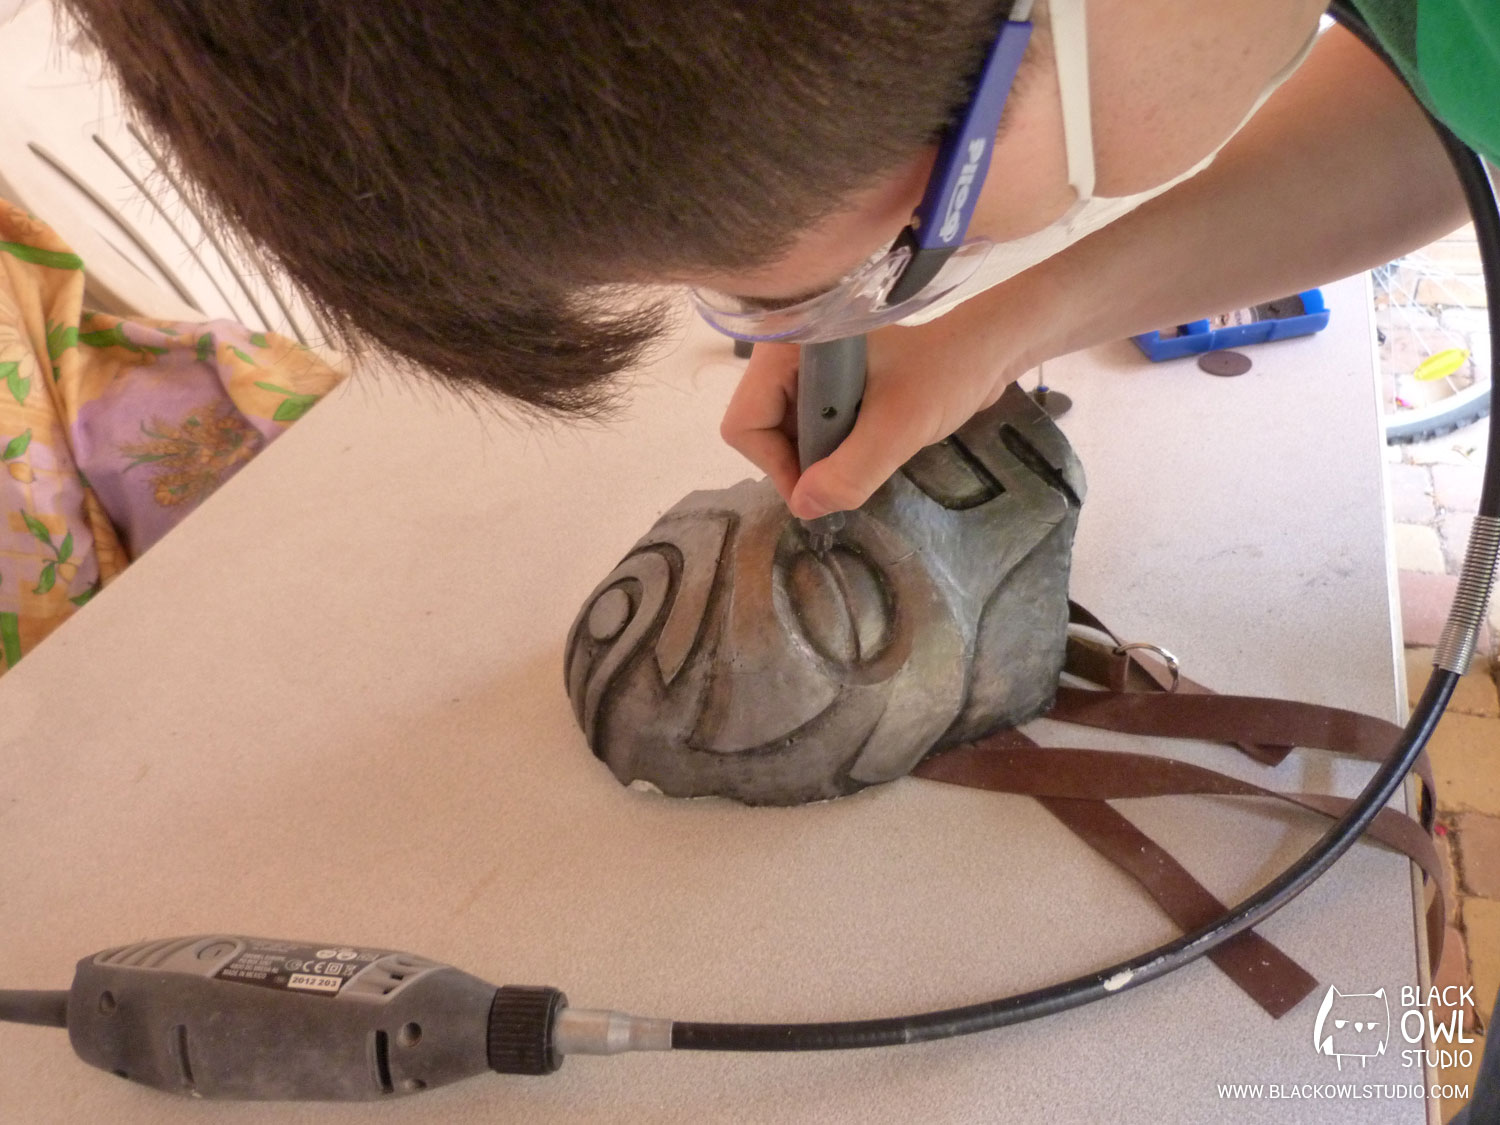
Once the paint is dry, we create the openings for the eyes and mouth by using a Dremel. Don’t forget to protect your eyes and wear a protection mask.
Fixations
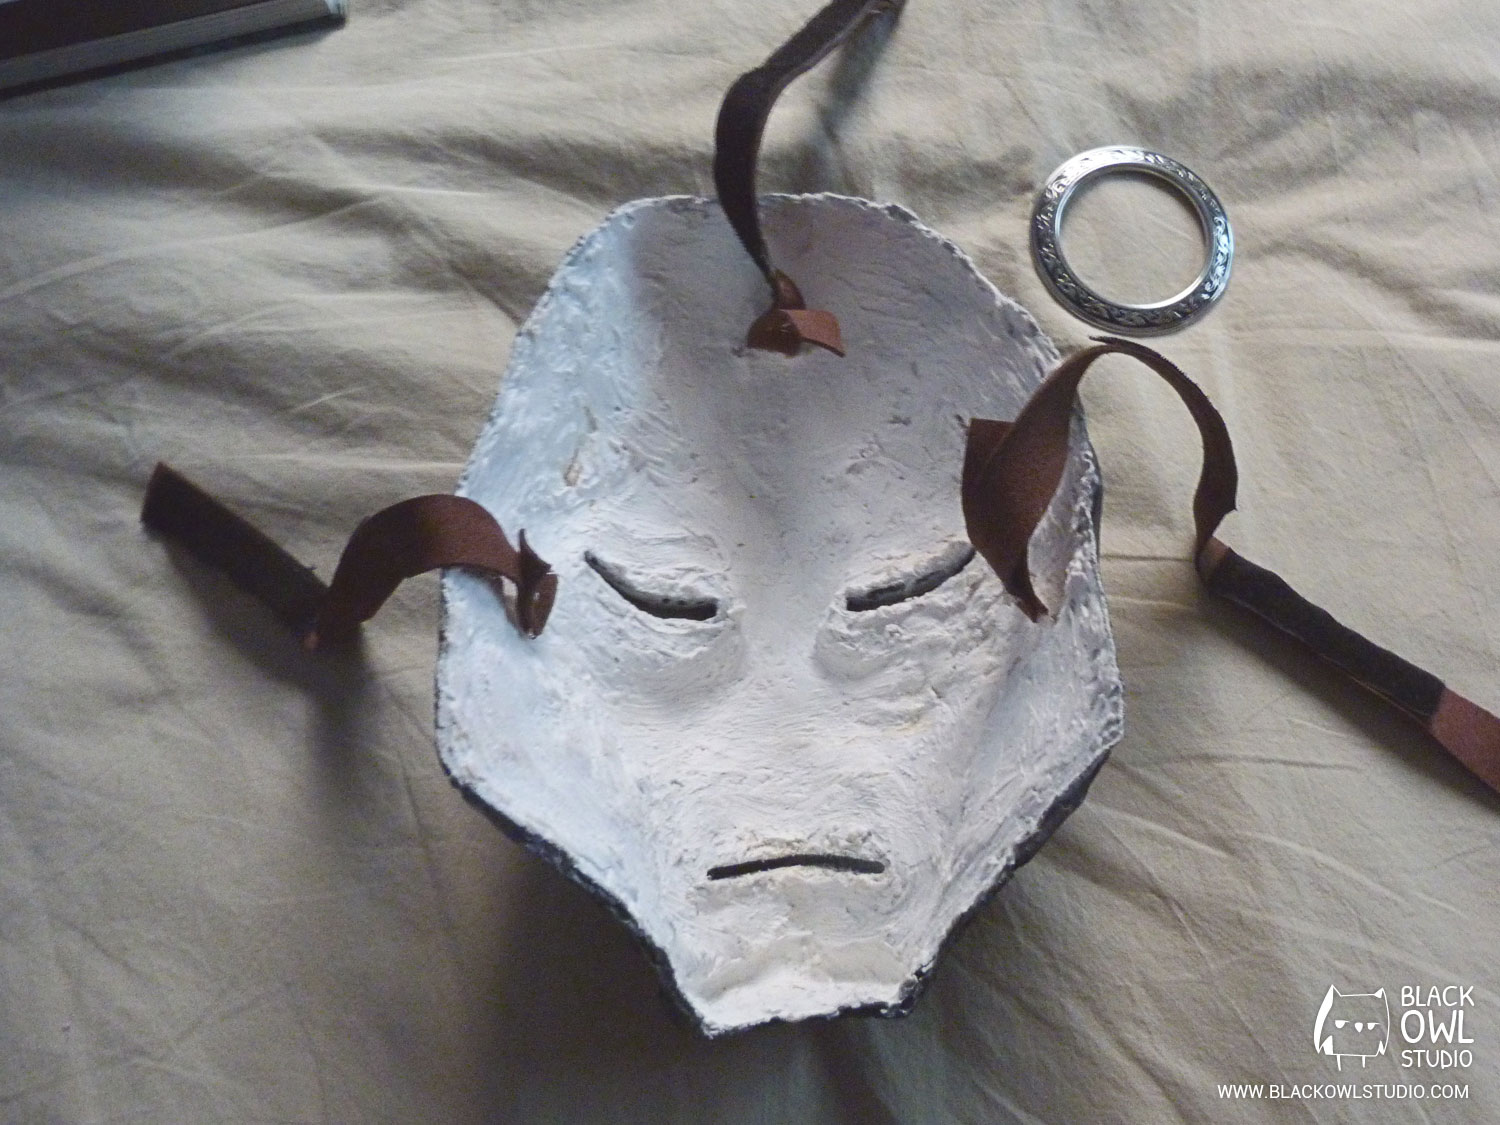
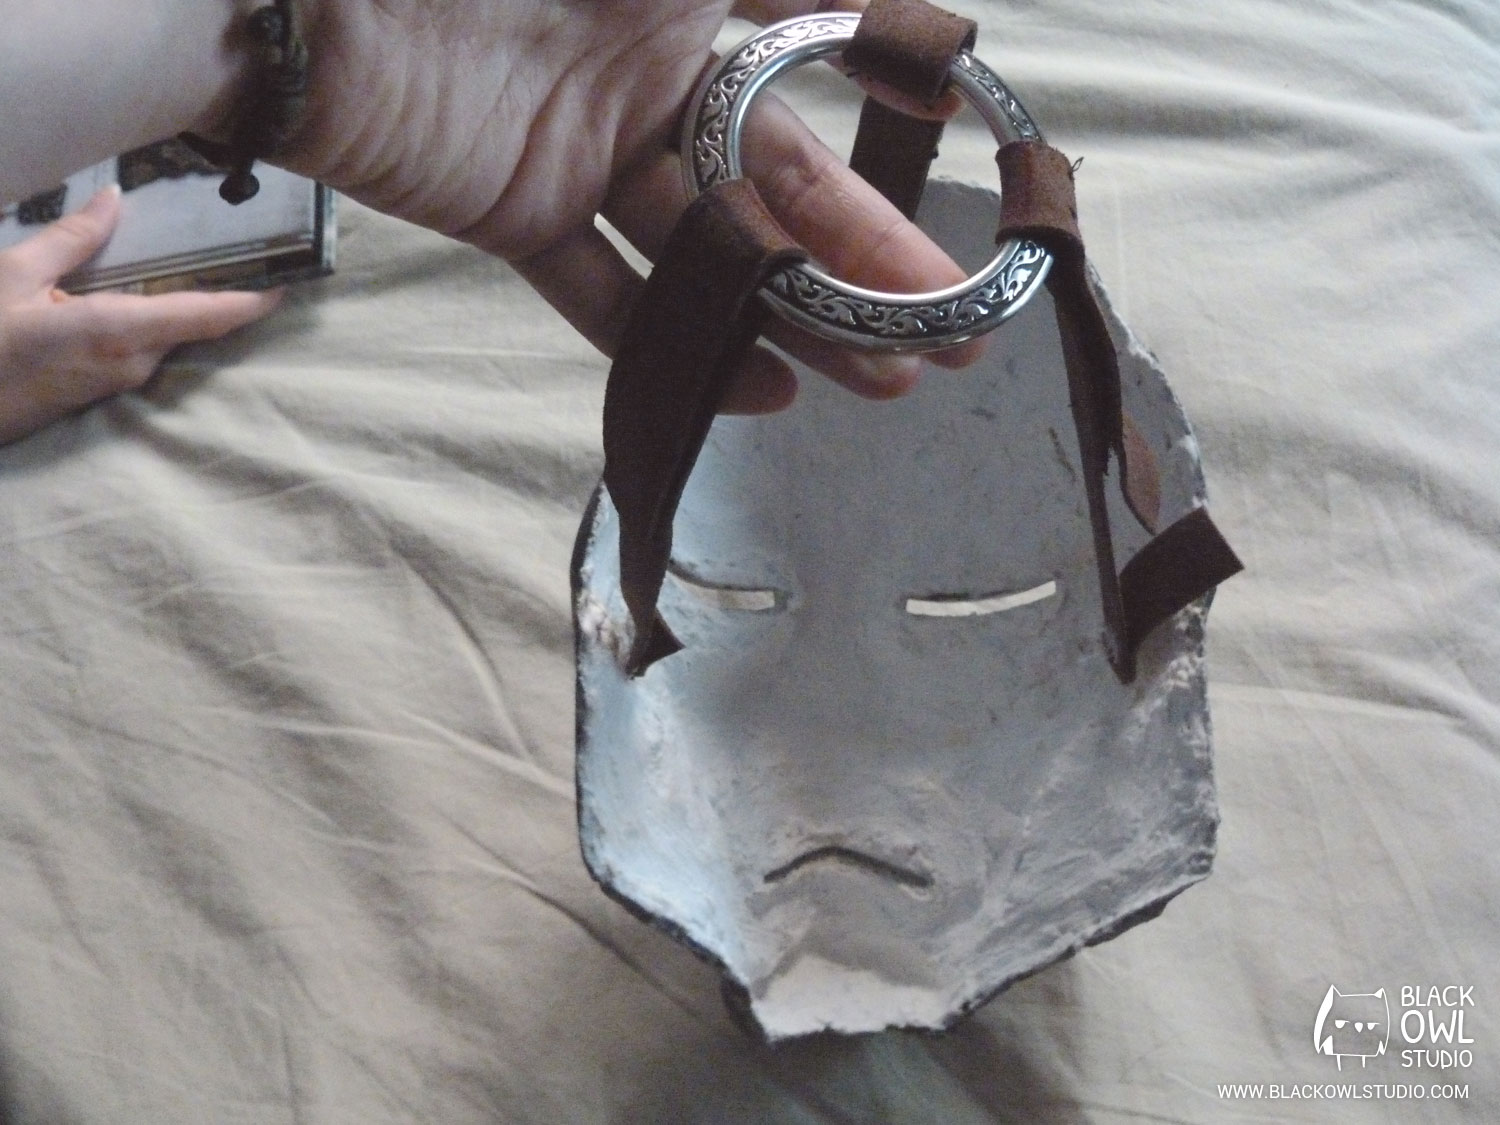
To make the mask wearable, we have to put fixations in the back. First, we attach three D-rings with resin and fiberglass. When D-rings are fixed, we pass straps through, and attach them across a big metal ring with Velcro. It is easily adjustable and simple to do.
Note that you’ll have to pad the inside of the mask (with fabric and cotton for example), as resin can be rough and not really comfortable. It will also cushion the weight of the mask on your nose. It is to believe that dragonpriests don’t have noses when you look at the shape of this mask…
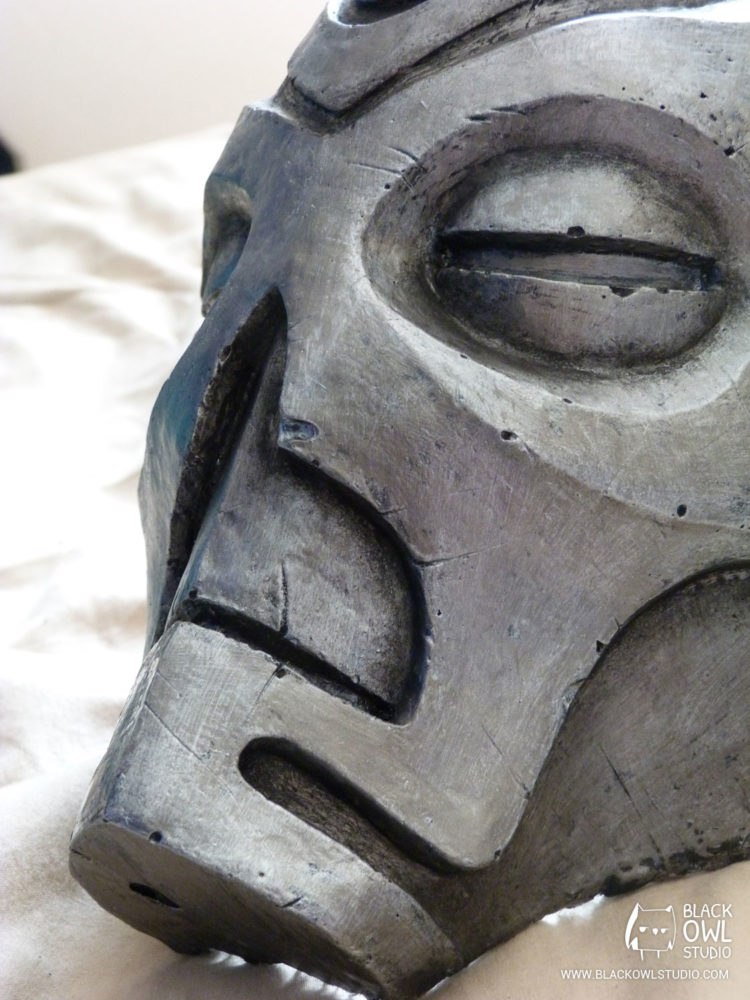
Final result
Comments (2)


Math Campbell-Sturgess
Saw the post on Reddit and had to comment to say well done.
Here’s a question though. Silicone is temperature stable enough you can cast pewter metal with it.
You think a solid-metal one would be doable? (Might have to make a back-piece told to ensure you get a cast with the right thinness…otherwise it would use a LOT of pewter and be unwearable…)