Tutorial: Chainmail
The material you’re going to use for your chainmail will strongly affect its cost as well as the time needed to complete it. It is possible to make your chainmail with steel for a more realistic and strong result, but it will be more expensive and extremely time-consuming.
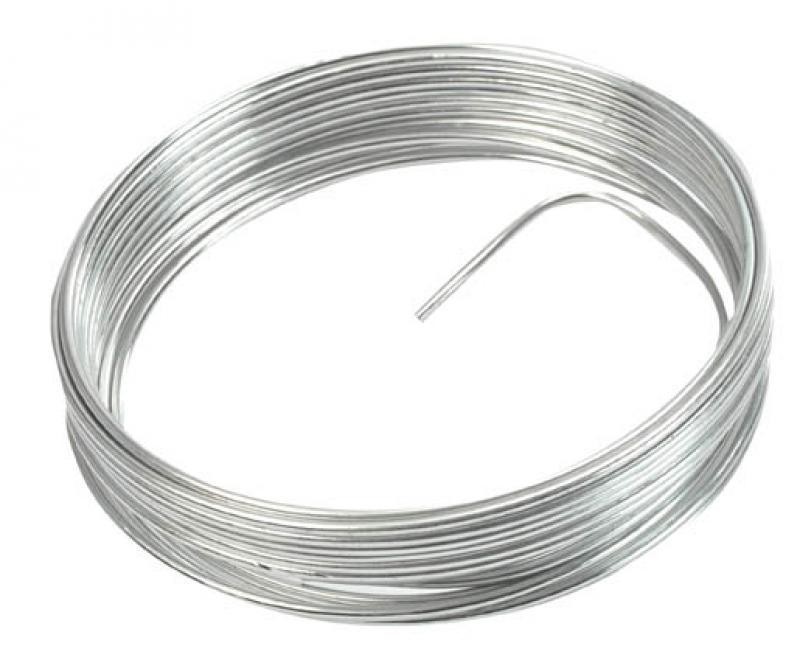
We chose aluminum to do ours. This material is less robust, but it will save us a lot of time (unlike steel, you can work aluminum by hand).
Shaping rings
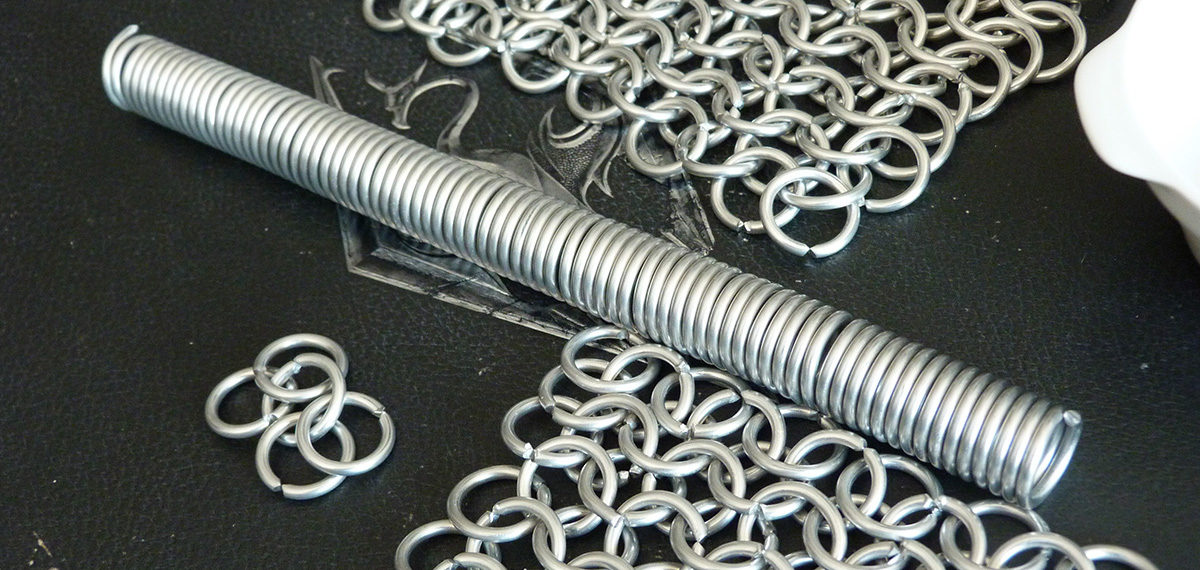
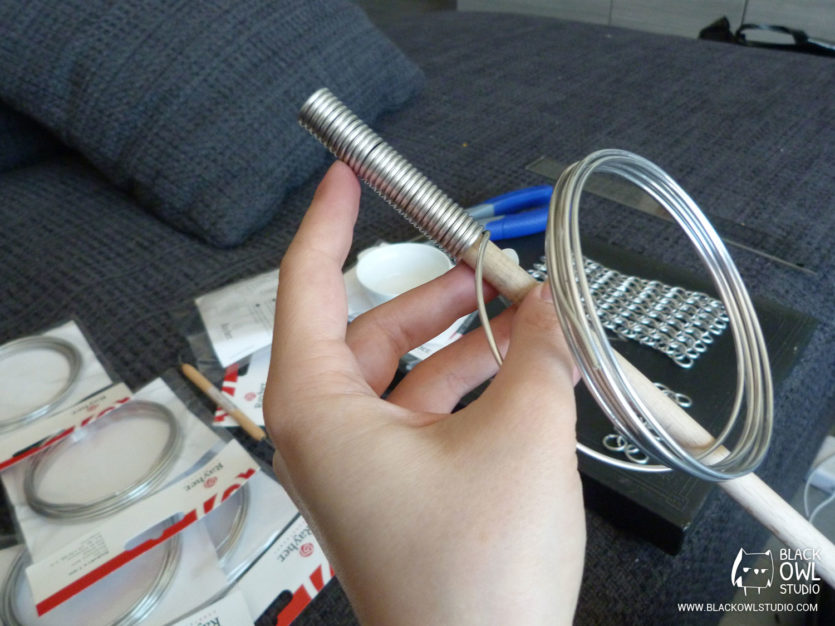
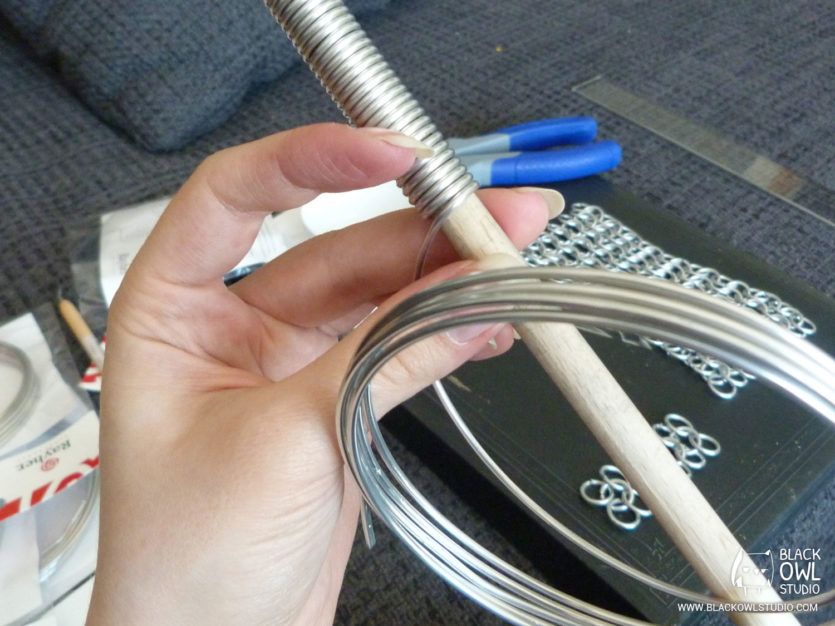
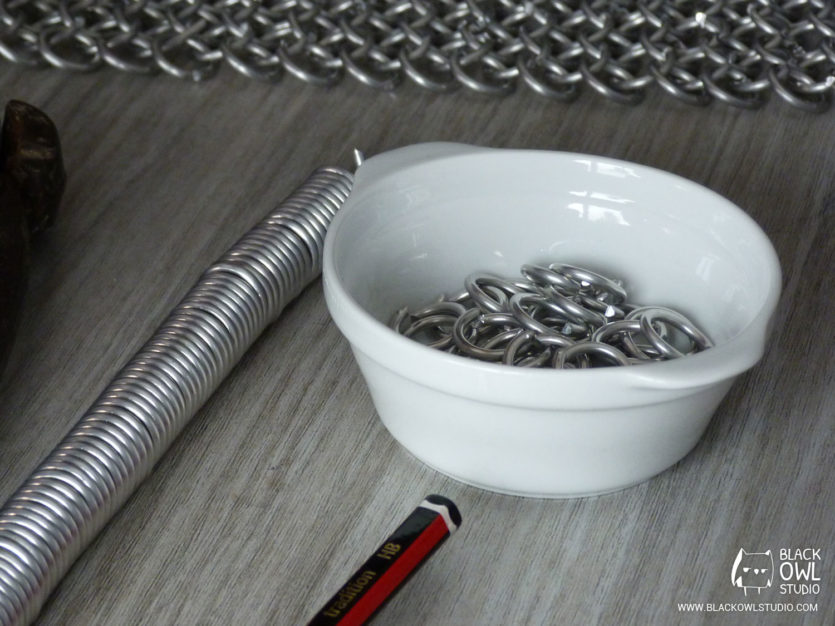
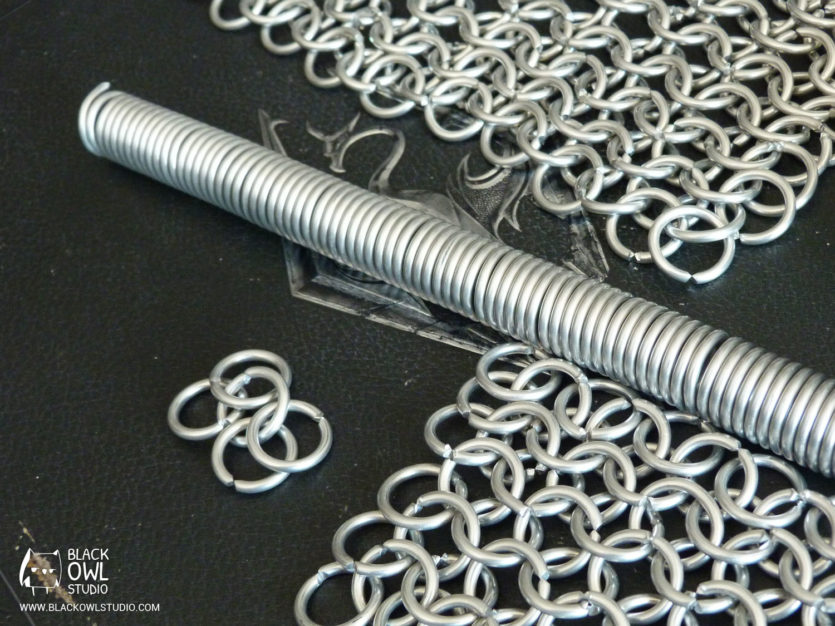
First, roll the aluminum wire around a 9mm diameter wooden stick (you can easily find this in every DIY store).
NB: Make sure to slide progressively your aluminum wire along the wooden stick, or you may get it stuck and have a hard time removing it at the end.
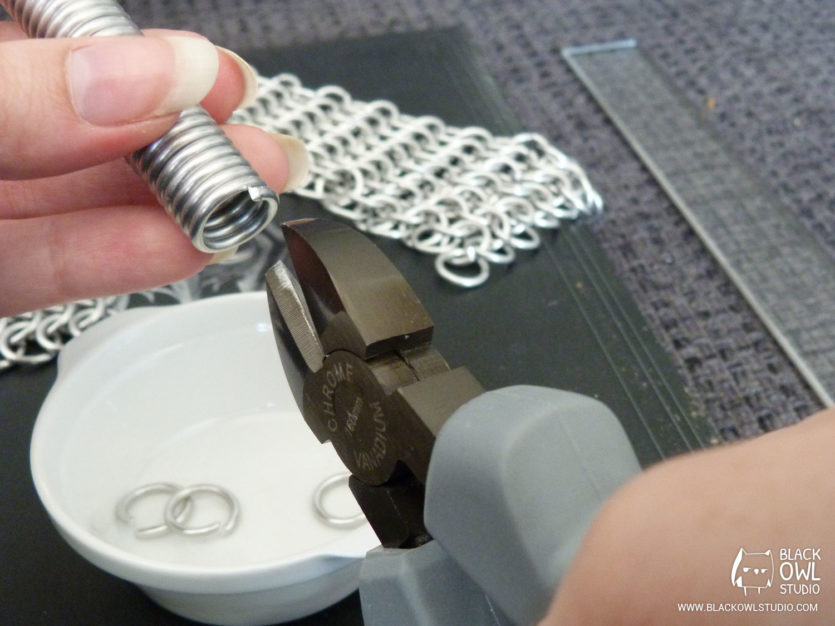
Then, cut the rings one by one using a wire cutter. Okay right now it’s not too complicated. But it gets harder…
Assembly
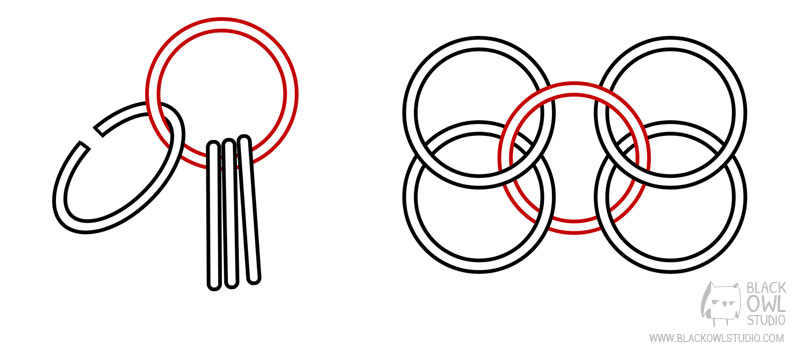
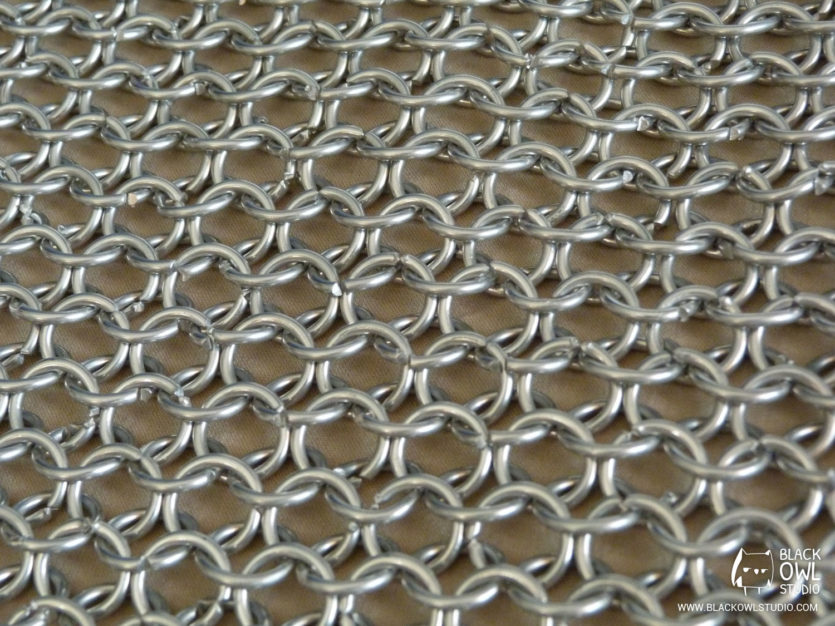
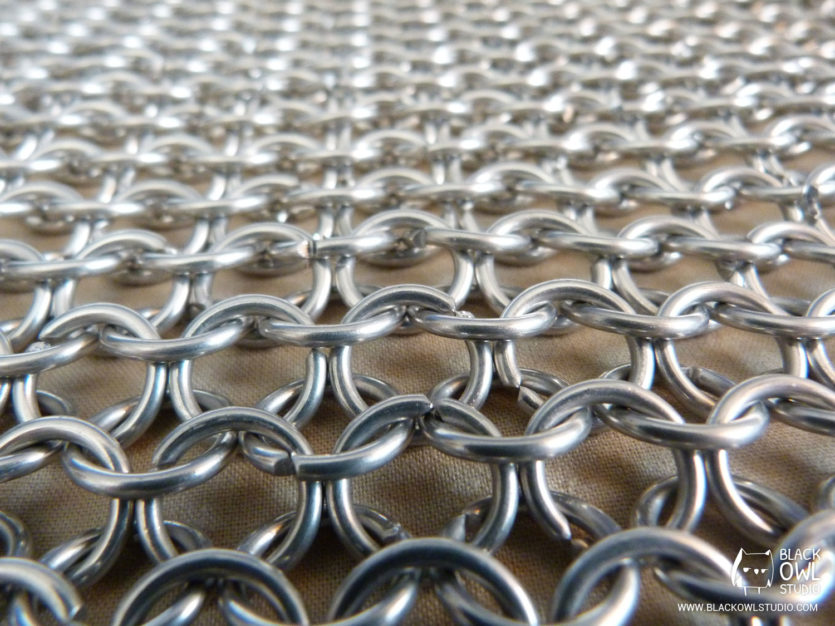
Rings are assembled according to the European “4 in 1” method. Its name comes from the fact that every ring goes through four others.
1) Place four rings through one central ring.
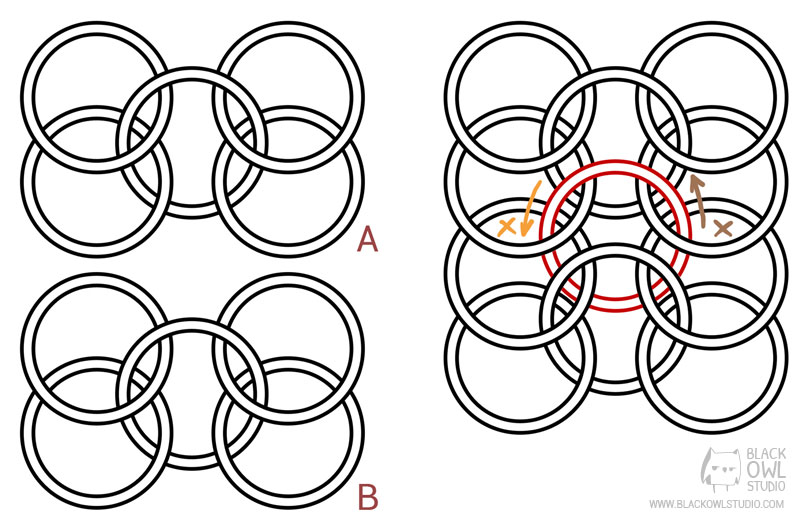
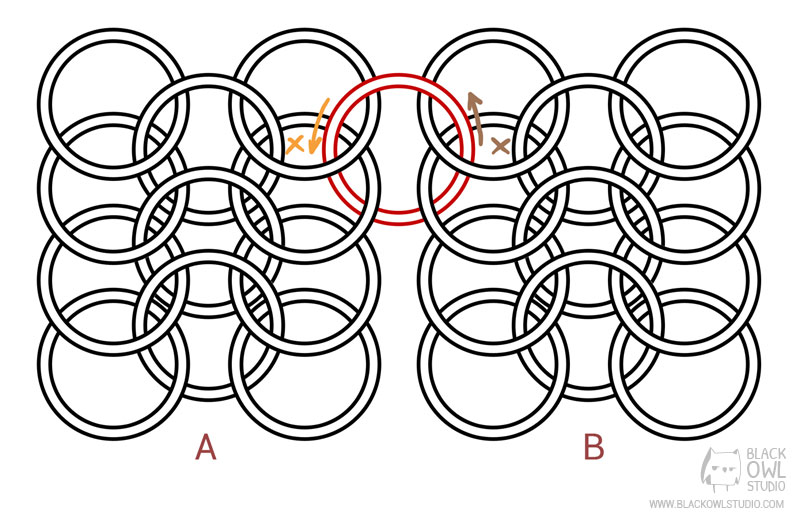
2) Place two sets of 5 rings one above the other. Make sure that the central rings go in the same direction (upper part of the buckle is over the 2 upper rings). To link the two sets, drag a ring downwards through group A’s lower-left ring and group B’s upper left ring, then drag it upwards through group B’s upper right ring and group A’s lower right ring.
3) Place two rows next to each other. Make sure that the central rings go in the same direction. To link these two rows, drag a ring downwards through row A’s 1st and 2nd right rings, then drag your ring upwards through row B’s 1st and 2nd left rings.
Repeat with 2nd and 3rd right rings from column A / 2nd and 3rd left rings from column B, and so on.
Practical applications:
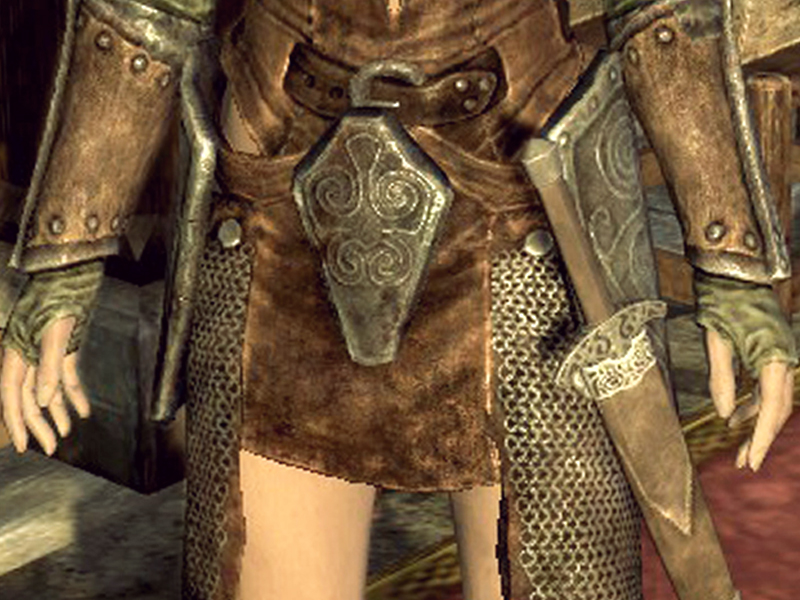
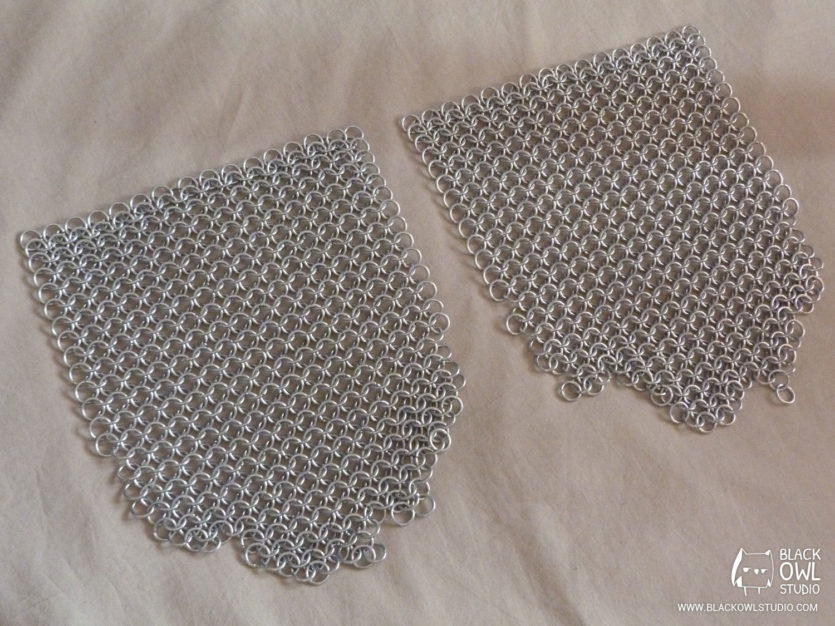
Cosplay: Aela the Huntress
About 50m of aluminum wire and 20 hours of work.
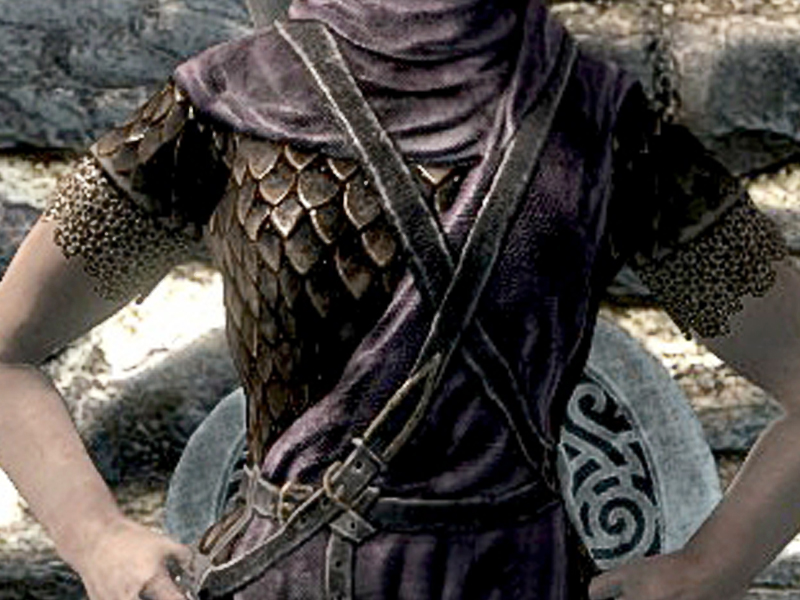
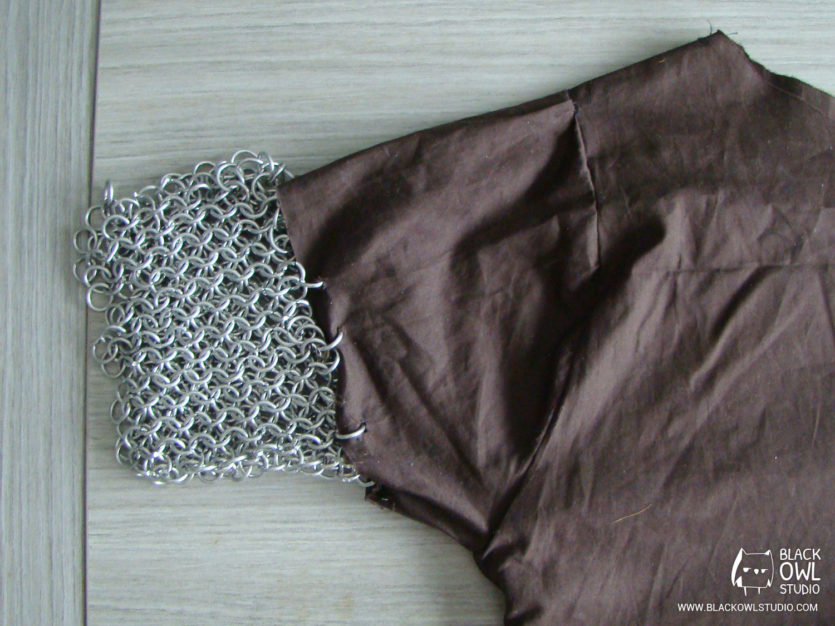
Whiterun guard:
About 27m of aluminum wire and 10 hours of work
Comments (0)